


Selecting and Playing a Tone
E-13
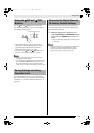
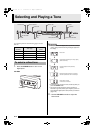
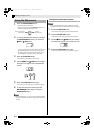
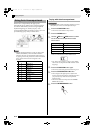
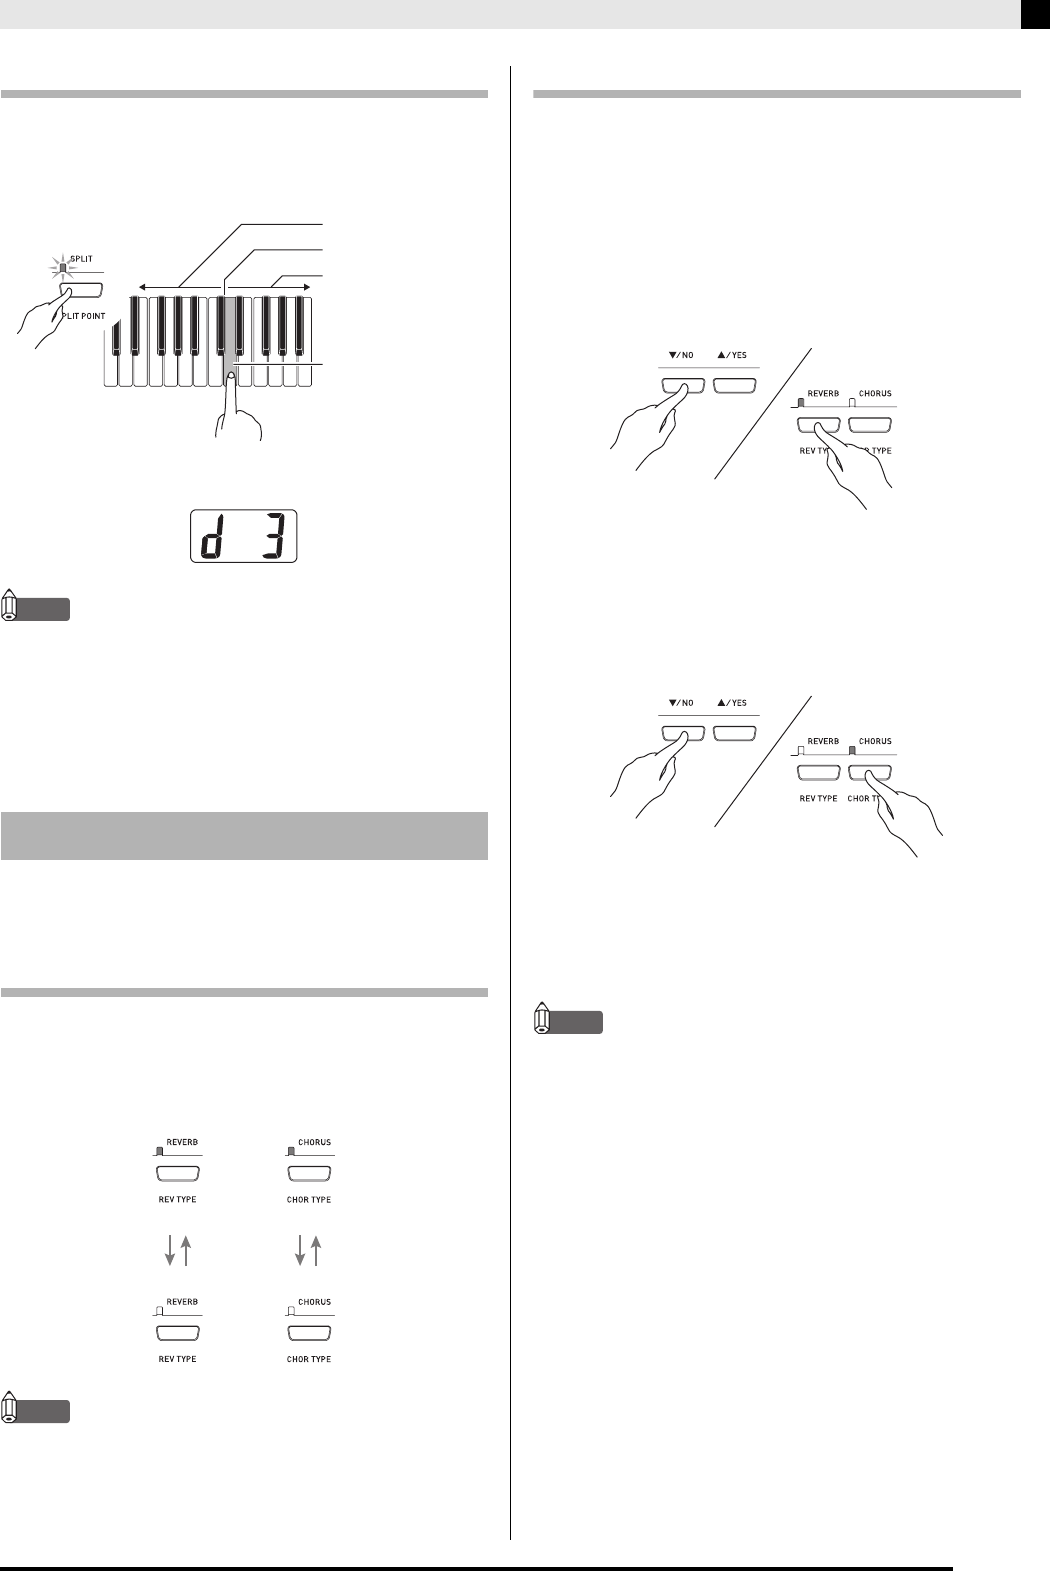
To specify the keyboard split point
1.
While holding down the SPLIT button, press
the keyboard key where you want the left limit
of the high range (right) tone to be.
• This will change the split point and display the name
of keyboard key that you pressed.
NOTE
• The split point also is the boundary between the
accompaniment keyboard range (pages E-18 to E-21) and
the melody keyboard range. Changing the location of the
split point also changes the sizes of the keyboards.
• See “Other Settings” on page E-32 for information about
another method you can use to change the split point.
Reverb. . . . . Makes your notes resonate.
Chorus . . . . Adds more breadth to your notes.
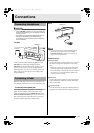
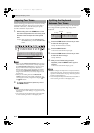
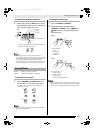
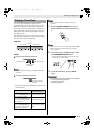
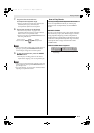
To turn effects on and off
1.
Use the REVERB and CHORUS buttons to
turn the effects on and off as shown below.
• The lamps above the buttons show whether the
effects are on or off.
NOTE
• The chorus effect cannot be turned on while the digital
piano is in the Duet Mode.
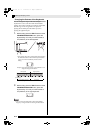
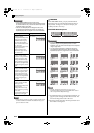
To change the effect type
1.
Turn on REVERB or CHORUS.
2.
While holding down the effect button
(REVERB or CHORUS), use the T/NO and
S/YES buttons to change the effect type as
described below.
Reverb
• Reverb Settings
1: Room
2: Small Hall
3: Large Hall
4: Stadium
Chorus
• Chorus Settings
1: Light Chorus
2: Medium Chorus
3: Deep Chorus
4: Flanger (Whooshing effect)
NOTE
• While the keyboard is layered, the chorus on/off setting
affects the layered tone only. While the keyboard is split,
the chorus on/off setting affects the low range tone only.
Using Effects
High range
High range leftmost key
Low range
Flashing
Split point
Unlit
Off
Lit
On
Off
On
PX320_e.book 13 ページ 2007年8月1日 水曜日 午前9時28分