8
d.4 Pro DJ Production Console
d.4 Pro 4-channel DJ Production Console
MIDI notes
The d.4 Pro will show up on a Mac or PC as a 1 input,
0 output MIDI interface named “D.Pro Mixer.” On a PC,
the 0x1 MIDI interface shows up in all MIDI compatible
applications. On a Mac, the 0x1 interface will show up
in all compatible applications, and be visible in the
Audio MIDI setup utility.
The single MIDI input will present, to any MIDI com-
patible application, the following MIDI messages:
• A controller message, tied to the crossfader,
with a value of 0 at hard left, 127 at hard right,
with in-between values equally spread out
across the crossfader’s travel. This allows you to
use the crossfader as a performance controller
with all sorts of audio software.
• A separate, unique MIDI note-on message for
each program fader that is assigned to the
crossfader. The note-on message will be gener-
ated when the crossfader is moved even slightly
from the side to which the program channel is
assigned. This will allow you to trigger sound
effects or musical passages from audio software
that can respond to MIDI note-on messages.
Similarly, the note-off message is generated
when the crossfader reaches the end of its
travel at the side where it is assigned. Each pro-
gram channel is assigned a note number that
accompanies the note-on and note-off messag-
es. 0 is presented for channel 1, 1 for channel 2,
2 for channel 3, and 3 for channel 4.
Software installation
For the PC:
When using the d.4 Pro with a PC, it is necessary to
first install the drivers and the control panel. The con-
trol panel allows you to set the sample rate and adjust
the latency (delay) of the audio passing through the d.4
Pro FireWire interface.
Do not connect the d.4 Pro FireWire con-
nector to your computer just yet. We’ll tell
you when it’s time to do that.
To install the software on a PC running
Windows XP (SP):
1. Turn off any (non-essential) applications.
2. Insert the d.4 Pro CD-ROM into your PC’s CD-
ROM drive.
3.
The CD begins automatically, bringing up the
d.Pro installer. If it doesn’t, click Start in the
task bar, then click Run and click Browse.
Browse to your CD drive and double-click
d.Pro_SETUP.EXE. Then click OK to start the
installation.
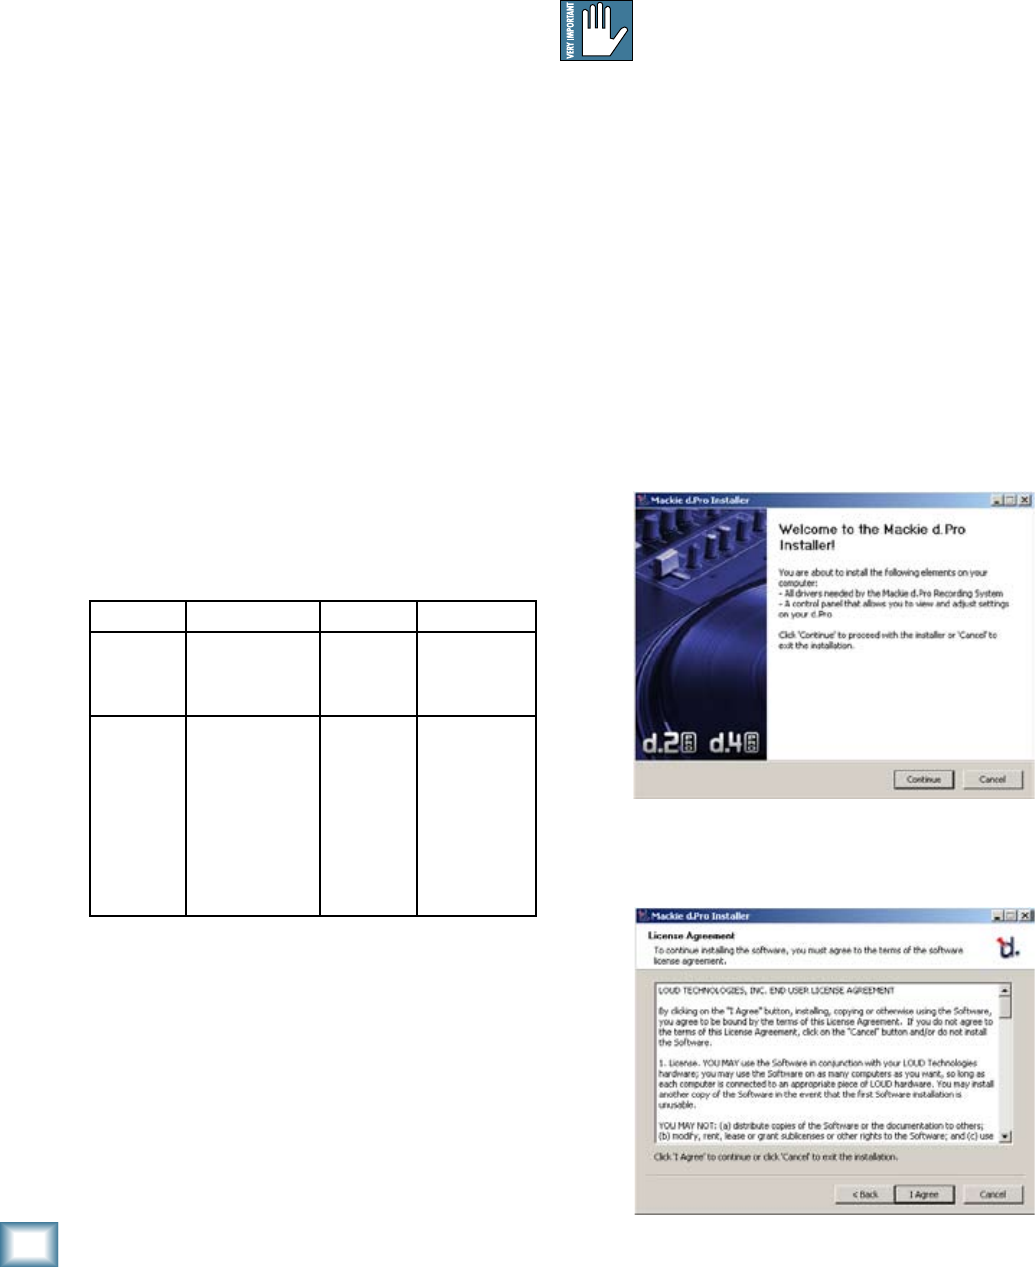
4. The d.Pro Installer opens. Click “Continue.”
5. Next you will see the License Agreement. Read
through the text and if you are all in favor, click
“I Agree.”
Action Status Data 1 Data 2
Crossfader
position
Value: 176
Control Change
Channel 1
Value: 4
Foot
Controller
Value: 0 to 127
Crossfader
position
Note on/
Note off
for PGM
channels
assigned
to the
crossfader
(A or B)
Value: 144
Note on, Ch 1
Value: 0, 1,
2, or 3
PGM Ch
number
PGM ch 1: 0
PGM ch 2: 1
PGM ch 3: 2
PGM ch 4: 3
Value: 0 to 127
Note on: 127
Note off: 0


