35
KR-11 – Chord Sequencer
ENGLISH
ENGLISH ENGLISH ENGLISH
The currently selected track appears in reverse video
on the display.
Note: Drum or SFX parts can only be recorded on the “D”
or “S” tracks.
3.
Get ready to play.
Choose the Tone and make the necessary settings for
the performance.
Note: You can only assign Drum Sets to the “D” track, while
the “S” track only triggers sound effects.
Use <VOL+> and <VOL–> to the left of the display to
set the volume level of each track.
Note: To record the volume settings, press the [RESET] but-
ton while holding the [REC] button.
4.
Press the [REC] button and then the [PLAY]
button.
Two bars are counted down, and after that recording
starts.
5.
Press the [STOP] button to stop recording.
A “❏” appears next to the track that was recorded.
6.
Repeat steps 2, 3, 4, and 5 to record other parts.
You can delete the data of a selected track by pressing
<CLR>.
If you want to start recording halfway into the song,
use the Composer [FWD] and [BWD] buttons to
move to the desired measure.
Muting or playing selected tracks
Note: There is only one DSP effect, so that you can only use
one DSP Type for all 16 tracks. Use a DSP Type that can
either be used for several tracks or restrict the use of the DSP
effect to only one track.
Tracks vs. MIDI channels
The relationship between tracks and MIDI channels is
as follows:
Note: When using 16-track Sequencer, the Composer’s five
Track buttons do not function.
Note: Set the beat of the metronome before recording with
the 16-track Sequencer. The Composer will use the metro-
nome settings (time signature and tempo) in effect at the
time you start recording the first track.
9.2 Chord Sequencer
The Chord Sequencer allows you to “pre-program” the
chord progression and Style divisions to be used by
the Arranger. Doing so will allow you to concentrate
on the melody because the Chord Sequencer will take
care of feeding the Arranger with the correct chord
information and selecting the desired Style division.
1.
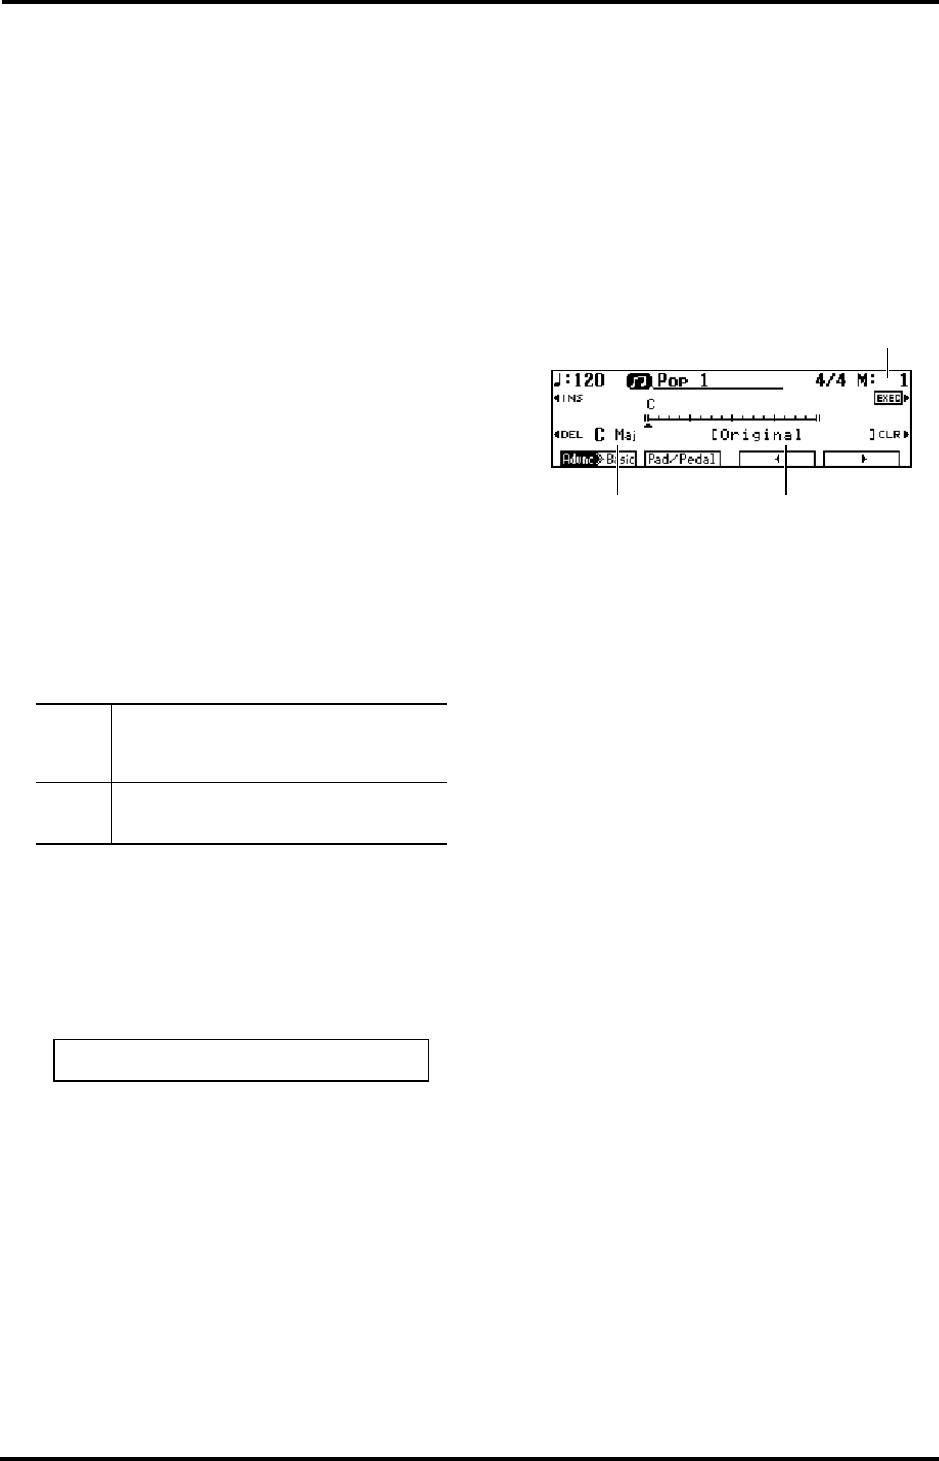
Press <Chord Sequencer> on the Composer Menu
page.
A Chord Sequencer screen like the one below appears
on the display.
(For more information on divisions, see “Muting
parts of a division” on page 38.)
2.
Use the MUSIC STYLE buttons to choose a Style
group.
After several seconds, the display returns to the Chord
Sequencer screen.
3.
Use <INS> to insert the desired number of blank
measures for the song you wish to input.
4.
Use the <√> and <®> at the bottom right of the
display or the [BWD] and [FWD] buttons to move
the cursor (▲) to the position where the chord and
division are to be input.
5.
To enter a chord, play it in the lower half of the
keyboard.
The chord display serves as a guide for entering
chords. If you have doubts about the correct way of
playing a given chord, just look at what the display
says.
■ Here are the other things you can program:
• Entering an Intro or Ending: press the [INTRO/
ENDING] button.
• Changing the Style Level: press <Advnc®Basic> (or
<Advnc√Basic>).
• Entering a Fill-In: press the desired Fill In button.
(By assigning other functions to the PAD buttons or
the left pedal, you can also use functions such as
“Break.”)
You can also insert and delete measures by pressing
<INS>, <DEL>, and <CLR> next to the display.
<INS>— Inserts a single blank measure at the posi-
tion of the cursor.
<Mute>
Choosing a track and pressing <Mute> switches off
playback of that track. A dotted “
❏
” appears next to
the muted track. Each press of <Mute> toggles
between Mute on and off.
<Solo>
Choose a track and press <Solo> if you want to listen
to a track without hearing the others. Each press of
<Solo> toggles between Solo on and off.
Track 1 2 3 4 56789 D S 121314 15 16
MIDI channel 1 2 3 4 567891011121314 15 16
Current measure
DivisionChord name
KR-11_Book Page 35 Thursday, November 21, 2002 9:35 PM
