39
KR-11 – Saving User Styles
ENGLISH
ENGLISH ENGLISH ENGLISH
Note: If either “Fill to Variation” or “Fill to Original” has
been chosen for “Division”, only one measure can be cut.
Note: Preset selections are used for divisions that are not
selected.
Note: Be careful to remove all data types except the follow-
ing from your song before converting it to a User Style: Per-
formance information from the keyboard (notes and pedal
information), Reverb Depth, Chorus Depth.
Note: Once <EXEC> has been pressed, the previous settings
cannot be recovered.
You can save User Styles onto floppy disks. You can
call up Styles that have been saved to disk in the same
way you do with Style disks.
1.
Insert a formatted disk into the disk drive.
2.
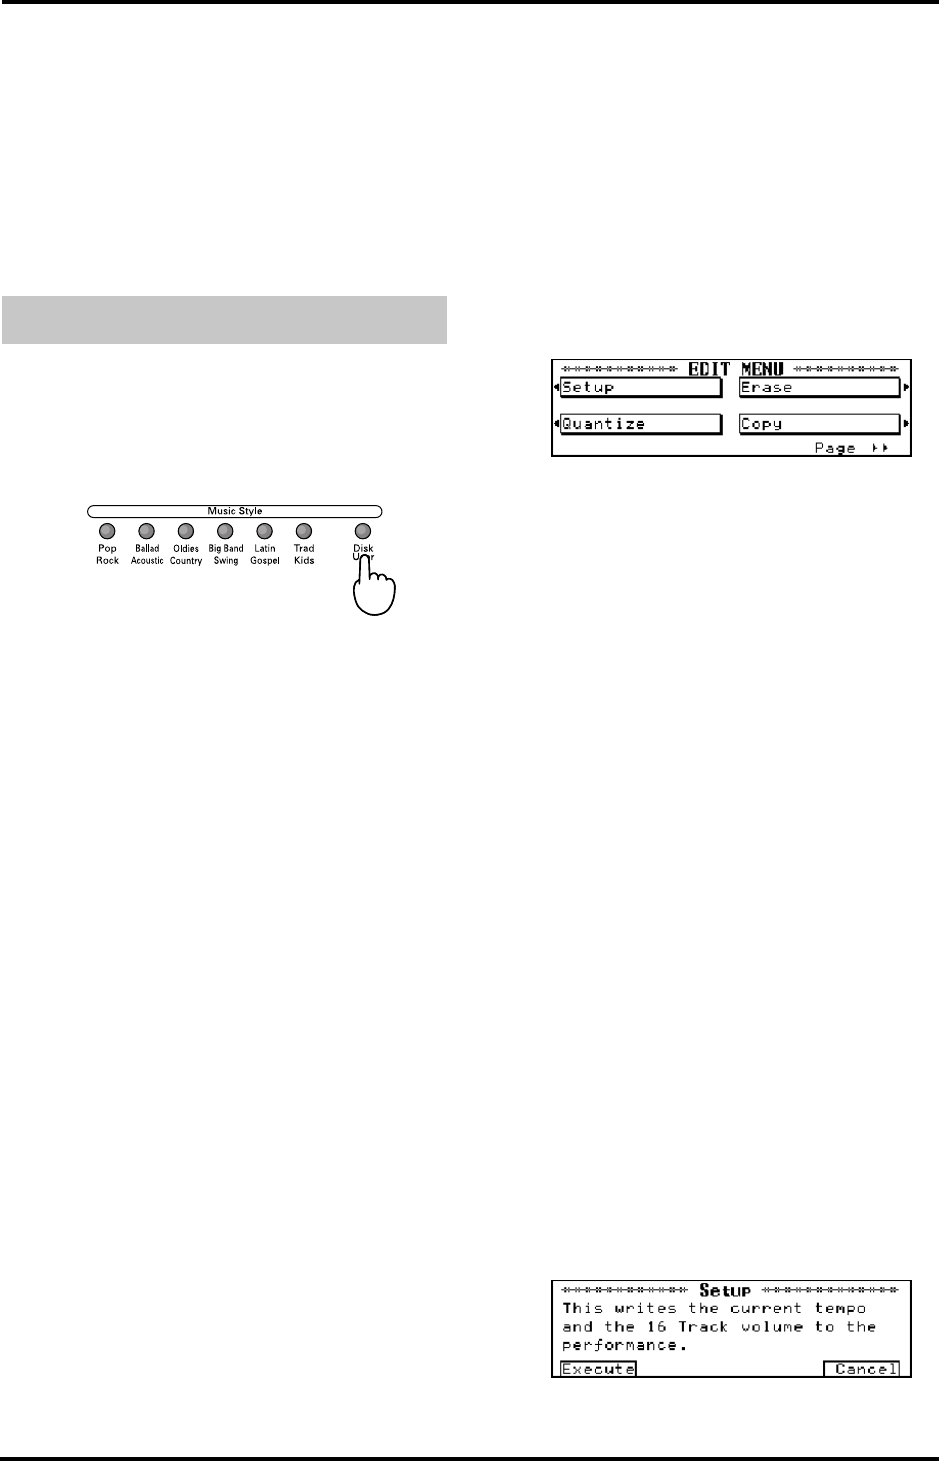
Press the [DISK/USER] button.
The Song Select Screen will be displayed.
3.
Press <Save>.
4.
Select a number with the <▲> and <▼> buttons to
the left of the screen.
You can choose any number between “1” and “99”. Do
note, however, that selecting a User Style number that
already contains data means that the Style in question
will be overwritten by your new User Style.
5.
Enter a name for the User Style with <√> and
<®> below the display and the <▲> and <▼> but-
tons to the left of the screen.
Please refer to page 34 for the list of the available
characters.
6.
Press <Save>.
Note: If you want to cancel the operation, press the [EXIT]
button.
9.8 Song Edit
The KR-11 has eight functions that you can use to edit
the songs you have recorded.
Note: After carrying out one of the following functions, it
may be impossible to restore the previous settings. Also,
songs recorded with Arranger backup may sometimes yield
surprising results. We recommend that you save your song
to disk before editing it.
Steps for editing
1.
On the Composer Menu screen, press <Song Edit>.
An Edit Menu screen like the one below appears on
the display.
2.
Use the buttons next to the display to choose the
editing function.
The Edit screen has two pages. Use <√√PAGE> and
<PAGE®®> to bring up the other page.
1. Changing the Tempo and Volume of a song –Setup.
2. Aligning imperfect Notes – Quantize
3. Erasing notes or tracks – Erase
4. Duplicating phrases – Copy
5. Deleting measures – Delete
6. Inserting blank measures – Insert
7. Changing the key – Transpose
8. Swapping and copying tracks – Track Exchange/
Track Copy
Note: To cancel an operation, press the [EXIT] button.
You can also edit a song on a floppy disk: Insert the
disk in the disk drive and play back the performance
one time. Then edit it.
Setup: tempo and volume
Changes in tempo and volume that are made with the
TEMPO and Part Volume buttons are only temporary.
If you like your new settings better than the original
ones, here is how to correct your song:
Before selecting the Song Edit screen, set the tempo by
pressing the TEMPO buttons, and set the volume of
the tracks you want to change on the 16-track
Sequencer screen.
1.
Press <Setup> on the Edit screen.
A screen like the one shown below will appear.
9.7 Saving User Styles
KR-11_Book Page 39 Thursday, November 21, 2002 9:35 PM
