


22
Using the RMP-5 with Additional Pads
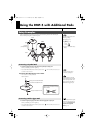
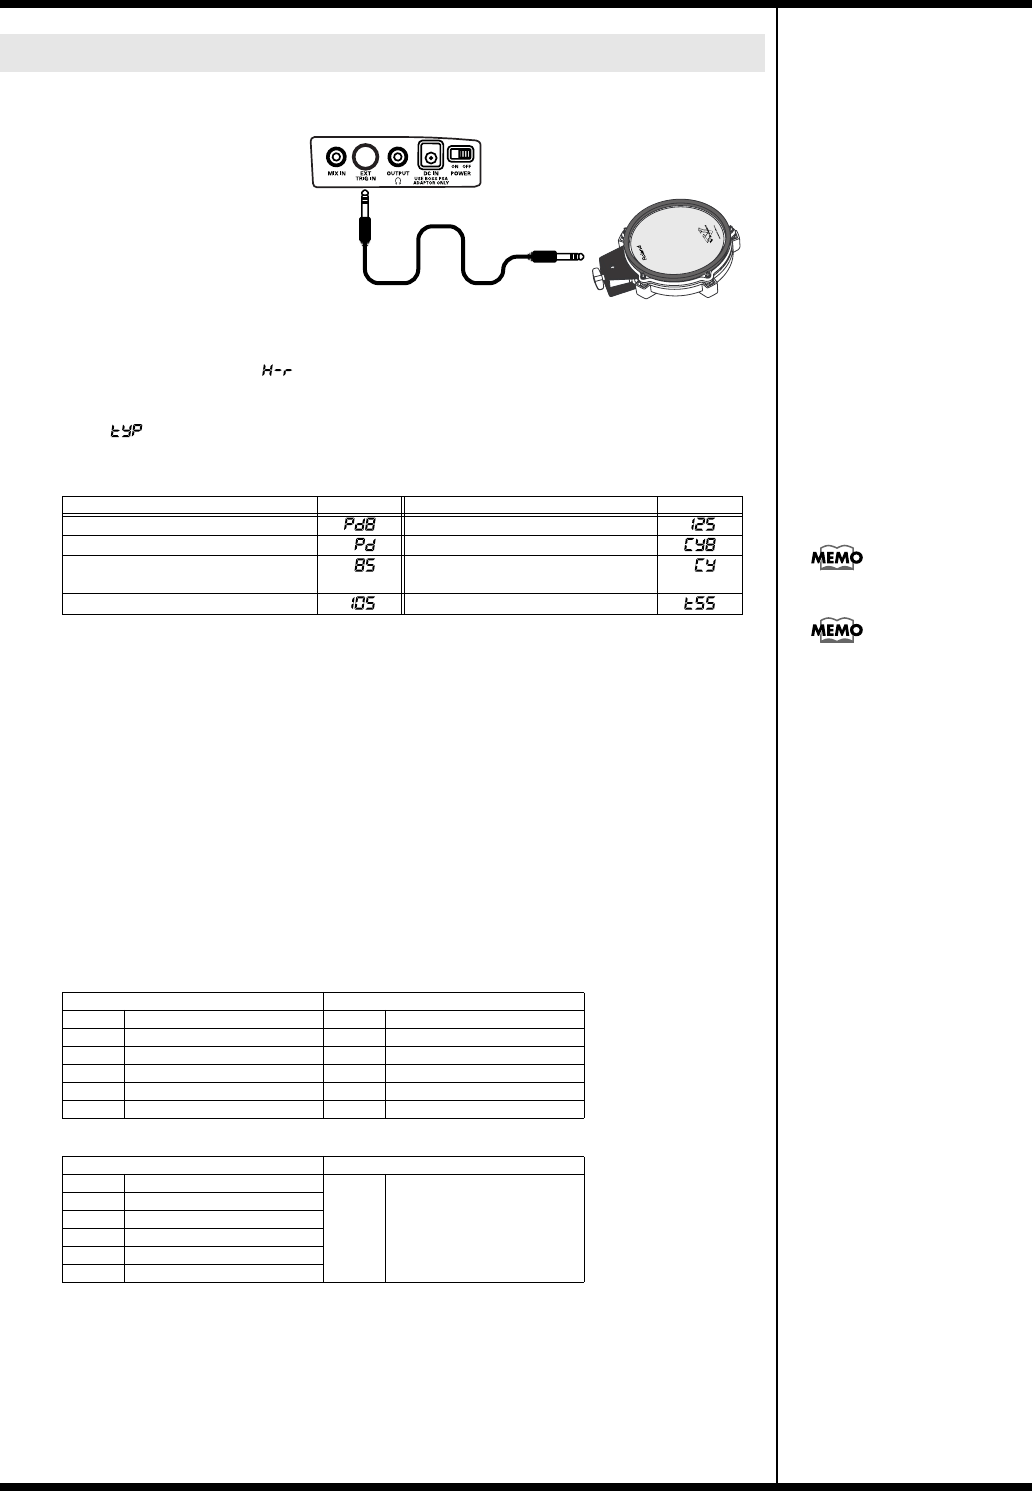
fig.pad1.e
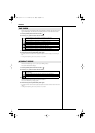
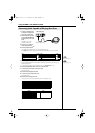
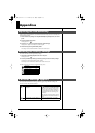
1.
Connect the compatible pad
to the External Trigger In jack
using ONLY a stereo cable.
2.
While simultaneously holding
down the [METRONOME] and
[COACH] buttons, turn on the
power.
The RMP-5 is now in the
parameter setting mode.
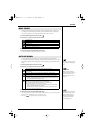
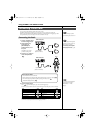
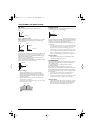
3.
Press the [+] or [-] button to
switch the Input Mode to .
4.
Press the [COACH] button.
Once appears in the display, you can select the Trigger Type.
Press the [+] or [-] button to select one of the following to match the pad you have connected.
5.
If necessary, make fine adjustments to the trigger type parameters.
Press the [METRONOME] or [COACH] button to select the parameter, then press the [+] or [-]
button to set the value.
* For more detailed information about each parameter refer to the
“Parameter List”
(p. 23).
6.
Press the [START/STOP] button to return to the normal screen.
7.
To set the sound for the head, strike the pad head.
The “EXT1” flashes.
8.
Select the sound assigned to the head.
9.
To set the rim sound, strike the pad’s rim.
The “EXT2” flashes.
10.
Select the sound assigned to the rim.
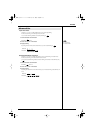
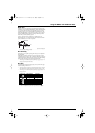
* The following shows some recommended head and rim sound combinations (p. 10).
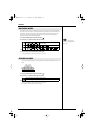
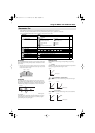
Connecting Pads Capable of Playing Rim Shots
Pad Type Pad Type
PD-8 PD-125, PD-120
PD-9, PD-7 CY-8
PD-85, PD-80R CY-15R, CY-14C, CY-12R/C,
CY-12H, CY-6
PD-105 RT-5S
Head Rim
Sh1 Snare 1 head sound only Sn1 Snare 1 Vintage
Sh2 Snare 2 head sound only Sn2 Snare 2 Brass
Sh3 Snare 3 head sound only Sn3 Snare 3 Bright
Sh4 Snare 4 head sound only Sn4 Snare 4 Funk
Sh5 Snare 5 head sound only Sn5 Snare 5 Piccolo
Sn6 Snare 6 Marching S6r Snare 6 March rim
Head Rim
Sh1 Snare 1 head sound only CrS Snare Cross Stick
Sh2 Snare 2 head sound only
Sh3 Snare 3 head sound only
Sh4 Snare 4 head sound only
Sh5 Snare 5 head sound only
Sn6 Snare 6 Marching
PD-85
RMP-5 Side panel
Optional cable (stereo)
Input Mode (p. 20)
Trigger Type (p. 21)
RMP-5_e.book 22 ページ 2005年8月11日 木曜日 午後2時47分