Setting Up Studio Package Pro
17
Step 6: SONAR Setting
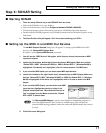
■ Starting SONAR
1. There are many different way to start SONAR. Here are a few:
• Click on the SONAR icon on your desktop.
• Click on the Start button, and choose Programs-Cakewalk-SONAR 2-SONAR 2.
• Click the Start button, point to Documents, and choose a SONAR project from the menu.
• Double-click the SONAR program or any SONAR document from the Windows Explorer or the
Find menu.
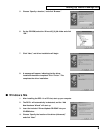
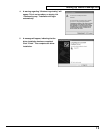
2. The Wave Profiler utility will appear. Click Yes to start checking your RPC-1.
■ Setting Up the MIDI In and MIDI Out Devices
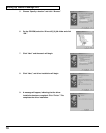
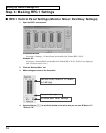
The No MIDI Outputs Selected dialog box will appear. To setting up the MIDI IN and OUT
devices, click Choose MIDI Outputs Now.
If it doesn’t, select Options-MIDI Devices command.
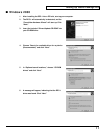
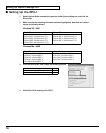
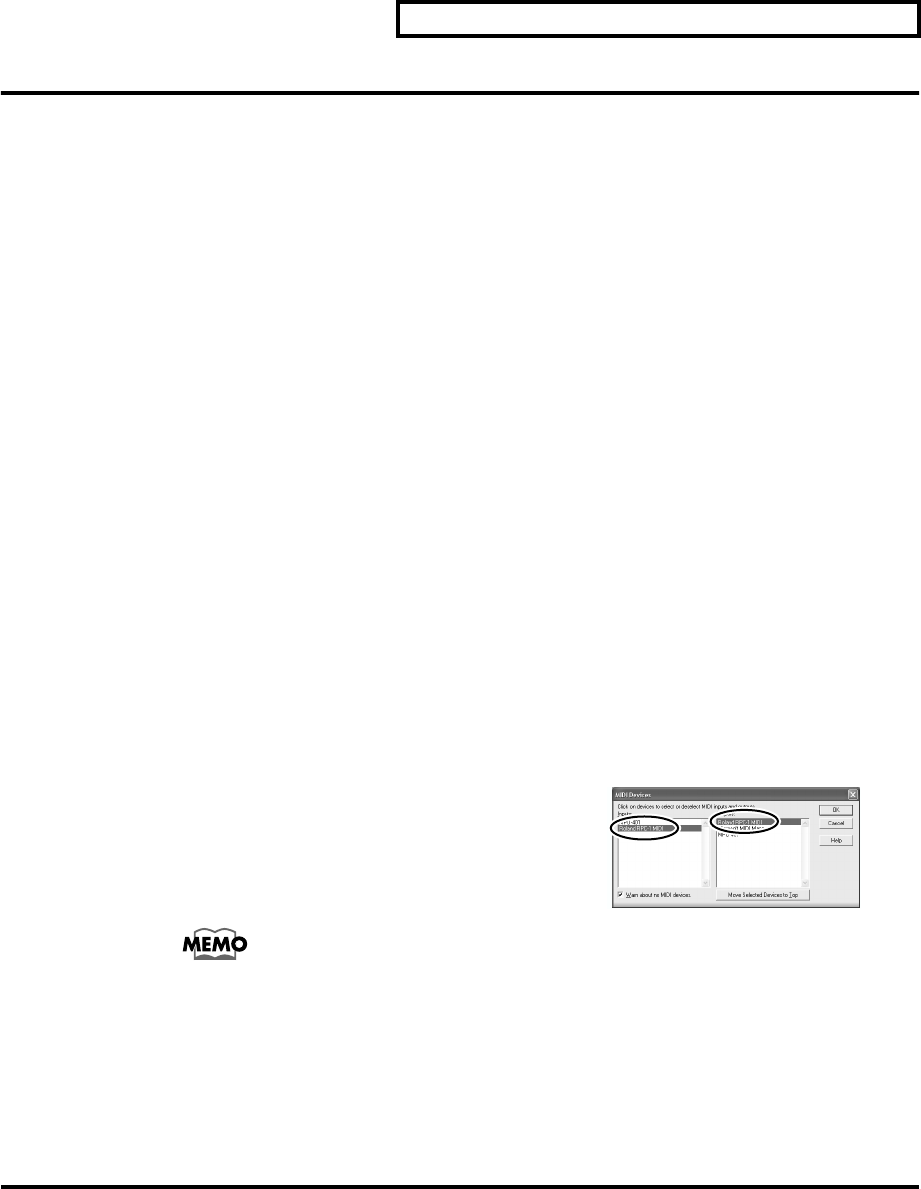
1. You will see the “MIDI Devices” dialog box, which lets you choose instruments on MIDI
inputs and outputs.
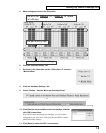
2. Look at the left window. Notice that it shows devices on MIDI Inputs. Make sure that the
“Roland RPC-1 MIDI” (Windows XP/2000) or “MIDI In Roland RPC-1” (Windows Me/98) is
highlighted. If the device isn’t highlighted, click on it once to select it for MIDI Input.
3. If you use other MIDI Inputs, you can select some MIDI input devices.
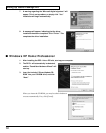
4. Look at the window on the right. Notice that it shows devices on MIDI Outputs. Make sure
that the “Roland RPC-1 MIDI” (Windows XP/2000) or “MIDI Out Roland RPC-1” (Windows
Me/98) is highlighted. If the device isn’t highlighted, click on it once to select it for MIDI
Output.
5. If you use other MIDI Output, you can select some MIDI
input devices. Highlight one device at a time in the
Outputs window and click “Move Selected Devices to
Top” to change its order. Make sure that the “Roland
RPC-1 MIDI” is lowest order.
The Microsoft MIDI Mapper is used by some Windows multimedia programs to
access the MIDI functions. Don’t select it as a MIDI output. This will prevent
potential MIDI looping problems which can confuse the MIDI interface and cause it
to crash.
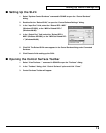
6. Click OK to close dialog box.


