


20
Quick Start
Listening to the Demo Song
1. Use the R-BUS cable to correctly connect the SI-24 to your computer.
(p. 7 “Step 2: Connecting Your Equipment”)
2. Check SI-24 and external audio equipment (Amplifiers/Speakers/Headphones) is properly
connected.
3. Turn on the power of your computer.
4. Turn on the power of the SI-24.
5. Turn on the power of the other audio equipment.
6. Make sure the overlay sheet is put on SI-24. The overlay renames some of the buttons for
special SONAR functionality.
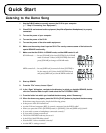
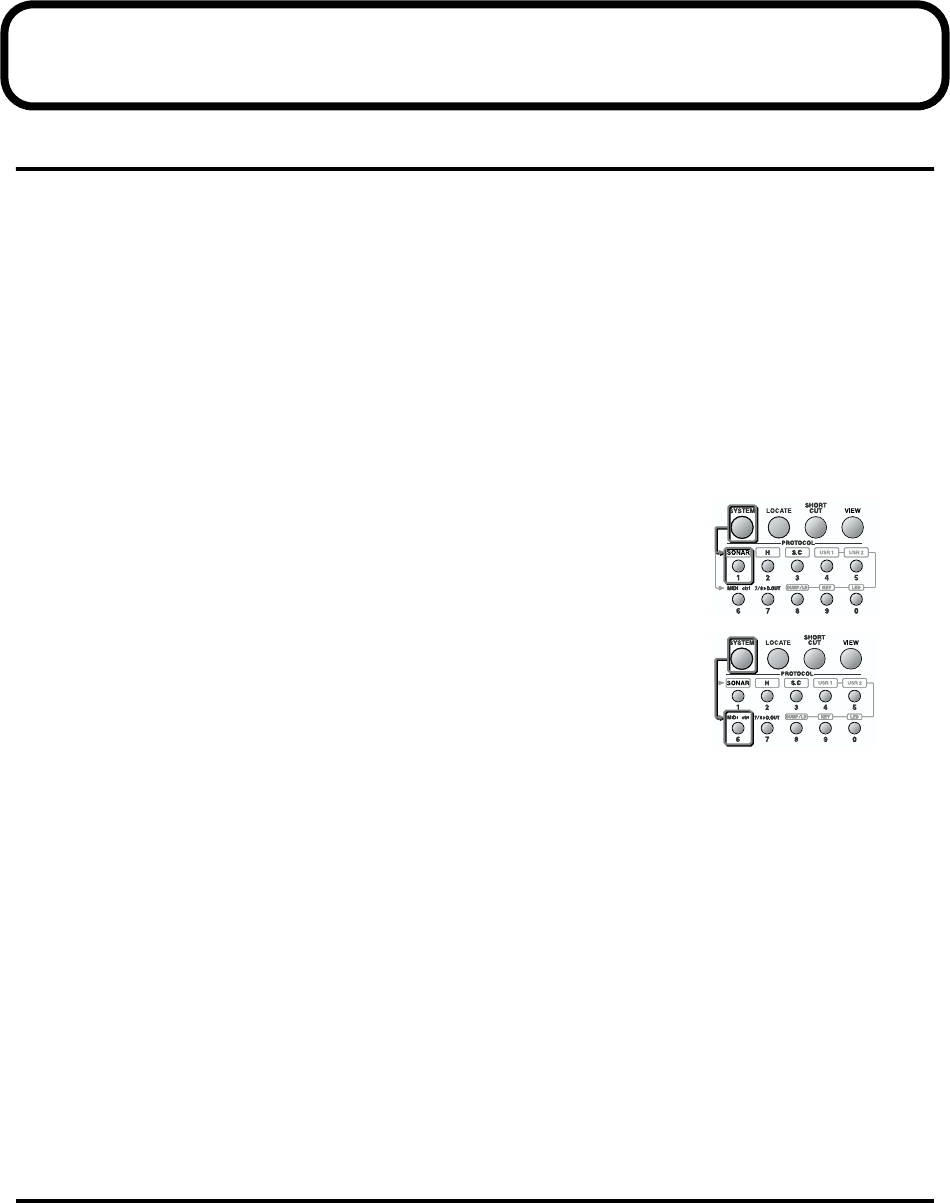
7. Make sure that the SI-24 is in SONAR mode, and that MIDI control is off.
SONAR mode .........In case [SONAR] is lit when [SYSTEM] is lit, SONAR
mode is selected. Unless, hold [SYSTEM] down and
press [SONAR] to change to SONAR mode.
MIDI control off......In case [MIDI ctrl] is turned off when [SYSTEM] is
lit, the status is off. Unless, hold [SYSTEM] down
and press [MIDI ctrl] to turn the MIDI control off.
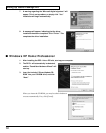
8. Start up SONAR.
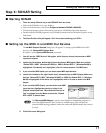
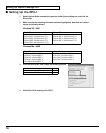
9. From the “File” menu, choose “Open.”
10. In the “Open” dialog box, navigate to the directory in which you installed SONAR, double-
click the Tutorials folder to open it and select the file TUTORIAL5.CWB.
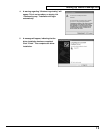
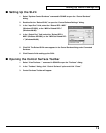
11. From the folder into which you installed the demo song, select “Demosong.”
12. When the demo song opens, press the SI-24’s [PLAY] button to play back the demo song.
If the demo song does not play, check the following points.
• Is the power of the SI-24 turned on?
• Are the SI-24 and computer (RPC-1) correctly connected via the R-BUS cable?
• When you press the SI-24’s [SYSTEM] button, is [SONAR] (1) lit and [MIDI ctrl] (6) dark?
• Is your audio system or headphones connected correctly?
• Is your audio system powered-on?
• The SI-24’s PHONES knob may be set to 0.
• Is the SI-24’s MASTER fader raised?
• Was the RPC-1 driver installed correctly?
• Are the RPC-1 settings correct?