Setting the input channels
Owner’s Manual
35
Patching the input port
1. Press the I/O DEVICE button in the touch screen.
2. Press the DANTE PATCH tab in
the upper part of the I/O
DEVICE screen.
3. Press the DANTE INPUT PATCH
button in the I/O DEVICE
screen.
4. Press the AUTO SETUP button.
5. When a confirmation dialog appears, press the
OK button.
6. Press the X symbol to close the screen.
Patching the mixer output to the I/O
device
1. Press the I/O DEVICE button
and then the Rio tab in the
touch screen.
2. Press the OUTPUT display of the I/O device that
is the output destination.
3. Press the OUTPUT1 button in the
OUTPUT PATCH screen.
4. In PORT SELECT, select the output channels you
want to output to the rack.
5. Press the CLOSE button.
6. In the same way, set OUTPUT 2 and subsequent
outputs, if necessary.
Setting the input channels
Phantom power on/off
1. Press the [SEL] key for the channel that you want
to adjust in the Channel Strip section.
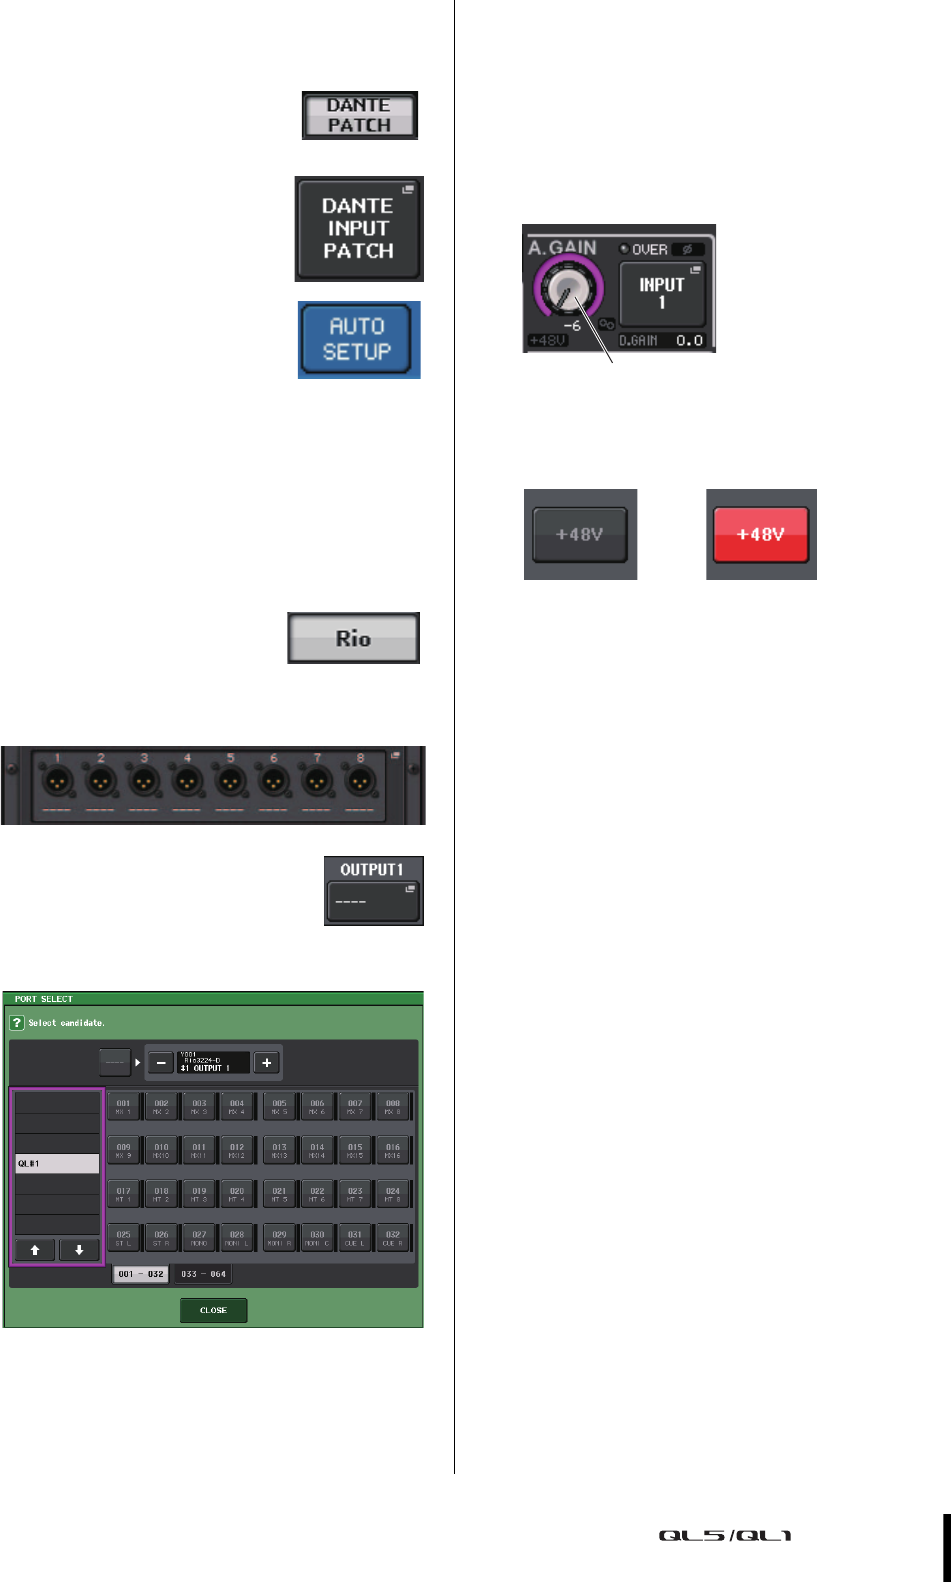
2. Press the GAIN knob in the SELECTED CHANNEL
VIEW screen.
3. For the microphone to be used, press the +48V
button in the GAIN/PATCH popup window, if
necessary.
NOTE
• The phantom power master switch on the I/O device must
be turned on first.
• Make sure that phantom power is turned OFF unless it is
needed.
• When turning phantom power ON, make sure that no
equipment other than phantom-powered devices such
condenser microphones are connected to the
corresponding INPUT connectors. Applying phantom
power to a device that does not require phantom power can
damage the connected device.
• Do not connect or disconnect a device to an INPUT while
phantom power is applied. Doing so can damage the
connected device and/or the unit itself.
• To prevent possible damage to speakers, make sure that
power amplifiers and/or powered speakers are turned OFF
when switching phantom power ON or OFF. We also
recommend setting all digital mixing console output
controls to minimum when turning phantom power ON or
OFF. Sudden high level peaks caused by the switching
operation can damage equipment as well as the hearing of
those present.
Adjusting the analog gain
1.
Press the [SEL] key for the channel that you want
to adjust in the Channel Strip section.
2. Press the [CUE] key of the same channel.
3. While checking the sound level through the
headphones and meters, adjust the channel
[GAIN] knob of the Selected Channel section.
NOTE
Adjust the gain level as high as possible without allowing
the OVER segment of the channel strip level meter to light
at the highest input level.


