


Quick Guide
Owner’s Manual
38
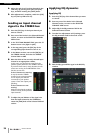
Using Automixer
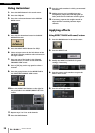
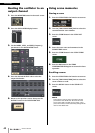
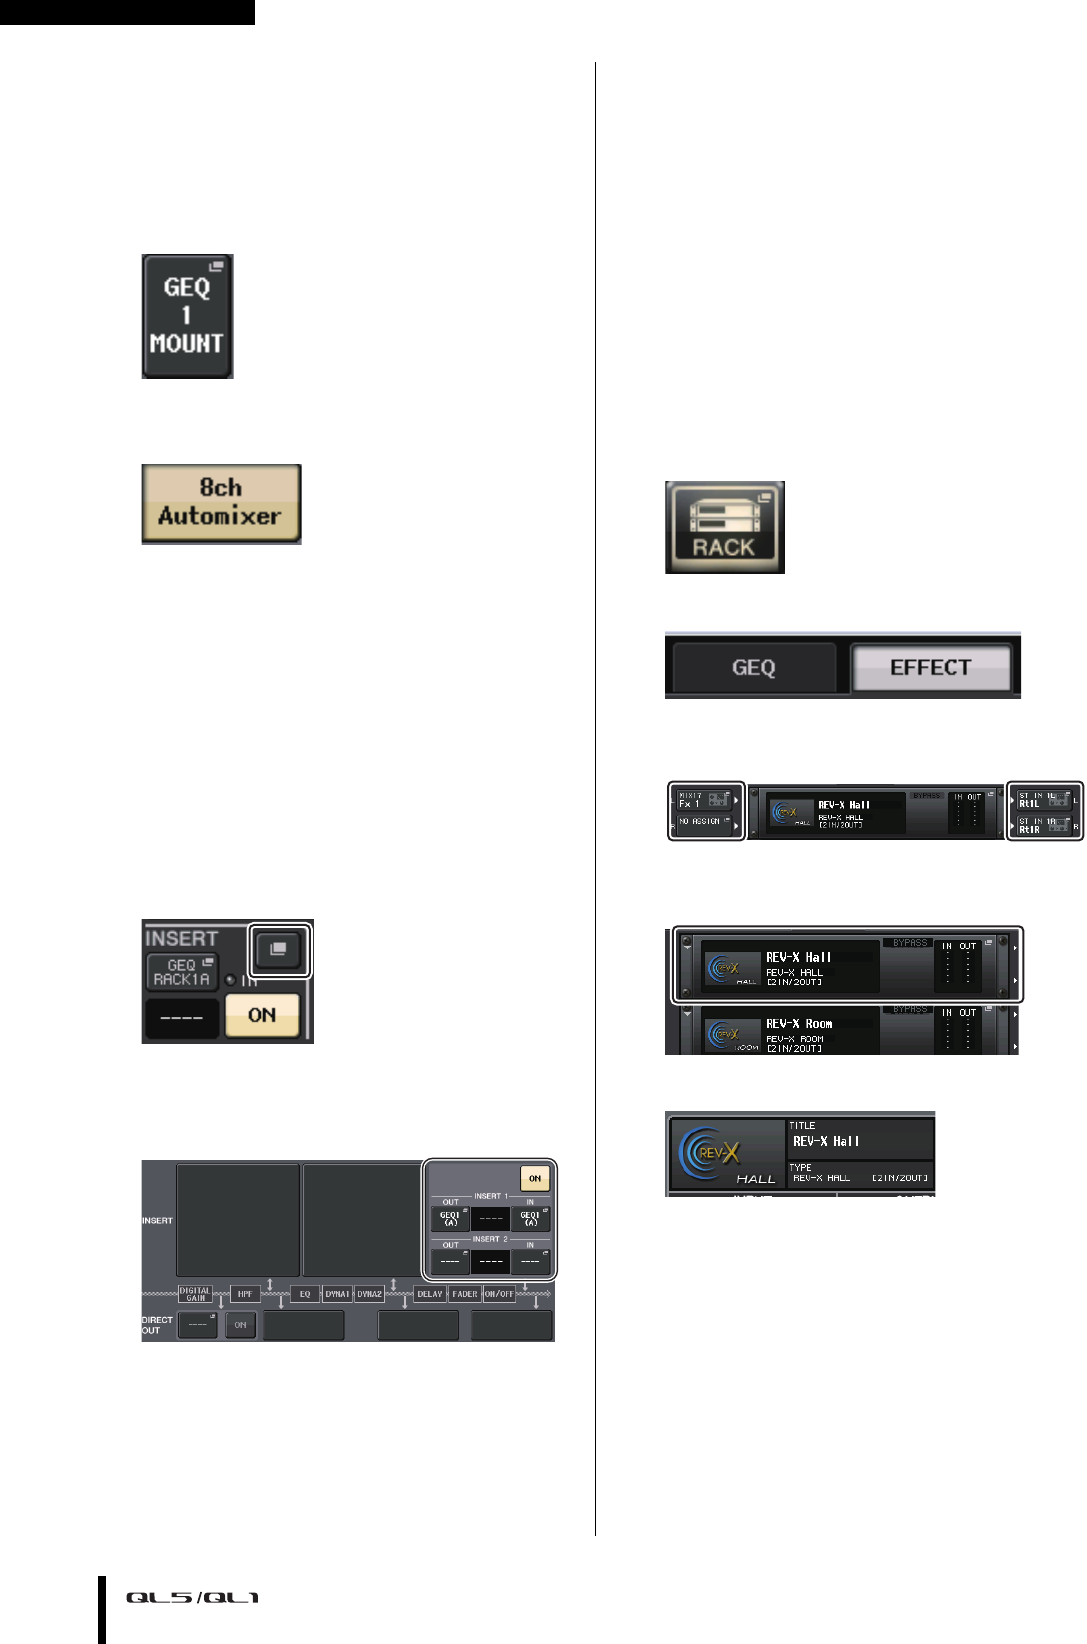
1. Press the RACK button in the touch screen.
2. Press the GEQ tab.
3. Press the rack mount button in the VIRTUAL
RACK screen.
4. Press the 8ch Automixer button in the RACK
MOUNTER screen.
5. Press the INPUT PATCH button for GEQ1.
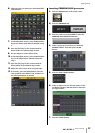
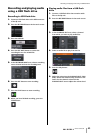
6. Select an input source in the left column of the
CH SELECT window, and then select a channel in
the right column.
7. Press any one of the knobs in the Selected
Channel section, to return to the SELECTED
CHANNEL VIEW screen.
8. Press a [SEL] key on the top panel to select a
channel.
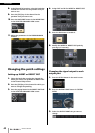
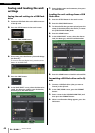
9. Press the popup button in the INSERT field in
the SELECTED CHANNEL VIEW screen.
10.Press the INSERT field farthest to the right for
the post fader in the INSERT/DIRECT OUT 1ch
screen.
11. Repeat steps 5 to 10 to set 8 channels.
12. Press the RACK button.
13. Press the rack container in which you mounted
Automixer.
14. Making sure no one is speaking into any
microphones, adjust the head amp gain (or
fader) until the level indicator remains green.
15. If necessary, operate the weight control to
adjust uniform sensitivity between input
channels.
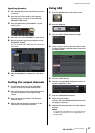
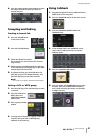
Applying effects
Using EFFECT RACK with send/return
1.
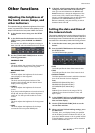
Press the RACK button in the touch screen.
2. Press the EFFECT tab.
3. Modify the INPUT CH/OUTPUT CH patch
settings, if necessary.
4. Press the center rack container to open the
EFFECT EDIT screen.
5. Press the effect type field.