


38
• • • • • • • • • • • • • • • • • • • • • • • • • • • • • • • • • • • • • • • • • • • • • • • • • • • • • • • • • • • • • • • • • • • • • • • • • • • • • • • • • • • • • • • • • • • • • • • • • • • • • • • • • • • • • • • • • • • • • • • • • • • • • • • • • • • •
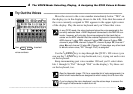
Making Voice-to-Track Assignments —————————————————
4 The VOICE Mode: Selecting, Playing, & Assigning the QY20 Voices & Drums
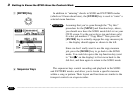
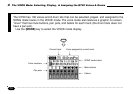
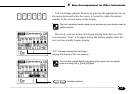
When you record accompaniments (➪ page 52) or complete songs
(➪ page 108) in the SONG mode, you’ll need to specify which voices
are to be played by which tracks. These assignments are made in the
VOICE mode. To assign voices to the sequencer and accompaniment
tracks, simply move the cursor to the voice number of the desired
track, then use the
[
−1/NO
]
and
[
+1/YES
]
keys to select the voice (or
drum kit) for that track.
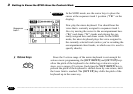
DETAIL
When a different pattern is selected in the SONG mode, the voice assign-
ments for that pattern are automatically recalled, overriding any voice
assignments made in the VOICE mode (the pan and volume settings are
not changed).
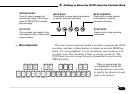
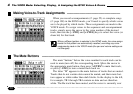
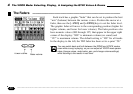
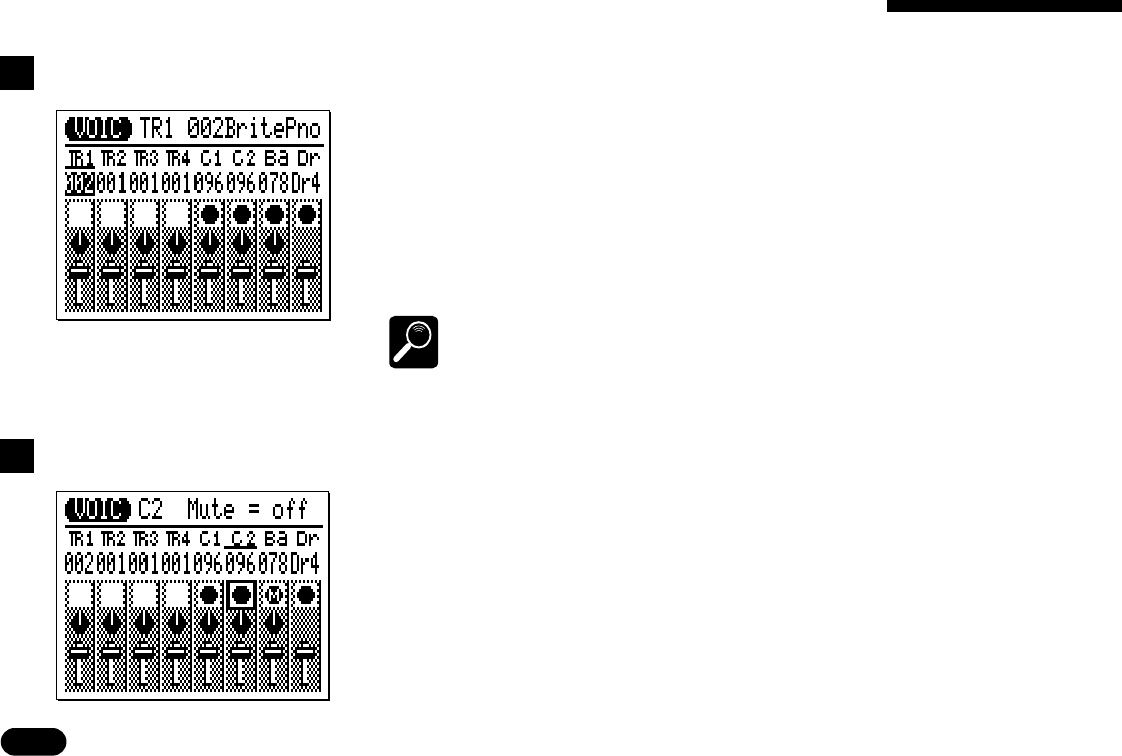
The mute “buttons” below the voice number for each track can be
used to mute (turn off) the corresponding track. Move the cursor to
the appropriate mute button, then press
[
+1/YES
]
to mute that track,
or press
[
−1/NO
]
to turn a muted track back on.
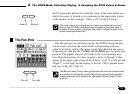
The letter “M” appears in the mute buttons of tracks that are muted.
Tracks that do not contain data cannot be muted, and their mute but-
tons appear as white rather than dark blocks. In the display to the left,
for example, TR1 through TR4 contain no data and are therefore
white. The Ba track has been muted, and the cursor is currently over
The Mute Buttons —————————————————————————