YDP-223 Recording Your Performance
ENGLISH
29
3. Select the record track.
When Record mode is engaged in the previous step, the last-recorded track will
automatically be selected for recording and its indicator — i.e. the [TRACK1] or
[TRACK2] button indicator — will glow red. If you want to record on a different
track, press the appropriate track button so that its indicator glows red.
4. Start recording.
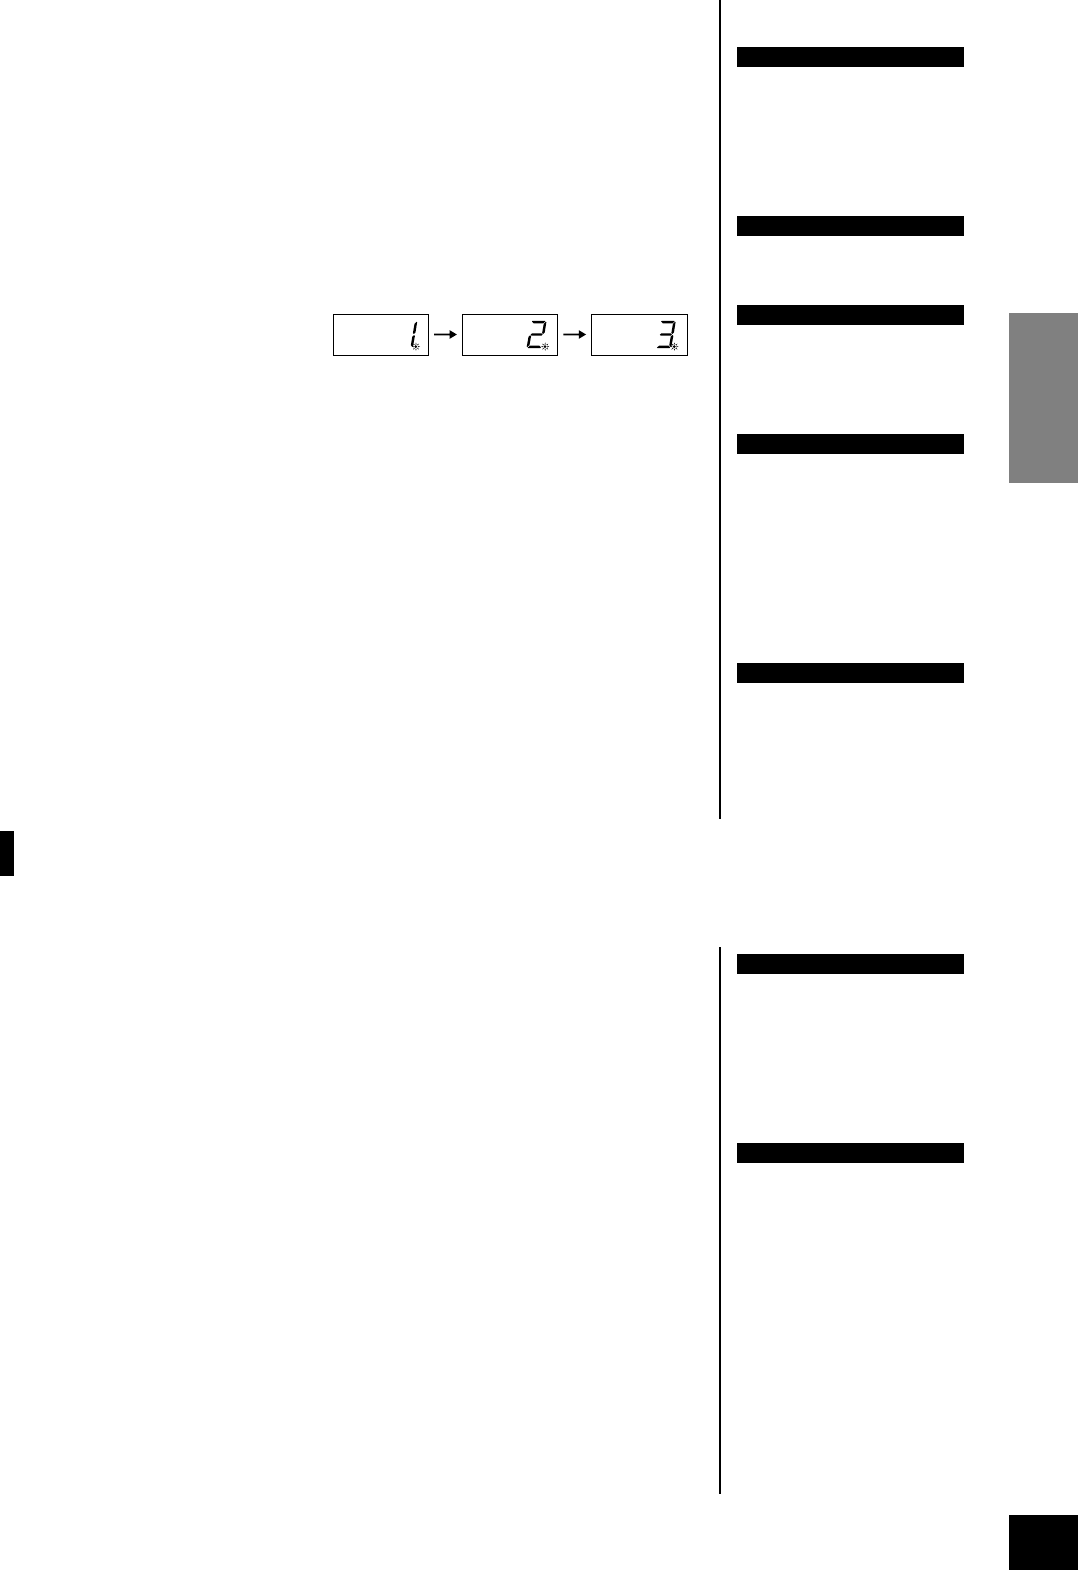
Recording will begin automatically as soon as you play a note on the keyboard
or press the SONG [START/STOP] button. The current measure number will
appear on the display while recording.
5. Stop recording.
Press either the [REC] or SONG [START/STOP] button to stop recording.
The indicator of the recorded track will glow green to indicate that it now con-
tains data. (Record mode is disengaged automatically.)
6. Play back the recorded performance.
Press the SONG[START/STOP] button to play back the recorded performance.
To stop playback in the middle of a song, press the SONG[START/STOP] but-
ton.
Re-recording TRACK1
This section explains how to record again in case your performance was not satisfactory.
1. Select a voice or voices (and other settings) for recording, if necessary.
Repeat Step 1 on page 28 if you wish to change the previous settings.
2. Re-engage Record Ready mode.
Press the [REC] button, again.
The selected track’s indicator flashes in red.
Follow the procedure from Step 4 on this page to re-record.
TIP
If the metronome was on when
you started recording, you’ll be
able to keep time with the met-
ronome while recording, but the
metronome sound will not be
recorded.
TIP
For more recording information,
see page 30.
TIP
The left pedal can be assigned
to start and stop recording via
the “Left Pedal Mode” function
described on page 40.
NOTE
The record track indicator will
begin to flash when the recorder
memory is almost full. If the
memory becomes full during
recording, “FUL” will appear on
the display and recording will
stop automatically. (All recorded
data up to that point will be
retained.)
NOTE
Pressing the SONG [START/
STOP] button to start recording,
then pressing it again to stop
recording will erase all previ-
ously-recorded data on the
selected track.
TIP
If you want to change the
tempo, time signature, reverb
type, or effect type when re-
recording a track or when
recording to another track, do
so after you engage Record
Ready mode (step 2).
NOTE
You cannot re-record in the mid-
dle of a song.
