Page
Enable/Disable the audio status window. This window displays information about the
current audio status. Refer to page 32 for details.
Open the Engineering menu – which is described in full starting on page 12.
Open the cage generator dialogue box. For a full description of this, please refer to page
27 in this manual.
This icon selects the colourspace for the waveforms. Click, and select from the drop
down menu. The options are YCbCr (in individual windows), YCbCr Parade, RGB (in
individual windows) and RGB parade.
Note also that the data shown in the dataview window will always be the numbers found
on the serial input, which may be in YCbCr, or in RGB, regardless of the state of this
control.
This icon lets you select the mode of the trace windows. These can either show a single
line, an entire field, or an entire frame, and this choice is made by clicking the icon, and
selecting from the menu. In frame view, the trace windows show every line of the frame,
split into the two fields (if interlaced). As the parade view provides a very small window,
the frame view is not available. Frame view can only be activated in the individual
component view. See the above icon for details of changing between these different
views.
This icon magnifies the data being shown in the trace windows, and the vector-scope. It
magnifies horizontally by a factor of 6, and moves the current sample position to the
centre of the trace. As well as the horizontal magnification, there are separate options for
vertical gain, of *2, *5 and *10. The vector-scope data source also changes to show
values based on the magnified trace view. If vertical gain is selected, scroll bars will
appear at the right hand edge of the waveform window(s). Note that if the right hand edge
of the window was previously adjacent to the edge of the screen, then the scroll bars will
not be visible, and the window will have to be moved to permit access to these.
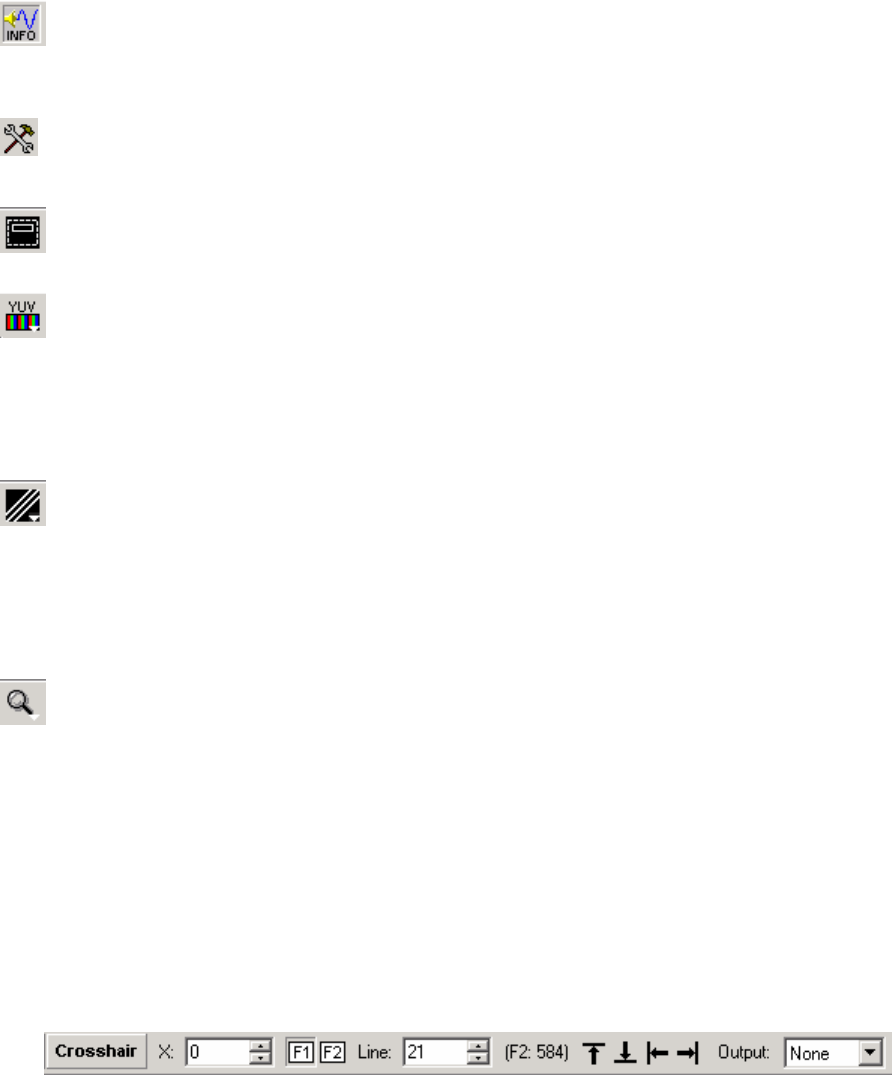
Crosshair Toolbar
Next to these controls, we have the controls for the main cursor position.
These show the sample number and line number that the cursor is positioned over. Using
the mouse, you can click in the mini-pic to position the cursor, and then use these boxes
to make fine adjustments. For interlaced standards, you can switch fields using the ‘1’
and ‘2’ boxes. For progressive standards, these buttons have no meaning, and are
grayed out.
You can also use the sample number box to view horizontal blanking. Select horizontal
magnification, and then increment the sample number such that the sample is outside of
active video. The trace windows will scroll to show that sample position in the blanking
area. This will let you view audio or ancillary data that may be present, if the ‘TRS Pass’
selection is on – see the Analyzer menu.
The 'top' and 'bottom' buttons position the cursor on the top active line, or bottom active
line of the field/frame.
The 'left' and 'right' position the cursor on the first or last active pixel of the current line.


