Page
1. User Guide
Introduction
This user guide assumes that you are familiar with basic Windows techniques, such as
using a mouse, manipulating window sizes and positions, scrolling etc.
From Power-Up
When the operating system has finished booting, and if prompted by the system, please
log in. The default software installation places a shortcut to the OmniTek software on the
desktop. The software will have been installed into ‘c:\program files\ omnitek\ omnitek’.
Consult the software installation guide as required.
Quick Start Guide
This section provides a basic guide to setting up the OmniTek application to use
OmniView. The first thing to do is to set the video standard you will be working in.
By default, the choice of windows that was previously used will open. If these are not
suitable, you can change which windows are open, and their positions.
You can also open a standard configuration, by selecting ‘Open System Configuration’
from the ‘Configuration’ menu.
Video Setup
From the Configuration menu, select Engineering, then select the Video section, and
choose the ‘General’ page. Select your required video standard from the dialogue, and
click ‘Apply Standard’, then ‘OK. For further details of video setup, please refer to page 9
of this manual. It is normal to select ‘Serial Lock’ when analyzing a serial input.
Image Choice
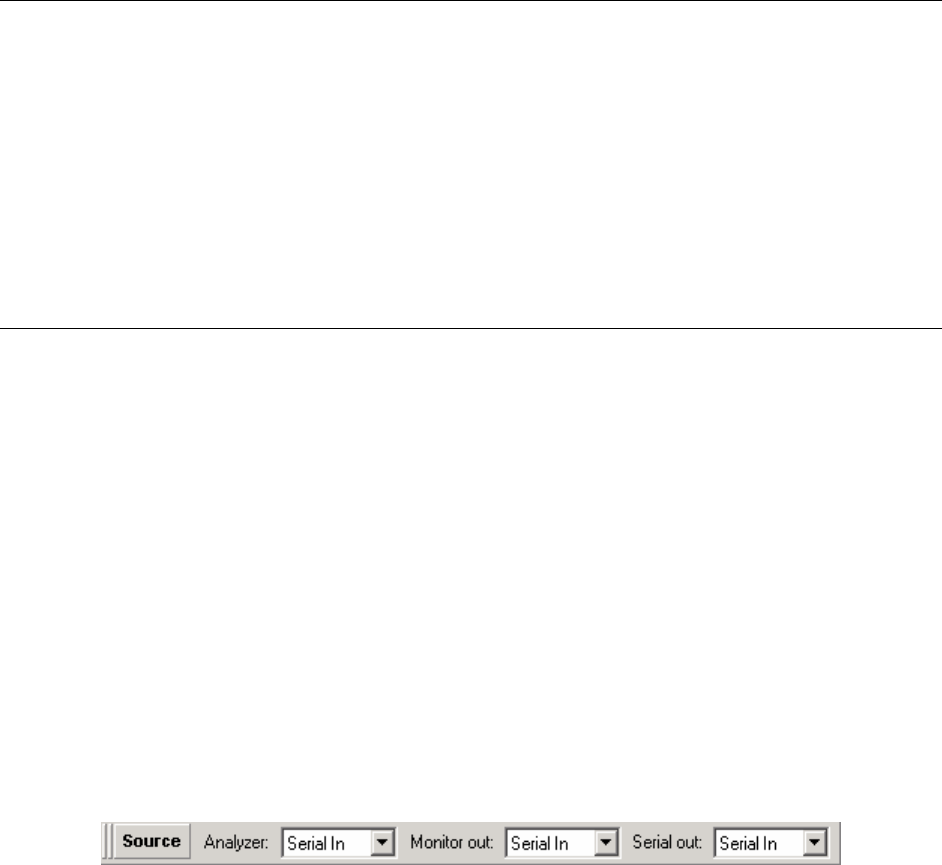
For normal use, you should set the analyser source to be the serial input. If you also
have OmniGen, or the optional Motion and capture package, then you also have the
option to set this to ‘Generator’, which is the setting to view data that has previously been
captured. If you only have OmniView, this toolbar is not present, and the correct settings
are automatically selected.
Now that the chosen source is active, and the windows are present, you can use your
OmniView system. Complete details on OmniView operations are contained in the next
section.
