249
Chapter 21
Chapter 21 System and Global Settings
System Settings for Each Song
These are overall system settings that can be saved with each
song. These settings are lost if the power is turned off
without the song being saved, or if the system settings are
reset to their original conditions.
Fader Match
During Automix playback, or when you use
[FADER/MUTE]
to reassign the physical faders from track channels to input
channels, there will be times when the physical fader
positions may not correspond to their actual stored volume
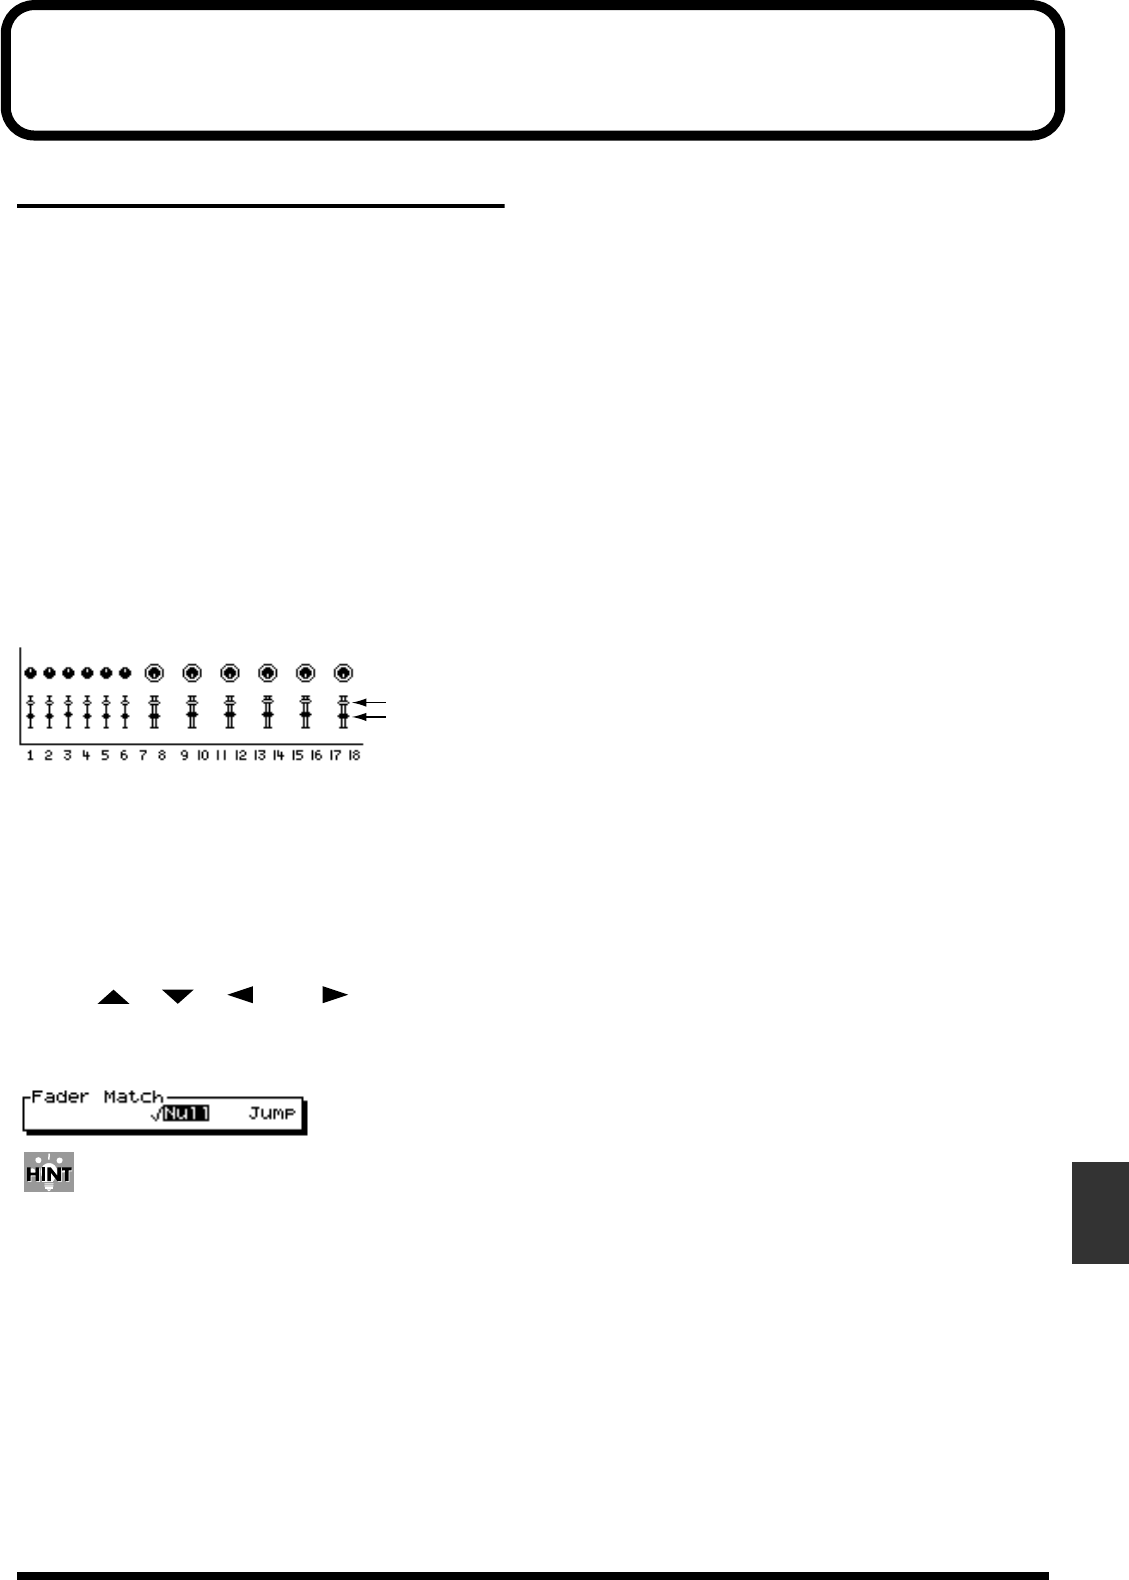
settings. In such instances, the position of each fader is
represented by a black dot, and the actual level that is set is
represented by a white circle. Use the following procedure to
adjust the Fader Match settings:
fig.12-15
1. Hold [SHIFT] and press [F5 (SYSTEM)].
The System Menu icon is displayed.
If the System Menu icon does not appear, press [F6 (EXIT)].
2. Press [F1 (SYSPM)].
If “SYSPM” does not appear above [F1], first press [PAGE]
until “SYSPM” appears, and then press [F1 (SYSPM)].
3. Use [ ], [ ], [ ], and [ ] to move the
cursor to “Fader Match.”
If “Fader Match” is not displayed, press [F1 (Prm1)].
The left/right [CURSOR] buttons can also be used to access
any additional parameters that are not displayed.
4. Use the TIME/VALUE dial to change the setting for
Fader Match.
Jump:
The actual stored fader value will change the instant the
physical fader is moved. The stored value will instantly
update to match the physical fader position. (This is the
default setting.)
Null:
The stored fader value will change only after the
physical fader matches the position of the stored value.
The physical fader must be moved to the stored fader
position before the value will change.
5. When you are done setting Fader Match, press [PLAY
(DISPLAY)] to return to the Playlist display.
Actual volume level
Each fader position


