30 Pelco Manual C586M (9/99)
CAMERA SETUP (Number and CAM Keys)
To program a camera input:
1. Press the MAIN MONITOR key.
2. Select the camera.
Addressing by Multiplexer (Switch 7 OFF)
a. On the number keypad, enter the address number of the multiplexer (1-16 if the
keyboard is connected to a multiplexer; 1-8 if the keyboard is connected to a
server), then press the UNIT key.
b. On the number keypad, enter the number of the camera, then press and hold the
CAM key until the Camera menu appears.
Addressing Consecutively (Switch 7 ON)
On the number keypad, enter the number of the camera, then press and hold the CAM
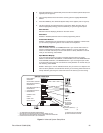
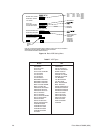
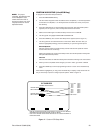
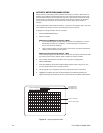
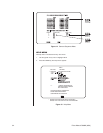
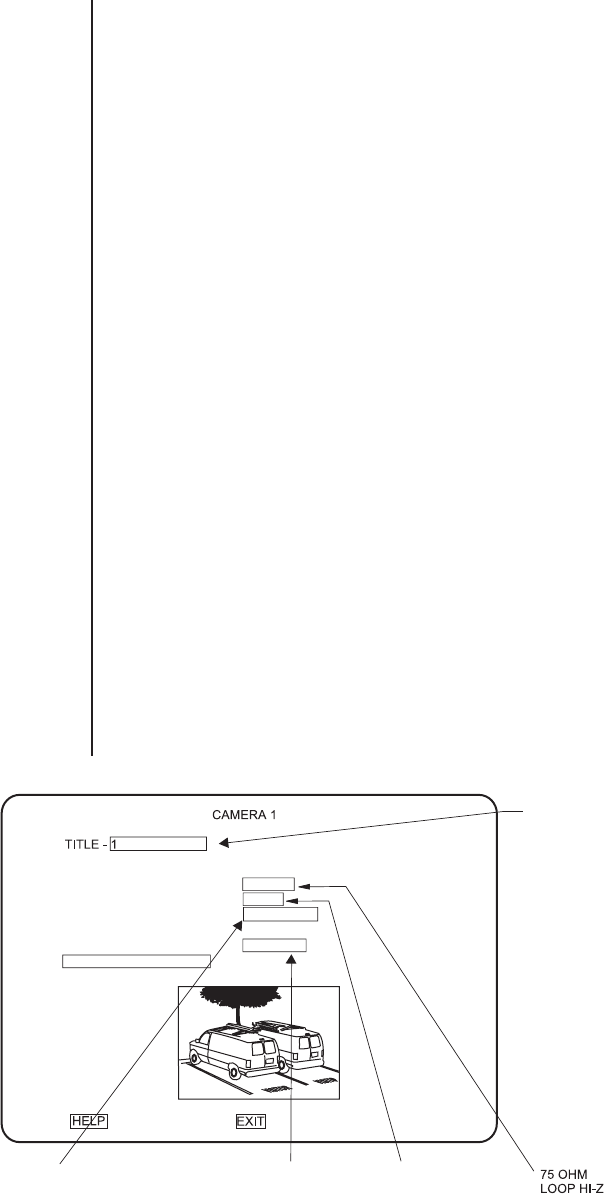
key until the Camera menu appears (refer to Figure 12). Refer to Table D for camera
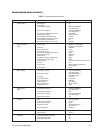
numbers.
3. A video insert appears that shows what the camera is viewing. This is useful to make
sure you have selected the correct camera and to see what effect there is on the video
when you select a menu option. The currently selected menu item blinks.
4. Use the joystick to move between items on the screen. When the menu item you
desire is highlighted (blinking), press the OPEN key to cycle through the options to
select the one you want. Move the joystick to the right to advance to the next
character position when titling a camera.
Video Termination
Set to 75 OHM when equipment is connected only to the video IN connector.
Set to LOOP HI-Z when equipment is also connected to the video OUT (looping)
connector. Equipment connected to the looping connector must be terminated at
75 ohms.
Alarm Input
Normally closed operation = current flow = alarm switch or relay closed.
Normally open operation = no current flow = alarm switch or relay open.
Figure 12. Basic Camera Menu
OPEN
CLOSED
DISABLED
VIDEO INPUT TERMINATION 75 OHM
ALARM INPUT NORMALLY OPEN
COAXITRON FORMAT EXTENDED
ACTIVITY DETECTION ENABLED
SET DETECTION MASK
ENABLED
DISABLED
* ONLY NINE CHARACTERS APPEAR WHEN IN THE 16-CAMERA DISPLAY.
(1) SIMPLEX DEFAULT SETTING
(2) DUPLEX DEFAULT SETTING
EXTENDED (1)
OFF (2)
STANDARD
ENTER UP TO 12* NUMBERS,
LETTERS OR SYMBOLS


