


29
Backing Track Functions
When you record a Song using a Style, the Style data is
recorded in the first measure of the Song. When you play back
this Song, playback will begin from measure indication “2.”
When you re-record the Song, the ANALOG MODIFY settings
other than the MASTER EQ settings (p. 37; Reverb Send,
Chorus Send, Attack, Release, Cutoff and Resonance) cannot
be changed.
1.
Press [SONG] so the button is lit.
2.
Press [PART VIEW] so the button is lit.
The SONG TRACK screen will appear.
As needed, make Song settings as described in step 7 of
“Recording a specified Part (SONG TRACK).”
3.
Press [SONG REC].
[SONG REC] will blink.
The Song Rec Standby screen will appear.
4.
Use the cursor buttons to select a parameter, and turn the
VALUE dial to set the value.
If you assign the pedal to “PUNCH IN/OUT” in “Pedal
Assign” (p. 46), you’ll be able to specify the record-start and
record-end locations by pressing the pedal. In this case, turn
the above “Punch Sw” to the “OFF” setting.
5.
Press [ ] to start recording.
6.
Perform.
7.
Press [ ] to stop recording.
Here’s how you can save a Song from the temporary Song
memory to a user Song memory.
1.
Press [WRITE].
2.
Use [ ] [ ] to select “Song,” and then press [ENTER].
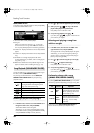
Input a name for your user Song
3.
Use [ ] [ ] to move the cursor, and turn the VALUE
dial to change each character.
Enter a Song name of up to 16 characters.
The following characters are available.
A–Z 0–9 ! # $ % & ‘ ( ) - @ ^ _ ` { }
4.
Press [ENTER].
A confirmation window will appear.
5.
Press [ENTER] to save the Song.
If you press [EXIT], you’re returned to the previous screen
without the Song being saved.
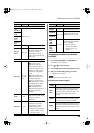
Parameter
Value
Explanation
Rec
Mode
REPLACE
New material is recorded as
previously recorded material is
erased.
MIX
New notes are recorded on top
of notes previously recorded.
Count
In
OFF
No count-in. Recording starts as
soon as you press [ ].
1MEAS
Recording starts after a 1-bar
count-in.
2MEAS
Recording starts after a 2-bar
count-in.
WAIT NOTE
Recording starts as soon as you
play a note on the keyboard.
(There will be no count-in.)
Input
Quan-
tize
OFF, 1/4,
1/8, 1/8T,
1/16, 1/16T,
1/32, 1/32T,
1/64
Quantize corrects the timing of
your notes by shifting them to the
nearest grid mark. This specifies
the number of steps per measure
(i.e., the resolution).
Punch
Sw
OFF, ON
If this is turned “ON,” recording
will occur from the “Punch In”
measure to the “Punch Out”
measure that you specify below.
When the song playback reaches
the measure you specified for
“Punch In,” recording will begin
automatically
, and recording will
stop at the “Punch Out” measure.
Punch
In
0001–
Measure at which recording
will begin
Punch
Out
0002–
Measure at which recording
will end
Saving a Song ([WRITE])
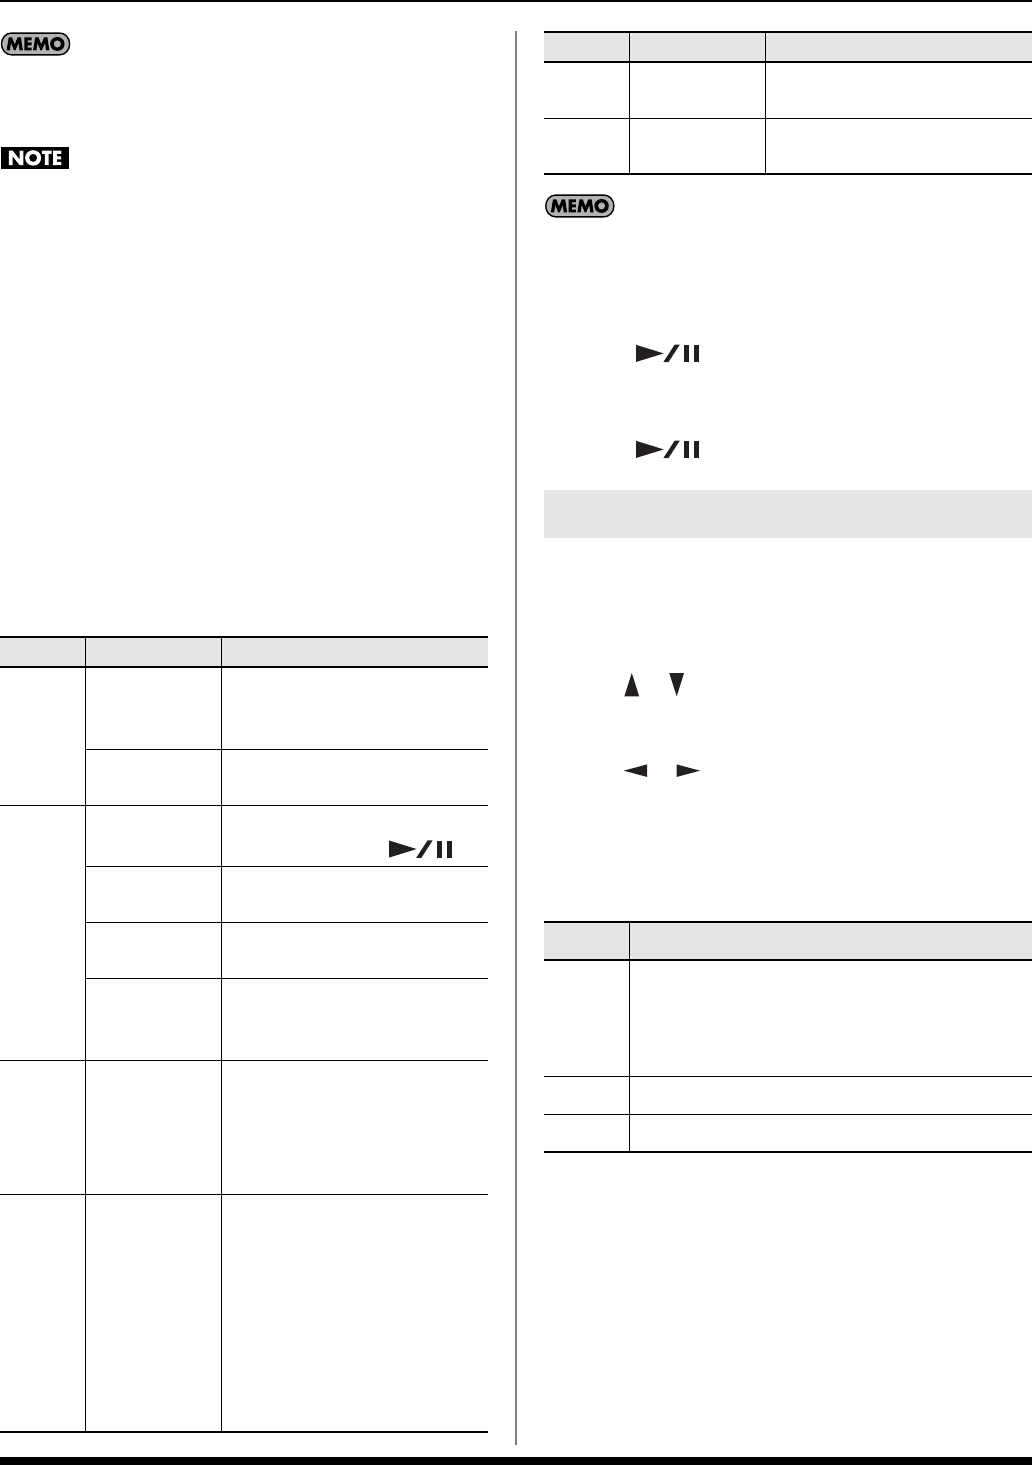
Button Explanation
[0]
Selects the type of character. Each time you press
this, you will alternately select the first character
of a character set: uppercase (A), or numerals
and symbols (0).
[1]
Deletes the character at the cursor location.
[2]
Inserts a space at the cursor location.
Parameter
Value
Explanation
GW-8_e.book 29 ページ 2008年4月1日 火曜日 午前11時44分