


9
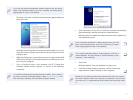
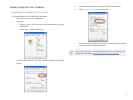
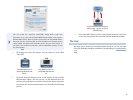
Highlight the Complete installation to install all of the SonicCell 5
applications, and then click Next.
If you’d like to install only particular SonicCell applications, click
Custom to highlight it, and then click Next. Checkmark the items you
want to install, and then click Next.
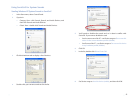
Again, unless you have a reason to select a new location for the 6
installed SonicCell files, leave the installer set to the default location,
and click Next. (To select another location, click Browse...)
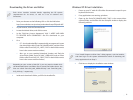
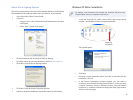
The installer displays your installation selections and tells you it’s now
7
ready to install the SonicCell Editor. Click Next to proceed—the files
are installed.
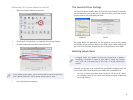
When the installer tells you it’s finished, click Finish to close the
8
installer.
If you ever decide to remove the SonicCell Editor from your computer’s
hard drive, simply run the same Setup file you ran back in Step1. If
the installer sees the Editor is already installed, it presumes you now
want to remove it. You can hold onto your Editor installer folder, or
re-download it later on should you decide you need it.
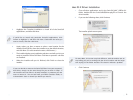
Mac OS X Driver Installation
Close all other applications, and In the SonicCell_MAC_USBDrv101 1
folder, double-click the SonicCellUSBDriver.pkg file to launch the
driver installer.
If you see the following sheet, click Continue.
2
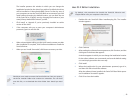
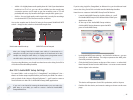
The installer splash screen opens:
On some Macs, this screen may look different, with the smaller text on
top telling you you’re working with the driver installer and the larger
text saying it’s the Editor installer. This doesn’t indicate a problem.
Click Continue.3