


TASCAM DR-680
25
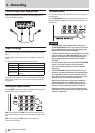
4 – Recording
Setting the sampling frequency
You can set the sampling frequency and record BWF and
WAV files at 44.1, 48, 96 or 192 kHz.
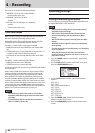
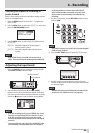
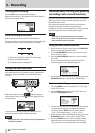
1. Press the MENU button to open the
REC
page of the
MENU
screen.
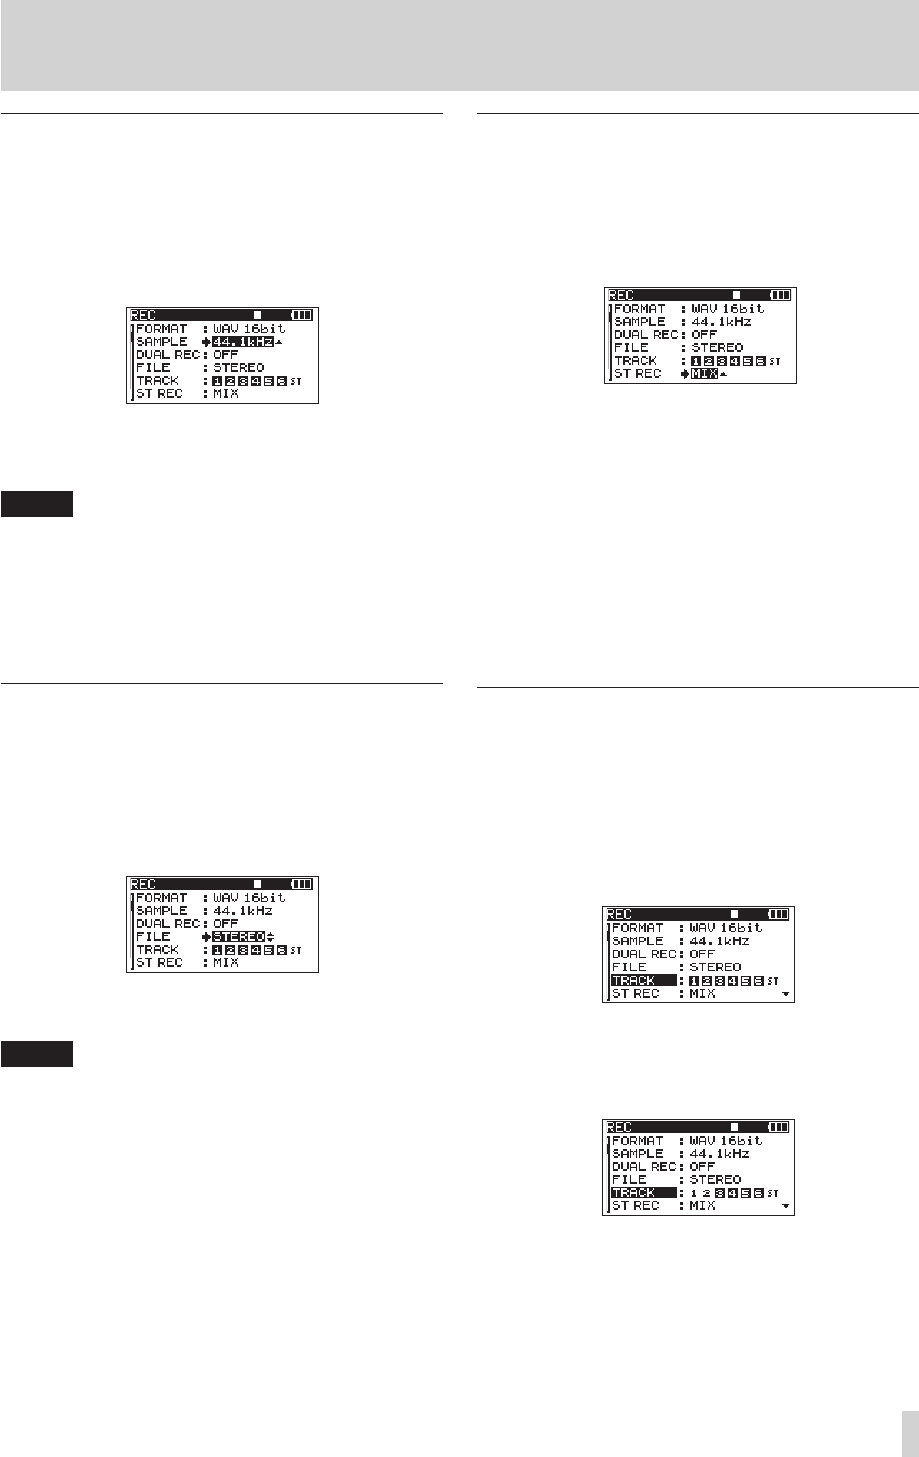
2. Use the DATA wheel to select the
SAMPLE
item, and
press the ENTER/MARK button.
3. Use the DATA wheel to select one of the following
options:
44.1kHz
(default value),
48kHz
,
96kHz
, or
192kHz
.
NOTE
When the file format is MP3, 96 kHz and 192 kHz
cannot be selected.
4. Press the MARK (.) button to return to item
selection on the
MENU
screen.
5. Press the HOME/DISP button to return to the Home
Screen.
Setting the file recording mode
The file recording mode can be set to a monaural file, a
stereo file or a 6-channel file.
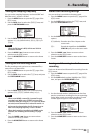
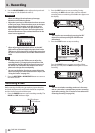
1. Press the MENU button to open the
REC
page of the
MENU
screen.
2. Use the DATA wheel to select the
FILE
item, and press
the ENTER/MARK button.
3. Use the DATA wheel to select one of the following
options:
MONO
,
STEREO
(default value), or
6ch
.
NOTE
•
When set to MONO, a mono file is created for each
recorded track. When set to STEREO, a stereo file is
created for each pair of tracks (1-2, 3-4 and 5-6). When
set to 6ch, one 6-channel file is created for tracks 1-6.
•
6ch cannot be selected when the file format is set to
MP3 or the sampling frequency is set to 192 kHz.
•
When dual recording is enabled, only MONO can be
selected. (See “Enabling dual recording” on page
31.)
•
Press the MARK (.) button to return to item
selection on the
MENU
screen.
4. Press the HOME/DISP button to return to the Home
Screen.
Stereo track recording settings
You can set what is recorded on the stereo track.
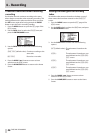
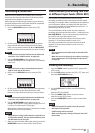
1. Press the MENU button to open the
REC
page of the
MENU
screen.
2. Use the DATA wheel to select the
ST
REC
item, and
press the ENTER/MARK button.
3. Use the DATA wheel to select one of the following
options.
MIX
(default): Record a mix of the 6 inputs on the
stereo track.
DIN
: Record the signal from the DIGITAL/
SYNC IN input jack on the stereo track.
4. Press the MARK (.) button to return to item
selection on the
MENU
screen.
5. Press the HOME/DISP button to return to the Home
Screen.
Arming and disarming tracks for
recording
Tracks can be armed and disarmed for recording from the
MENU
screen.
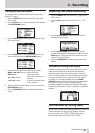
1. Press the MENU button to open the
REC
page of the
MENU
screen.
2. Use the DATA wheel to select (highlight) the
TRACK
item, and press the ENTER/MARK button.
3. Use the channel number (1–6) buttons on the front
panel to arm/disarm recording for the corresponding
tracks. When a track is armed for recording, its track
number appears light on a dark background.
4. Press the MARK (.) button to return to item
selection on the
MENU
screen.
5. Press the HOME/DISP button to return to the Home
Screen.