18
Playing and Using Your CBX-K2
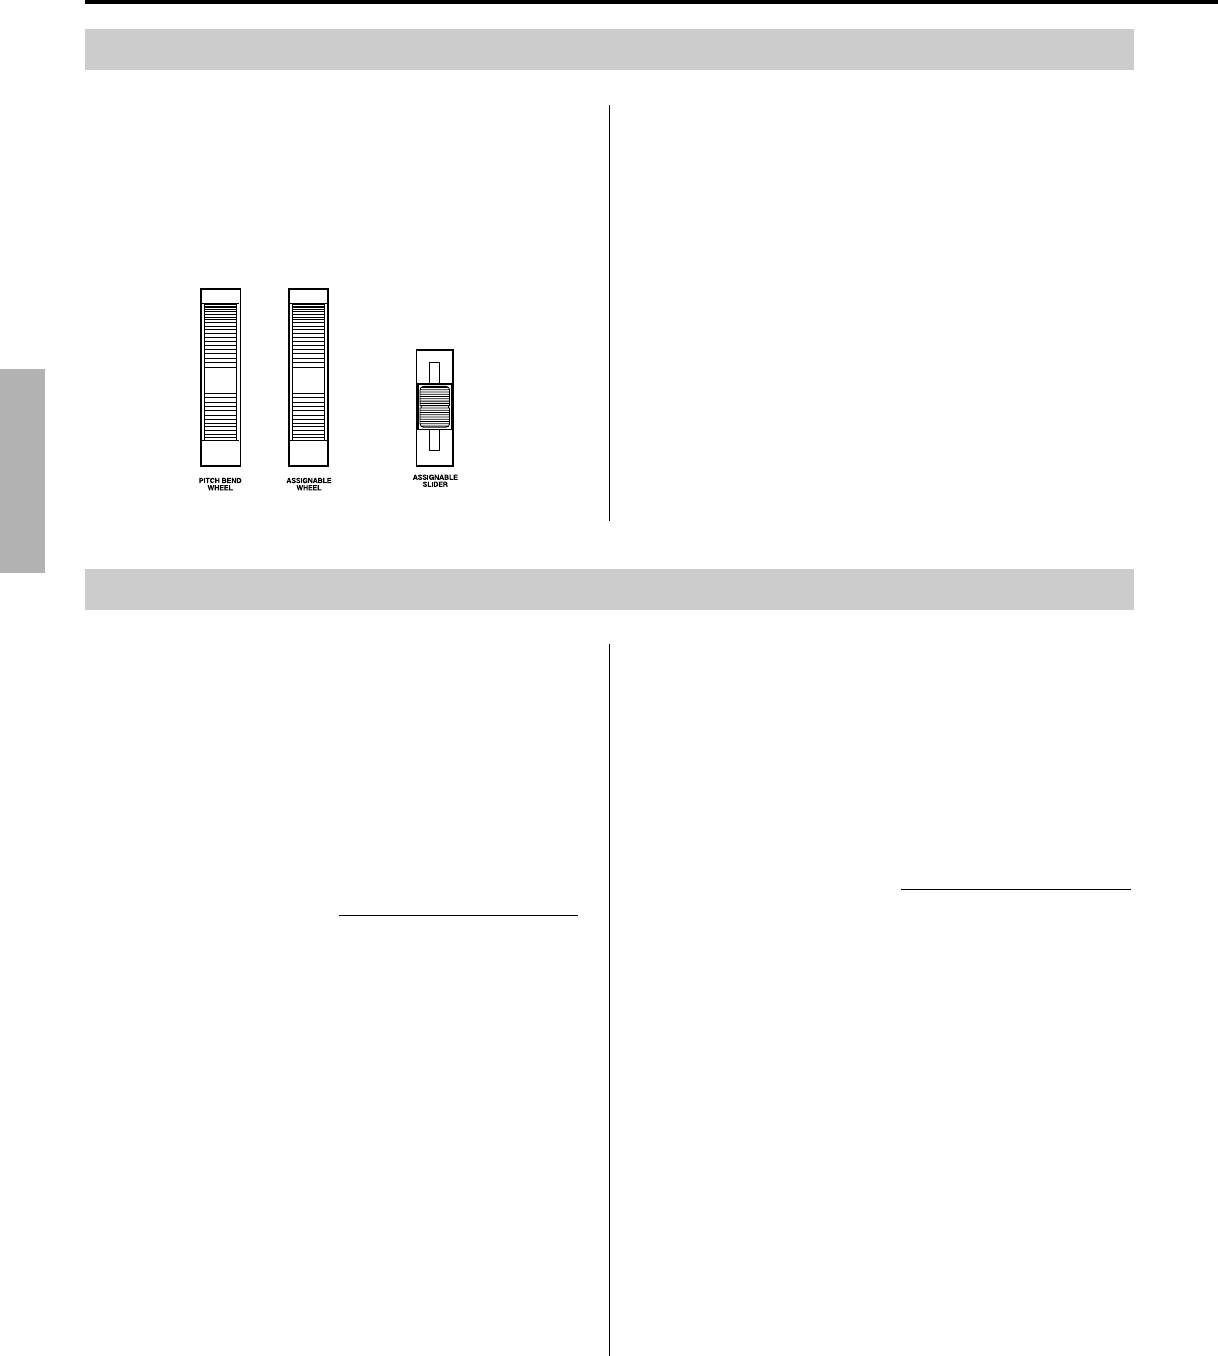
These two wheels and slider let you control different
aspects of the sound in realtime as you play. These con-
trols affect the connected MIDI instrument.
Move the Pitch Bend Wheel as you play to change the pitch
of the sound. Moving the wheel away from you bends the
Using the Pitch Bend Wheel, Assignable Wheel, and Assignable Slider
pitch up. The Pitch Bend Wheel is spring-loaded for
returning to center (normal pitch).
Move the Assignable Wheel as you play to change the
modulation of the sound (MIDI Controller #1). Moving the
wheel away from you increases the modulation. Moving
the Assignable Slider changes the Data Entry value (MIDI
Controller #6). (Notice that the “006” flashes in the
display, indicating data for Controller #6 is being transmit-
ted.) The Assignable Wheel and Assignable Slider can also
be set to control other functions; see the section below for
details.
Depending on the connected device and the selected voice,
there may be no response or change in the sound. Refer to
the owner’s manual of the particular device for details.
As mentioned above, the Assignable Wheel and Slider can
be used to control a variety of different functions. The
default setting for the Wheel is modulation (MIDI Control-
ler #1), and the default for the Slider is data entry (MIDI
Controller #6). However, either can be set to control
volume, pan position, attack or release time, coarse tuning
or fine tuning, and reverb or chorus depth, among other
Controllers. (For a complete list of the available Control-
lers and their numbers, see on page 30.)
Assignable Wheel / Operation
1.
Simultaneously hold down C and press
S in the fi section.
The LED display indicates the current Assignable
Wheel’s Controller number.
2.
While continuing to hold down C, enter the
number 10 (press 1, then 0), then press
K.
This sets the Assignable Wheel to Controller number 10
(Pan). Play the keyboard and move the Assignable Wheel
as you play, and hear how the sound moves left and right in
the stereo image as you move the Wheel. As you move the
Wheel, the currently assigned Controller number appears in
the LED display. The Assignable Wheel is particularly
Re-assigning the Assignable Wheel and Slider
suited to control numbers such as #10 (Pan) and #73
(Attack Time) because of its center detent.
Try entering other Controller numbers, repeating steps 1
and 2 above. (A short list of Controllers is printed on the
panel. Try entering some of these; many—but not all—of
these will have an obvious effect on the sound as you move
the wheel.)
Assignable Slider / Operation
1.
Simultaneously hold down C and press
S in the ‡ section.
The LED display indicates the current Assignable
Slider’s Controller number.
2.
While continuing to hold down C, enter the
desired Controller number (for example, “7” for
MIDI volume control), then press K.
Play the keyboard and move the Assignable Slider as
you play, and hear how the volume of the sound
changes (if you are using Controller #7).
* You can also assign RPN and NRPN numbers to the
Assignable Wheel or Slider. (Pages 26 and 30.)
