Recording Your Performance
CP300 Owner’s Manual
43
Basic Operation
When the recording track has been selected, the indicator for the [REC] button and selected track lights
up in red. (Record Ready mode can be disengaged before recording by pressing the [REC] button again.)
Set the Tempo, if necessary (page 38).
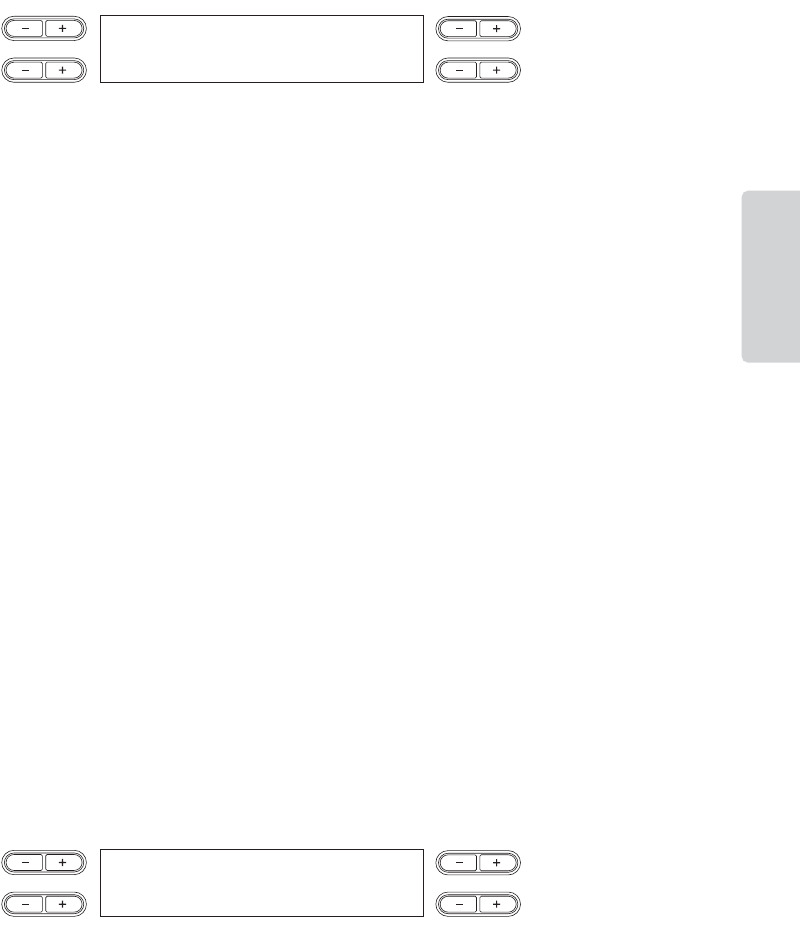
If this Record Standby display does not appear, press one of the SONG SELECT [N][O] buttons
once. If you select “Key On” as the Starting method (page 44), a Tempo setting of 120 will be entered at
the beginning of the Song.
4 Start recording.
You can start recording by pressing the [PLAY/PAUSE] button, or have recording started automatically
for you as soon as you play a note on the keyboard. The current measure number is shown in the display
during recording.
n Song recording can be paused by pressing the [PLAY/PAUSE] button. Recording will begin automatically as soon
as you play a note on the keyboard or press the [PLAY/PAUSE] button again.
5 Press either [STOP] button or [REC] button to stop recording.
Press the [STOP] button to return to the top of the Song.
6 Press the [PLAY/PAUSE] button to play back the recording.
n To erase recorded data from a track, use the “Channel Clear” parameter in the Song Setting menu for Song
playback/recording (page 86).
7 Save the recorded Song
When pressing the SONG SELECT [N][O] button, A [–][+] button or C [–][+] button, a “Song
Changed Save?” message appears in the display. Press the B [+ (YES)] button to save the file. If you want
to cancel the Save operation, press the B [– (NO)] button. For details about saving Song files, refer to
page 82.
SongRecording Bar 001
P-000:NewSong
NO YES
A
B
DC
SongChanged Save?
NO YES
A
B
DC
