


Recording Your Performance
CP300 Owner’s Manual
47
Basic Operation
3 Change the settings (Voice, reverb, etc.).
For example, if you wish to change the recorded E. Piano 1 Voice to E. Piano 2, use the Voice group
buttons and the A [–][+] buttons to select E. Piano 2.
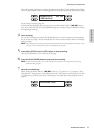
When you’ve finished making the settings, press one of the SONG SELECT [N][O] button to
return to the Song Select display.
The panel settings made in Step 3 will be saved in memory and you will not be able to restore the previous
settings. Proceed with caution.
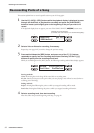
4 Simultaneously hold down the [REC] button and select a track to change the value.
The indicator for the selected part lights up in red. Change the tempo setting now, if necessary.
Do not play the keyboard or press the [PLAY/PAUSE] button. Doing so will start recording, erasing the recorded
data.
5 Press the [STOP] or [REC] button to exit the record mode.
When you exit the record mode, the display prompts you whether you want to overwrite the Song or
not. Press the B [+ (YES)] button to overwrite the Song.
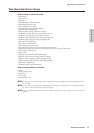
n Refer to “Data Recorded to User Songs” on page 45 for information on the settings that can be changed here.
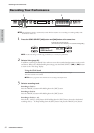
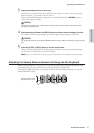
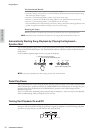
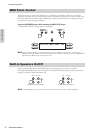
Adjusting the Volume Balance between the Song and the Keyboard
While recording multiple parts one-by-one, you can adjust the volume balance between the playback of the
recorded parts and your current performance by using the [SONG VOLUME] slider.
Turning off the [MASTER] button lets you adjust the volume for the keyboard performance by using the
[ZONE CONTROL] sliders.
CAUTION
CAUTION
SONG
VOLUME
ZONE CONTROL
ZONE 1 ZONE 2 ZONE 3 ZONE 4
Move the sliders to make
adjustments in the sound.