


68
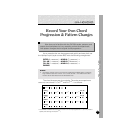
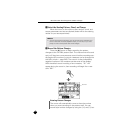
Record Your Own Chord Progression & Pattern Changes
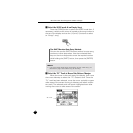
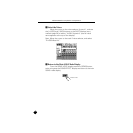
The chord is actually entered only when the [ENTER] but-
ton is pressed (until then, the chord root and type will flash
on the display). Note that chord changes actually occur on
quarter-note divisions, so try to press the [ENTER] button to
record each chord change either precisely on the beat or
just slightly before the beat on which you want the change
to occur. Syncopated chord changes can be programmed in
the STEP record mode (page 89).
You can also enter the chord changes by playing the micro
keyboard (page 69).
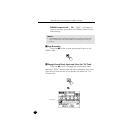
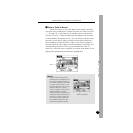
Record the chord changes as follows:
INTRO (Cm7
(11)
): The preset INTRO patterns have their
own chord progressions. Although you can specify the
chord root (key), chord types such as “M” or “m6” will be
ignored. Since “Cm7
(11)
” has already been selected as the
starting chord (step 5, above), there’s no need to enter any
chords for the INTRO at this point.
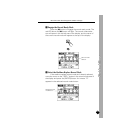
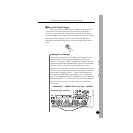
MAIN A (Cm7
(11)
/Fm7
(11)
): The progression simply alter-
nates between the Cm7
(11)
and Fm7
(11)
chords every two
measures: Cm7
(11)
for measures 5 and 6, Fm7
(11)
for mea-
sures 7 and 8, and so on.
FILL AB (Fm7
(11)
): There’s no need to enter a chord for the
FILL AB pattern, the Fm7
(11)
chord carries through until the
MAIN B pattern begins.
MAIN B (Cm7
(11)
/Fm7
(11)
): The same 2-measure alternat-
ing Cm7
(11)
and Fm7
(11)
progression continues.
FILL BA (Fm7
(11)
): The Fm7
(11)
chord carries through until
the MAIN A pattern begins.
MAIN A (Cm7
(11)
/Fm7
(11)
): The same 2-measure alternat-
ing Cm7
(11)
and Fm7
(11)
progression continues.
ENDING (Cm7
(11)
): Like the INTRO patterns, the preset
ENDING patterns have their own chord progressions.