


16
GETTING STARTED
5.
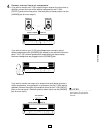
Connect MIDI devices.
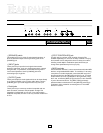
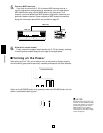
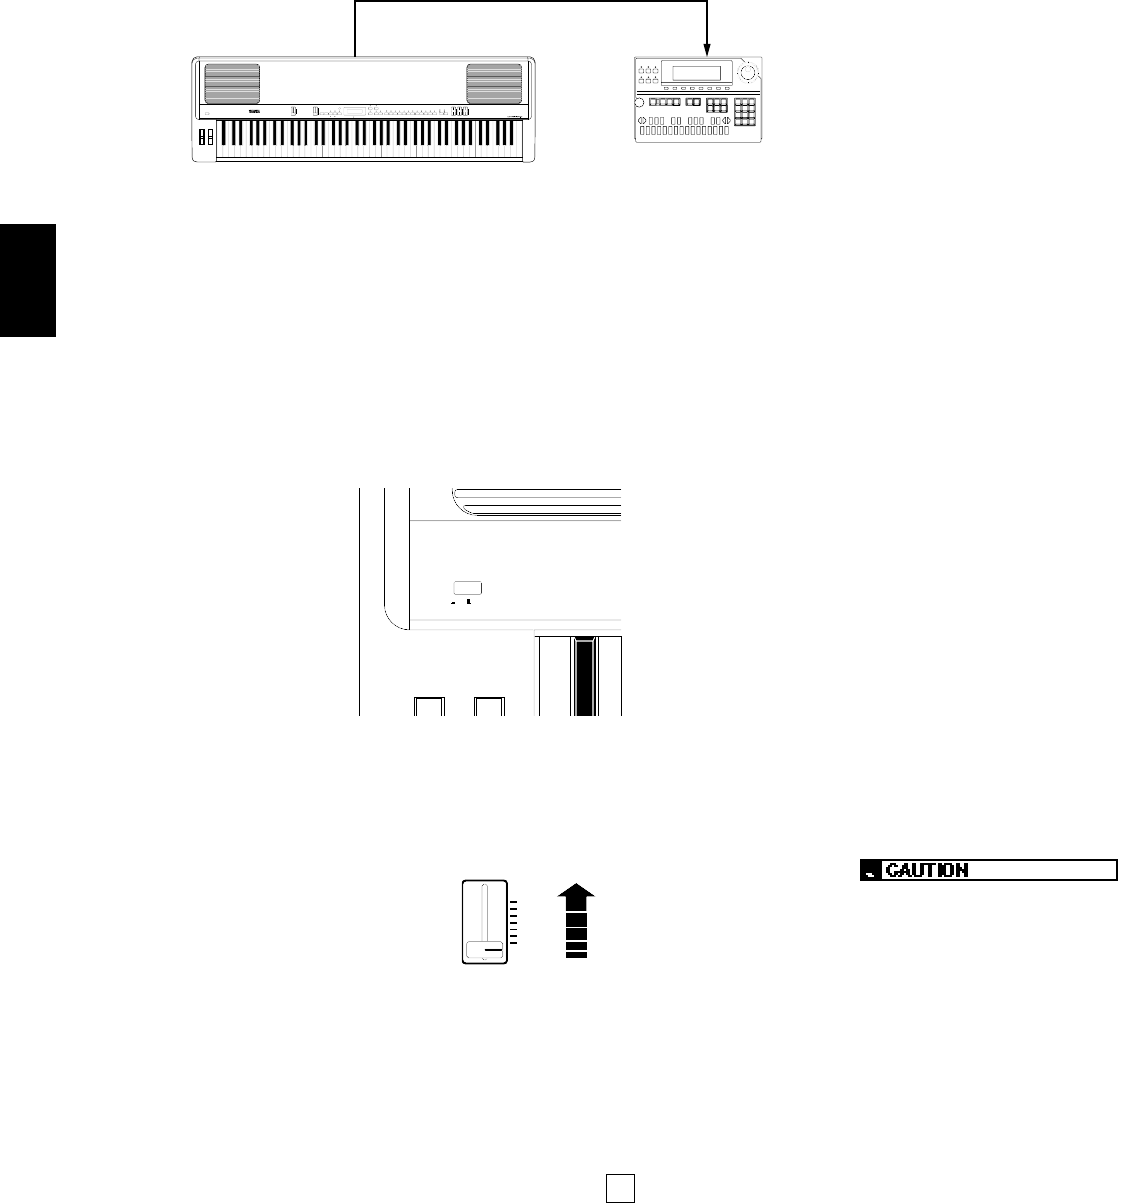
If you wish to connect the P-150 to external MIDI devices such as a
rhythm programmer, tone generator or synthesizer, you will need special
MIDI cables which plug into the [MIDI] jacks on the rear panel. First,
however, you must determine a MIDI system configuration, based on your
particular needs or desires. Some examples of MIDI system connections,
along with information about MIDI, are provided on page 57.
6.
Attach the music stand.
Finally, attach the supplied music stand to the P-150 by carefully inserting
it into the groove located along the rear edge of the upper panel.
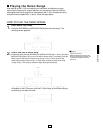
■ Turning on the Power
After setting up the P-150, you’re ready to turn on the power and begin enjoying
the instrument’s great sounds and many versatile performance and other features.
MIDI Cable
MIDI OUT
MIDI IN
P-150
Sequencer
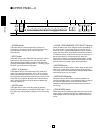
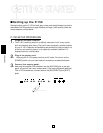
Switch on the [POWER] button, then gradually raise the [VOLUME] slider until you
obtain a comfortable listening level.
ON/ OFF
POWER
PITCH
MODULATION
MIN
MAX
VOLUME
Always turn the P-150 on first, and
then turn on external MIDI and audio
devices last. However, if a line-level
device is plugged into the P-150’s
[INPUT] jacks, turn it on before
turning on the P-150. When turning
off the power of each device, simply
reverse the process.