


MODES & FUNCTIONS
34
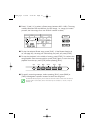
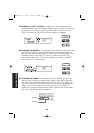
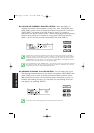
■ COPYING THE CURRENTLY SELECTED PATTERN -
When the pattern is
stopped, first select a source pattern to copy from. Then, hold [MODE] and
press [PAGE+] once or more to access the Pattern Copy function. The words
“COPY SURE?” will appear in the LCD. Press [-1] and [+1] to select a
destination User pattern number (#200 ~ #249) where the currently selected
Preset or User pattern will be copied to. Then, press [ENTER] to copy the
pattern. (To exit the Copy function, hold [MODE] and press [PAGE-].)
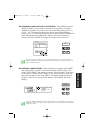
The data which is copied into the destination User pattern includes the initial tempo, the Swing
setting, the drum kit, and the backing. If there is a pattern in the destination User pattern location
which has a different meter than the pattern you are copying to, you cannot copy, and the words
“TS NOT MATCH” will briefly appear in the LCD when you press [ENTER]. If this happens, clear the
destination User pattern and then try the copy operation again.
If the LCD displays the words “MEMORY FULL”, you must free up memory by clearing any unwanted
User patterns or songs. (Be sure to save any important User data first, offloading it to an external
storage device such as the Yamaha MDF3 MIDI Data Filer.)
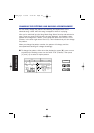
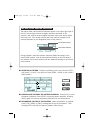
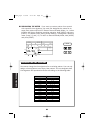
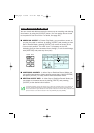
■ ASSIGNING A BACKING TO A USER PATTERN - You can assign any of the
200 backing accompaniments to play with a User pattern. Hold [MODE] and
press [PAGE-] once or more to access the Pattern Select function. Press
[E] to position the cursor over the backing name, then press [-1] and [+1]
to select the backing you want. (You may also turn the backing off for the
User pattern, by selecting “BKOFF”).
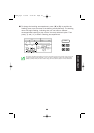
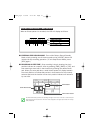
The patterns, number 192 through 199, don’t contain bass and chord data.
ENTER
ENTER
PDF03_E.qx 6/2/99 5:51 PM Page 34