


MODES & FUNCTIONS
53
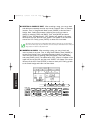
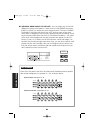
The pattern and chord tracks are independent! You can only insert a chord by part, and not event.
When inserting a chord, the succeeding parts will be moved back by one part. Therefore, take care
that your chord insertions don’t alter your song structure in relation to the pattern track.
■ EXITING CHORD ASSIGN - To exit the Chord Assign feature, press
[CHORD] again.
If you attempt to enter a chord change and the message “PART EMPTY” appears in the LCD, this
means that there is no pattern data in the track.
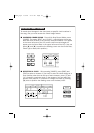
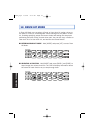
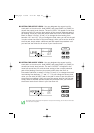
■ CHANGING A PATTERN - After recording a song, you can go back and
change a pattern at any time. First, in Song Record Mode, locate the
measure of the pattern you want to change, by pressing [FWD] and [BWD].
Next, select the new pattern by pressing [-1] and [+1].
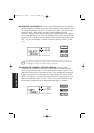
■ CHANGING A BACKING - As you record song parts by selecting and
entering patterns, the backings which are assigned to the various patterns
will also be recorded in the song. Although you cannot change a backing in
Song Record Mode, there is in fact an easy way to change the backing.
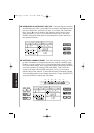
First, enter Pattern Mode and access the pattern Copy function and copy
the pattern to a User pattern location. Next, assign the different backing to
it (see “ASSIGNING A BACKING TO A USER PATTERN”, page 34). Then,
return to Song Record Mode and follow the procedure outlined above in
“CHANGING A PATTERN”.
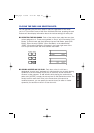
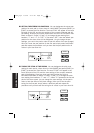
■ EXCEEDING THE MAXIMUM NOTE POLYPHONY - The RY9 has 28-note
polyphony, which means the maximum number of notes that can sound at
one time is 28. Depending on the song you have created, several drum
beats may fall on a specific location where many bass and chord notes
exist. Any drum beats that would exceed the 28-note capacity will be
“truncated”, or cut off, or will not play.
Turning the power off while Song Record Mode is active, or while the song Copy or Clear function is
being executed, may cause the irretrievable loss of all User data.
PDF03_E.qx 6/2/99 5:51 PM Page 53