


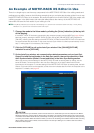
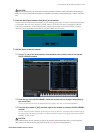
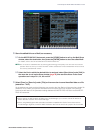
An Example of MOTIF-RACK XS Editor in Use
MOTIF-RACK XS Editor Owner’s Manual
11
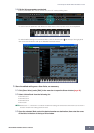
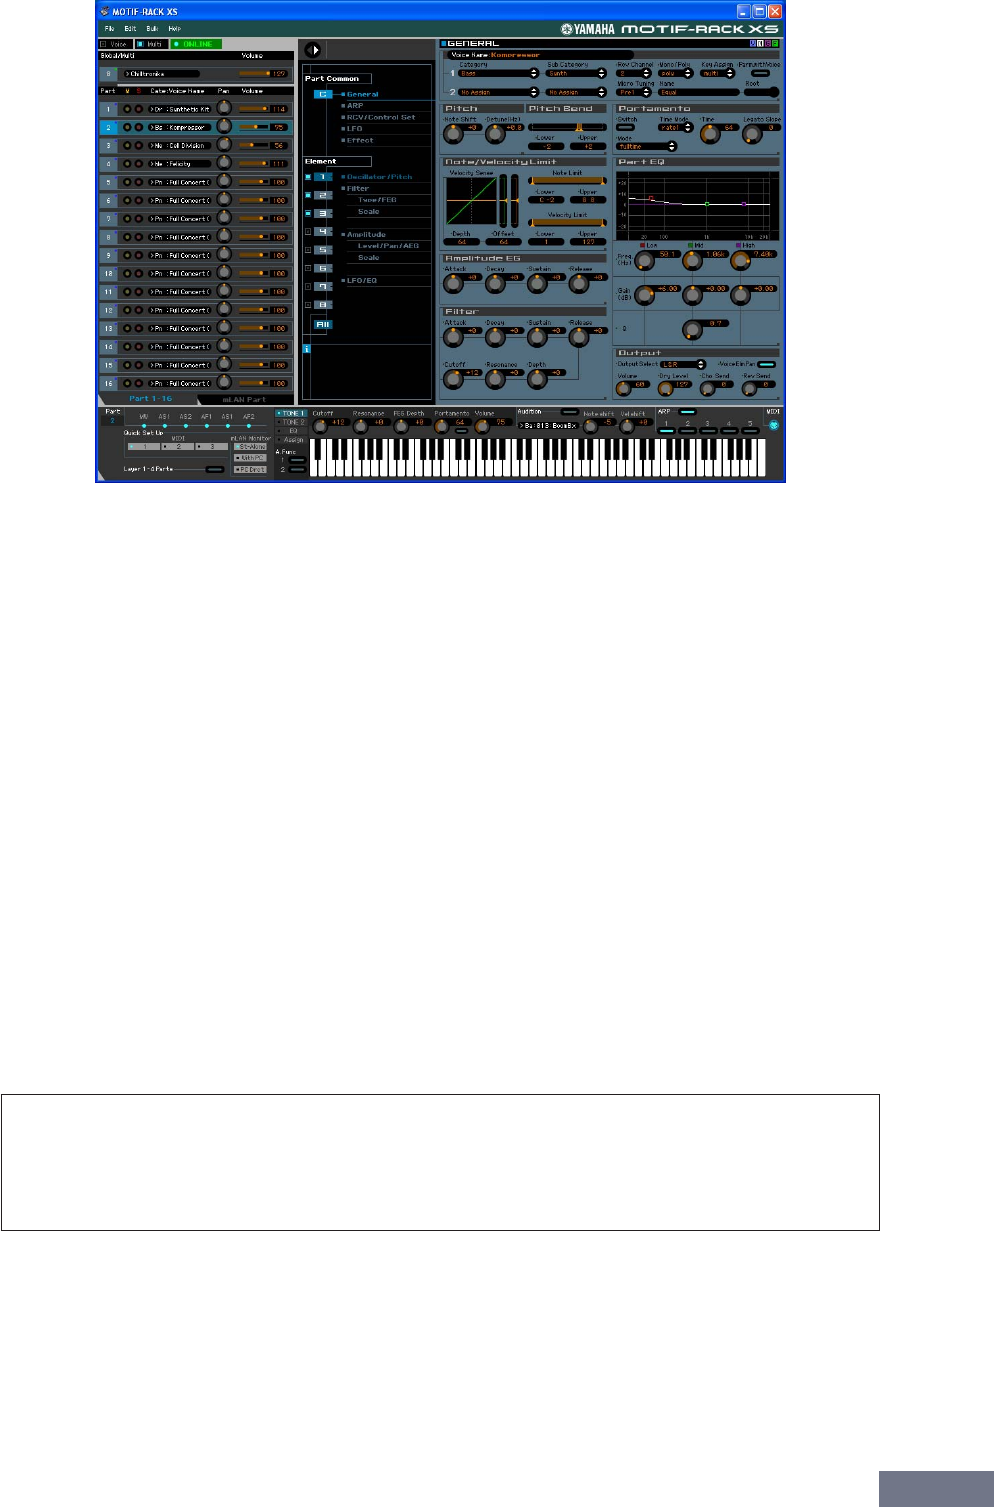
8. Store the edited Voice or a Multi, as necessary.
8-1 On the MOTIF-RACK XS instrument, press the [STORE] button to call up the Multi Store
window, select the destination, then press the [ENTER] button to store the edited Multi.
For details, refer to the Owner’s Manual of the MOTIF-RACK XS.
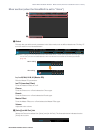
n You can store the edited Multi also by selecting [Store Mixing] under [Edit] in the menu bar. Note that this
operation does not allow you to select the Multi number as destination and the edited Multi will be stored to
the currently selected Multi number.
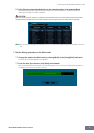
8-2 Select the Part to which the desired Voice is assigned, select [Store Voice] under [Edit] in
the menu bar to call up the Store window (page 48) then store the Voice via the same
operations as in steps 6-1, 6-2, 6-3 and 6-4.
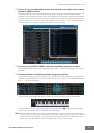
9. Select [Save] or [Save As] under [File] on the menu bar to save the edited data as a file
(extension: *.X1E).
All the settings you made and the Voice data you stored to the User Banks will be saved as a single file
(extension: X1E). When you open this file next time to call up the Auto Sync window, click [Start] to
synchronize the status of the parameter settings between the MOTIF-RACK XS Editor and the MOTIF-
RACK XS instrument.
• When starting the MOTIF-RACK XS Editor from Studio Manager, you can save the MOTIF-RACK XS
Editor data into a Session file of Studio Manager.
• When using DAW (digital audio workstation) software compatible with Studio Connections and the
Studio Manager together, the MOTIF-RACK XS Editor data can be saved into a project file of the DAW.