


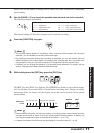
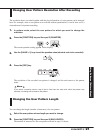


5.
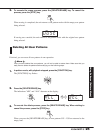
Press the [REC] key.
The [REC] key and [START] key light up, indicating that the MRT-3 is ready for recording.
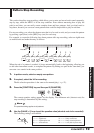
6.
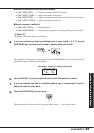
To enter a note, hit the pad corresponding to the desired sound.
For example, tapping pad 1 will enter a bass drum note (pad 1 lights up). The tapping
intensity will also be recorded. When you press the [REC] key, the current position
advances by the minimum unit. You can verify the current position (measure/beat) in the
pattern by checking the display.
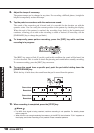
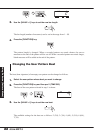
7.
To enter a rest, press the [REC] key.
No sound is recorded, and the position advances by one step. If you press the [REC] key, the
current position within the beat is shown as number of ticks.
• If you press the [PLAY] key, the current position within the beat is shown as number of ticks, for
as long as the button is held.
•When there is not enough remaining free memory in the MRT-3, the indication "FULL" appears on
the display, and further recording is not possible. Erase unneeded patterns.
When the end of the pattern is reached, the recording loops back to the beginning and
continues, allowing you to add to the recording as often as desired. (If necessary, use the
[PAD BANK] key to change the pad bank.)
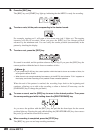
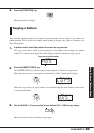
8.
To erase a sound, use the [REC] key to move to the desired position. Then press
the corresponding pad while holding down the [DELETE/ERASE] key.
As you move the position with the [REC] key, the pad that has been input for the current
position lights up. Pressing the pad while holding the [DELETE/ERASE] key down causes
the pad to go out and the sound will be erased.
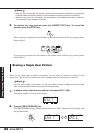
9.
When recording is completed, press the [STOP] key.
The [REC] key goes out and step recording terminates.
NOTE
ZOOM MRT-3
20
Using Patterns (Pattern Mode)