


9
The time required by this editing operation
(i.e., before the “Completed” display appears)
will take proportionally longer as the specified
range (IN–OUT) is longer.
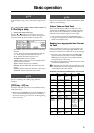
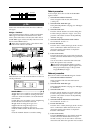
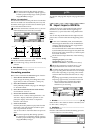
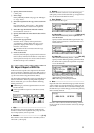
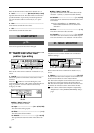
EditType: “NormalizeTrack”
This command searches for the peak level of audio data
that was recorded at an unintentionally low level, and
boosts the entire region of audio data so that this peak
level will be the maximum level.
When this command is executed (“Exec.”), the nor-
malize destination track will be overwritten.
3. DestTrack.................................. [1...16, 1-2...15-16]
Selects the normalize destination track.
For a 24 bit song, only up to tracks 7-8 can be
selected.
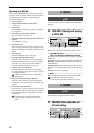
6. Exec. (Execute).........................................................
Executes the track editing command.
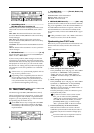
Normalizing procedure
Here’s how to normalize the IN–OUT region of track 1.
1 Select the IN and OUT locations.
Select/assign the starting and ending times of the
region that you wish to normalize. (→D16 p.70)
2 Select the Normalize command.
In the [TRACK] “EditTrk” tab page, set “EditType”
to “NormalizeTrack.”
3 Select the normalize destination track number.
Set “DestTrack” to track “1.”
4 Execute the Normalize command.
Press the “Exec.” button, and respond to the “Are
You Sure?” display. When the operation is com-
pleted, the display will indicate “Completed.”
Press the “OK” button.
5 Listen to the result.
Press the [IN/LOC1] button to play back from the
IN location, and verify that the Normalize opera-
tion was performed correctly.
You can use Undo to return the data to its previous
state.
The time required by this editing operation
(i.e., before the “Completed” display appears)
will take proportionally longer as the specified
range (IN–OUT) is longer.
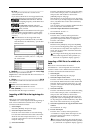
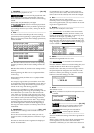
An “Import” tab page and “Export” tab page have been
added.
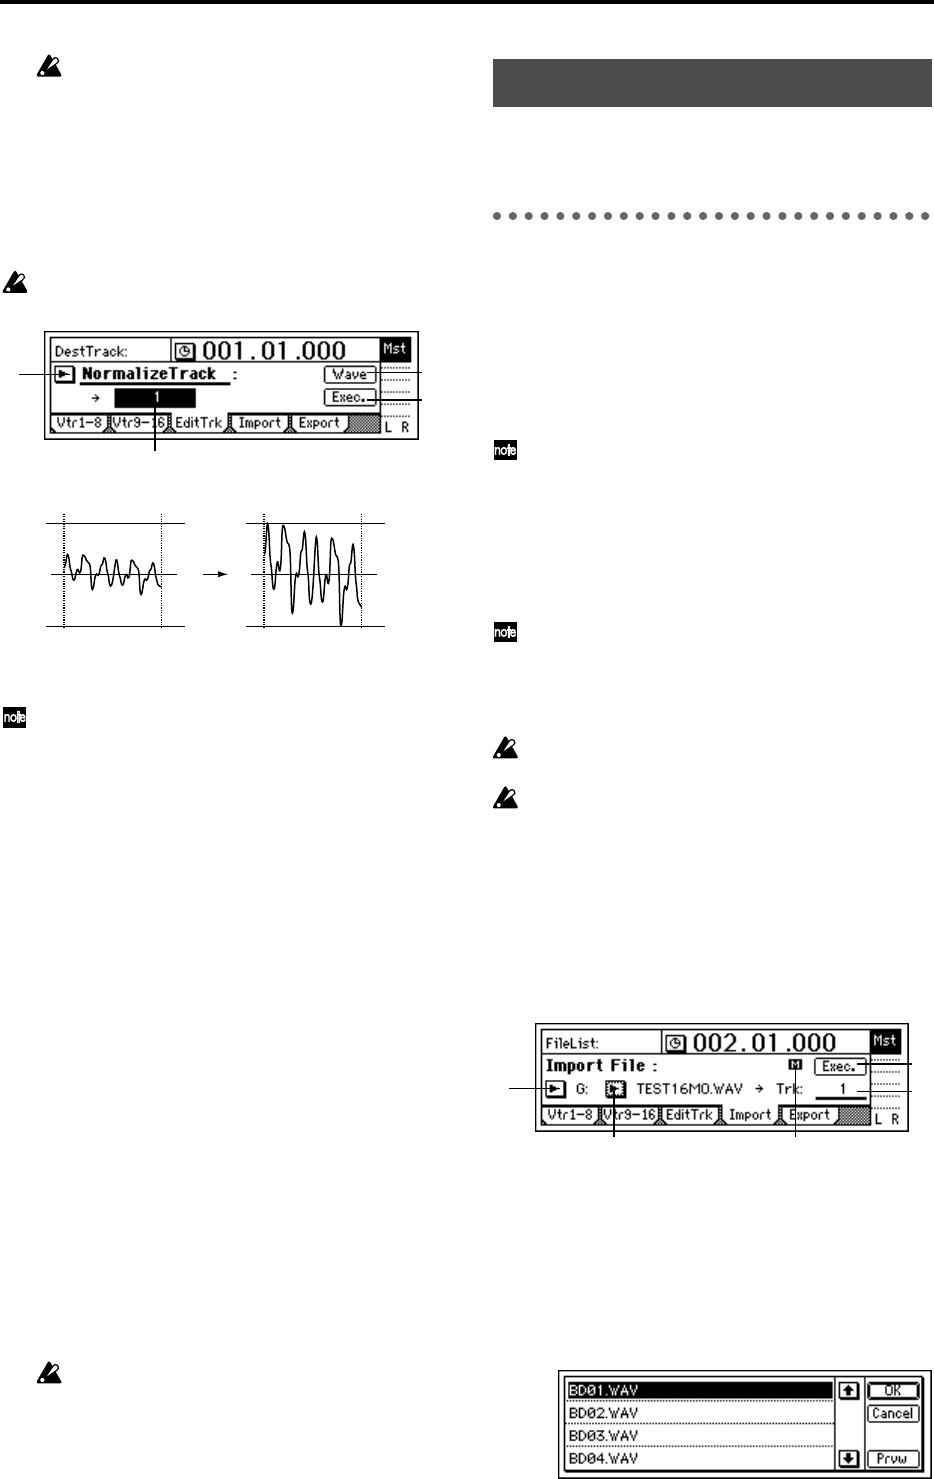
P4 Import: Import a WAVE file
A WAV file saved on a FAT 16 DOS format external
SCSI device can be loaded into the beginning of a
D16V2 track. (→p.20 “Note when using DOS format
disks”)
You can also import this data into the clipboard, and
paste it into a location other than the beginning of the
track.
In the case of CD-ROM, CD-R, and CD-RW, the
D16V2 supports WAV files saved on ISO9660 for-
mat discs. Sub-directories are also supported for
CD-ROM, CD-R, and CD-RW.
For external SCSI drives other than CD-ROM, CD-
R, and CD-RW, the D16V2 supports only WAV files
that are saved in the root directory of the first parti-
tion of FAT 16 format.
The D16V2 can import WAV files of the following
formats.
Sampling frequency: 44.1 kHz
Quantization: 8 bit, 16 bit, 24 bit
Number of channels: 1, 2 (monaural or stereo)
When this command is executed (“Exec.”), the
import destination track will be overwritten.
A certain amount of time is required when import-
ing or exporting WAV files. Here are some example
times when importing or exporting a five-minute
16 bit 44.1 kHz monaural WAV file from/to a Zip
drive.
Importing: approximately 9 minutes 20 seconds
Exporting: approximately 10 minutes 30 seconds
* The processing time will differ depending
on the format of the WAV file and on the
SCSI device you are using.
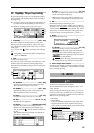
1. DriveList.........................................................[A...G]
Select the drive. For details on the drive numbers, refer
to “Drive ID” (→D16 p.47).
2. WavFileList .............................................................
Select the WAV file.
Press the “OK” button to finalize the setting, press the
“Cancel” button to cancel the setting.
1
6
7
3
IN OUT
Max Level
IN OUT
Max Level
p.58–
1 3
5
2 4