


6.Global mode
6.Global mode
39
6. Global mode
In Global mode you can set parameters such as Metronome or
Protect. Press the Global mode key to enter Global mode.
To execute Global mode, press a different mode key.
The settings you make in Global mode will be cancelled if
you turn off the power without Writing. If you wish to save
the settings you make, you must perform the Write opera-
tion (refer to p.40 "Saving the settings you modify in Glo-
bal mode").
Metronome settings
METRONOME oFF, r-0, r-1, r-2, on
Specify how the metronome will function. If you will be using
realtime recording to create a pattern from scratch, it is conve-
nient to use the metronome. The metronome will sound at quar-
ter-note timing.
oFF: The metronome will not sound.
r-0: The metronome will sound only during recording (when
the Rec and Play/Cancel keys are lit).
r-1: When recording, a one-measure count will be sounded
before recording begins. The metronome will sound only
during recording.
r-2: When recording, a two-measure count will be sounded
before recording begins. The metronome will sound only
during recording.
on: The metronome will sound during playback and record
ing. There will be no count before recording begins.
1. Use the cursor keys to make the parameter select LEDs indi-
cate METRONOME.
2. Rotate the dial to make the metronome setting.
3. Press the PATTERN or SONG key to return to the previous
mode.
The metronome setting cannot be written. When you turn
on the power, it will always be "oFF."
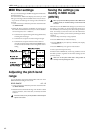
Adjusting the volume of
the Audio In
INPUT GAIN 0...100
These parameters adjust the volume that is input to the Audio
In jacks. For the procedure, refer to p.19 "Connecting various
sources to the audio inputs" in section 3. Basic Operation (Quick
Start).
Synchronizing the EA-1mk
II
with external MIDI devices
(MIDI Clock)
CLOCK int, Ext
The Global mode CLOCK setting allows the tempo of the EA-
1mk
II
to be synchronized with the tempo of an external MIDI
device that is able to send or receive MIDI Clock messages.
For details on synchronization settings of your external MIDI
device, refer to the owner's manual for your device.
Even if you set CLOCK to Ext, the EA-1mk
II
will operate
with its own internal clock if no MIDI Clock messages are
being received at its MIDI IN connector.
Synchronizing the EA-1mk
II
to a
master external MIDI device (Ext)
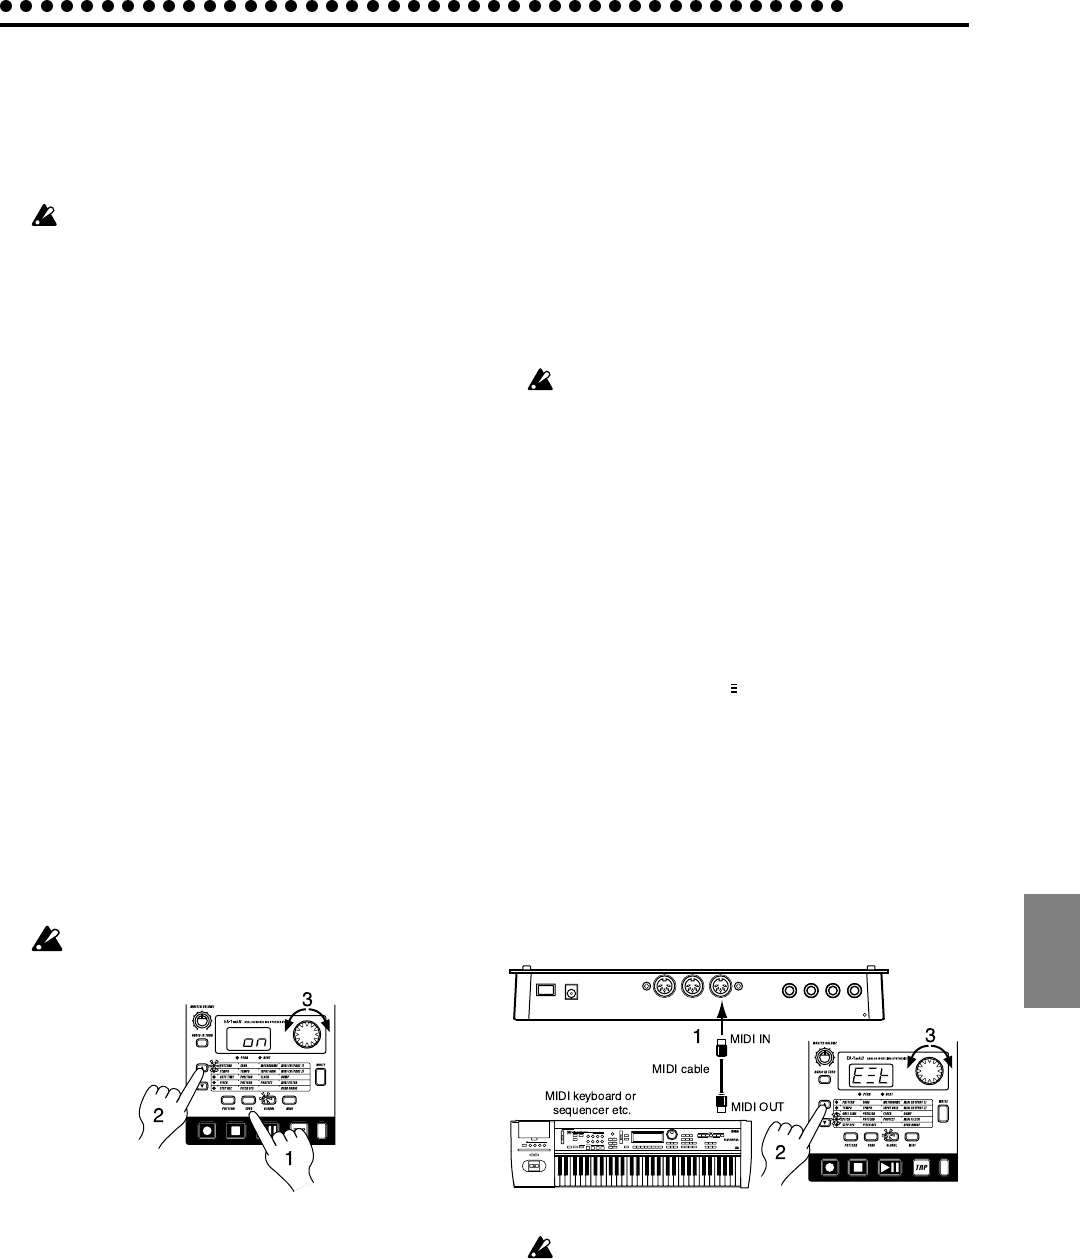
1. Use a MIDI cable to connect the MIDI IN connector of the
EA-1mk
II
to the MIDI OUT connector of the external MIDI
device (sequencer or synthesizer etc.).
2. Use the cursor keys to make the parameter select LEDs indi-
cate CLOCK.
3. Rotate the dial to select "E t" (external clock).
4. Make settings on the external MIDI device (master) so that it
will transmit MIDI Clock messages.
5. Return to Pattern mode or Song mode.
6. When you start the sequencer of the external MIDI device,
the EA-1mk
II
will simultaneously begin playback.
7. If MIDI Clock data is being received at the MIDI IN connec-
tor, you can make the EA-1mk
II
playback in synchronization
with the external MIDI device by pressing the EA-1mk
II
's
Play/Pause key.
If the MIDI Clock parameter is set to "Ext" and the EA-
1mk
II
is synchronized to the external MIDI clock, it will syn-
chronize to the tempo of the external sequencer, and it
will not be possible to change the tempo on the EA-1mk
II
.
If a MIDI Start message is received while the EA-1mk
II
is
already playing in synchronization with MIDI Clock, the
EA-1mk
II
will begin playback from the beginning of the cur-
rently playing pattern (or in the case of a song, from the
beginning of the pattern that was playing when the Start
message was received).