


16
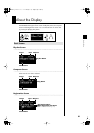
Before You Start Playing
fig.01-03
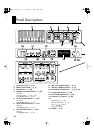
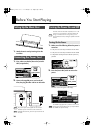
1.
Attach the music rest by inserting it into the
two holes.
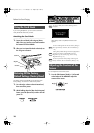
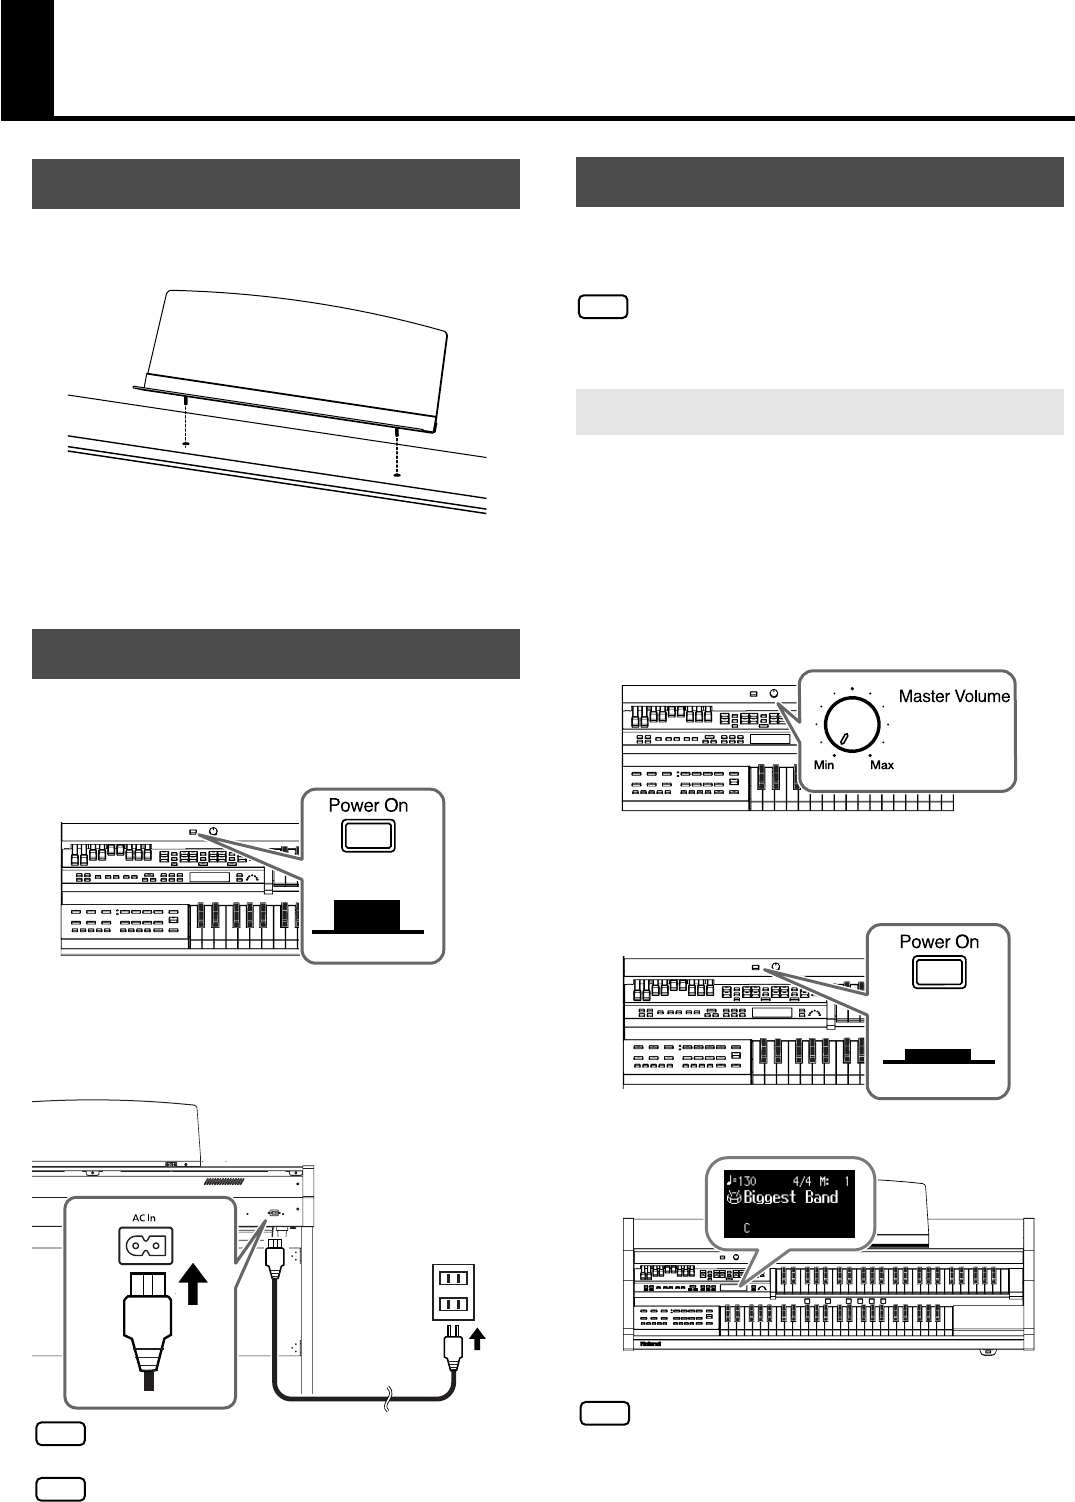
1.
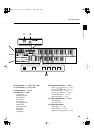
First, make sure that the [Power On] switch is
OFF (not pushed in).
fig. 00-27.eps,fig.00-27-2.eps
2.
Connect the supplied power cord to the AC
Inlet, then plug the other end into an AC outlet.
Only use the power cord supplied with this instrument.
Whenever you do not intend to use the instrument for
extended periods of time, pull out the power cord from the
AC outlet.
941
Once the connections have been completed, turn on or off
power to your various devices in the order specified. By
turning on or off devices in the wrong order, you risk
causing malfunction and/or damage to speakers and other
devices.
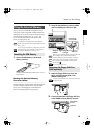
1.
Make sure of the following before the power is
turned on.
• Is the power cord correctly connected to the AC inlet?
• Is the power cord correctly connected to the AC outlet?
• Is the [Master Volume] knob set to the Min (minimum)
position?
fig.00-26.eps
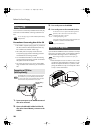
2.
Press the [Power On] switch to turn on the
power.
fig. 00-27.eps, fig.00-27-3.eps
The basic screen will appear in the display.
942
The ATELIER is equipped with a protection circuit. A brief
interval (a few seconds) after power up is required before
the ATELIER will operate normally.
Setting Up the Music Rest
Connecting the Power Cord
OFF
Upper position
Power Cord
AC Outlet
NOTE
NOTE
Turning the Power On and Off
Turning On the Power
NOTE
ON
Lower position
NOTE
AT-75_e.book 16 ページ 2008年8月21日 木曜日 午前10時9分