


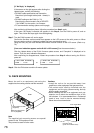
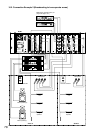
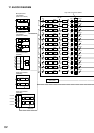
15. RACK MOUNTING
Note
The supplied rack mounting screws are special
screws for the TOA equipment rack.
They cannot be used for other racks.
Cautions
• Install the unit as far as possible away from
amplifiers or other equipment that generate heat.
• The socket-outlet shall be installed near the
equipment and the plug (disconnecting device)
shall be easily accessible.
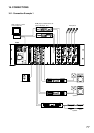
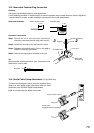
• When installing the unit in an equipment rack, pay
attention not to block the ventilation slots on the
unit's bottom. It is recommended that a Perforated
panel of over 1-unit in size be mounted directly
below the unit as shown below.
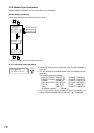
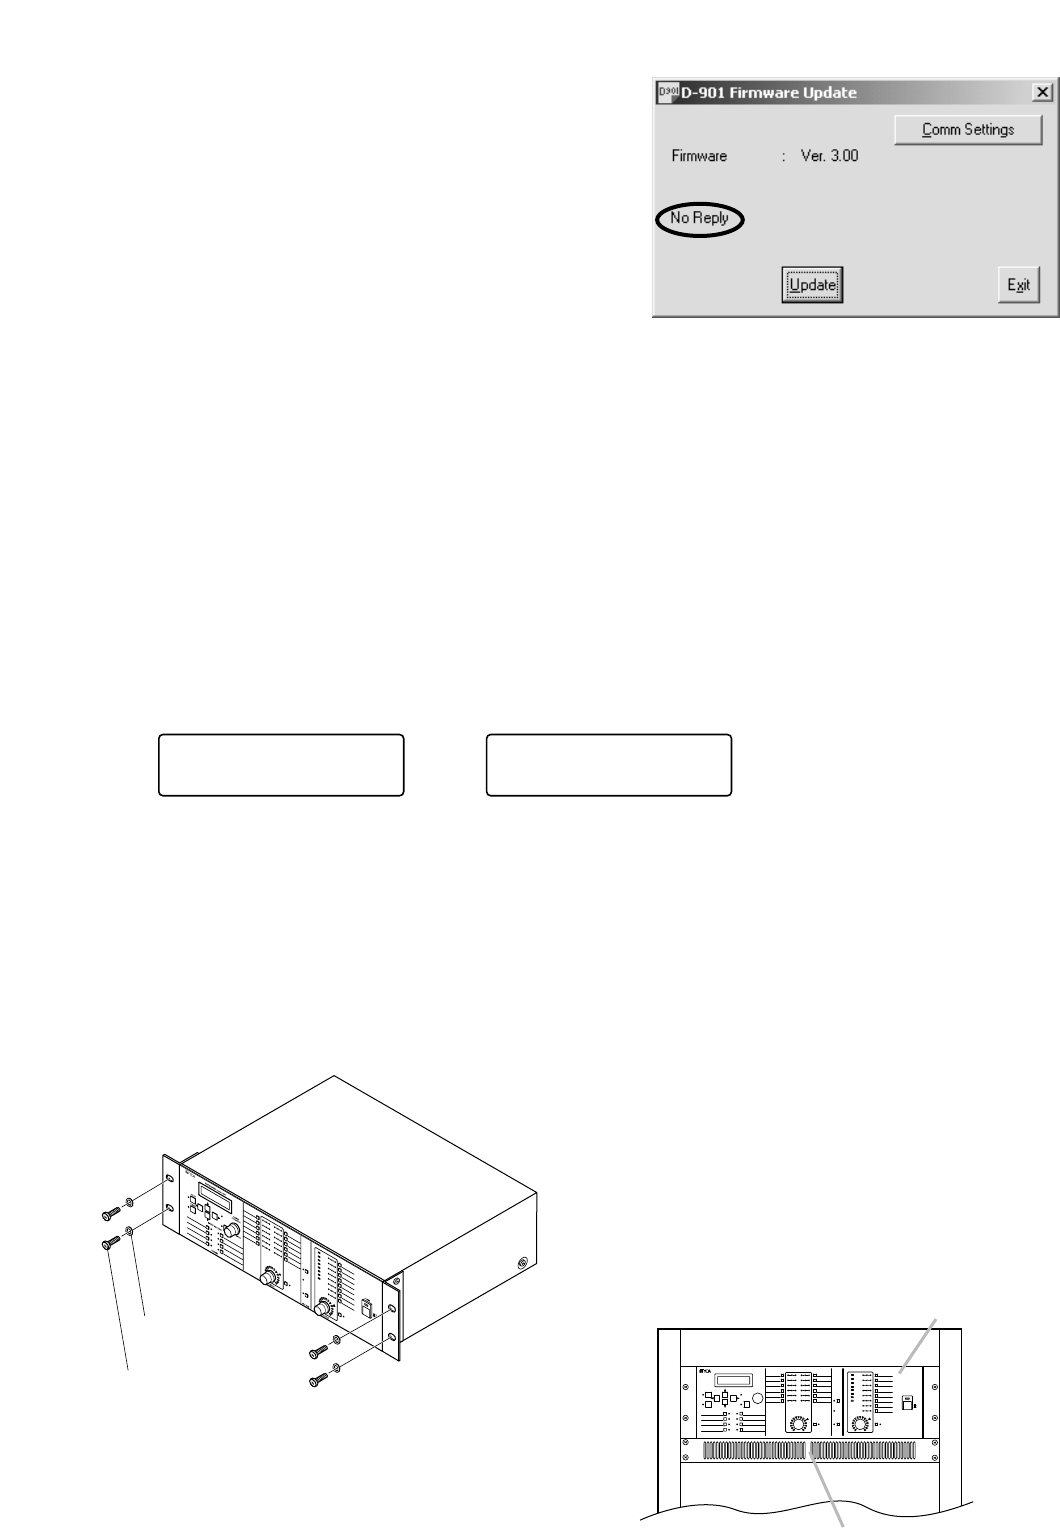
Mount the unit in an equipment rack using the
supplied rack-mounting screws and fiber washers.
D-901
Fiber washer for M5
(supplied)
Rack-mounting screw
5 x 12 (supplied)
Perforated panel
(panel with ventilation slots)
D-901 Digital Mixer
76
Step 7. Turn the D-901's power off, and on again.
Confirm the firmware version number that appears on the LCD screen at the unit's power-on. When
the new version number is indicated, update has been completed correctly.
Using the Utility key can also indicate the firmware version number on the LCD screen. (Refer to p.
73.)
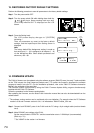
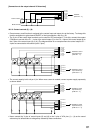
[If an error indication appears on the D-901's LCD screen] (See the screens below.)
Click the Update button of the D-901 firmware update screen, and "Complete!" is displayed on its
screen. Then, the error indication disappears.
After confirming its disappearance, restart the procedure from Step 2 without turning the D-901's
power off.
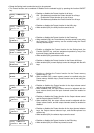
<<SYSTEM ERROR>>
TYPE : f f0
0
<<SYSTEM ERROR>>
TYPE : f f 01
or
Step 8. Click the Exit button to end the firmware update.
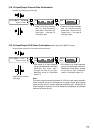
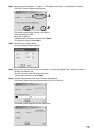
[If "No Reply" is displayed]
If the screen on the right appears after clicking the
Update button, confirm the following:
• RS-232C cable specification and connection
Check that 9-pin straight cable (male - female) is
used.
• RS-232C settings at the D-901 (p. 70)
Check that the control mode is set to UPDATE*.
* Set "NONE" for the version 1.xx firmware.
• PC communication settings (above on this page)
After confirming all the above items, follow the procedure from Sep 3 again.
If the same "No Replay" indication still appears in this Step 6, turn the D-901's power off, and on
again. Then, follow the steps again from the beginning.