CHAPTER 2: Song Playback Features
25
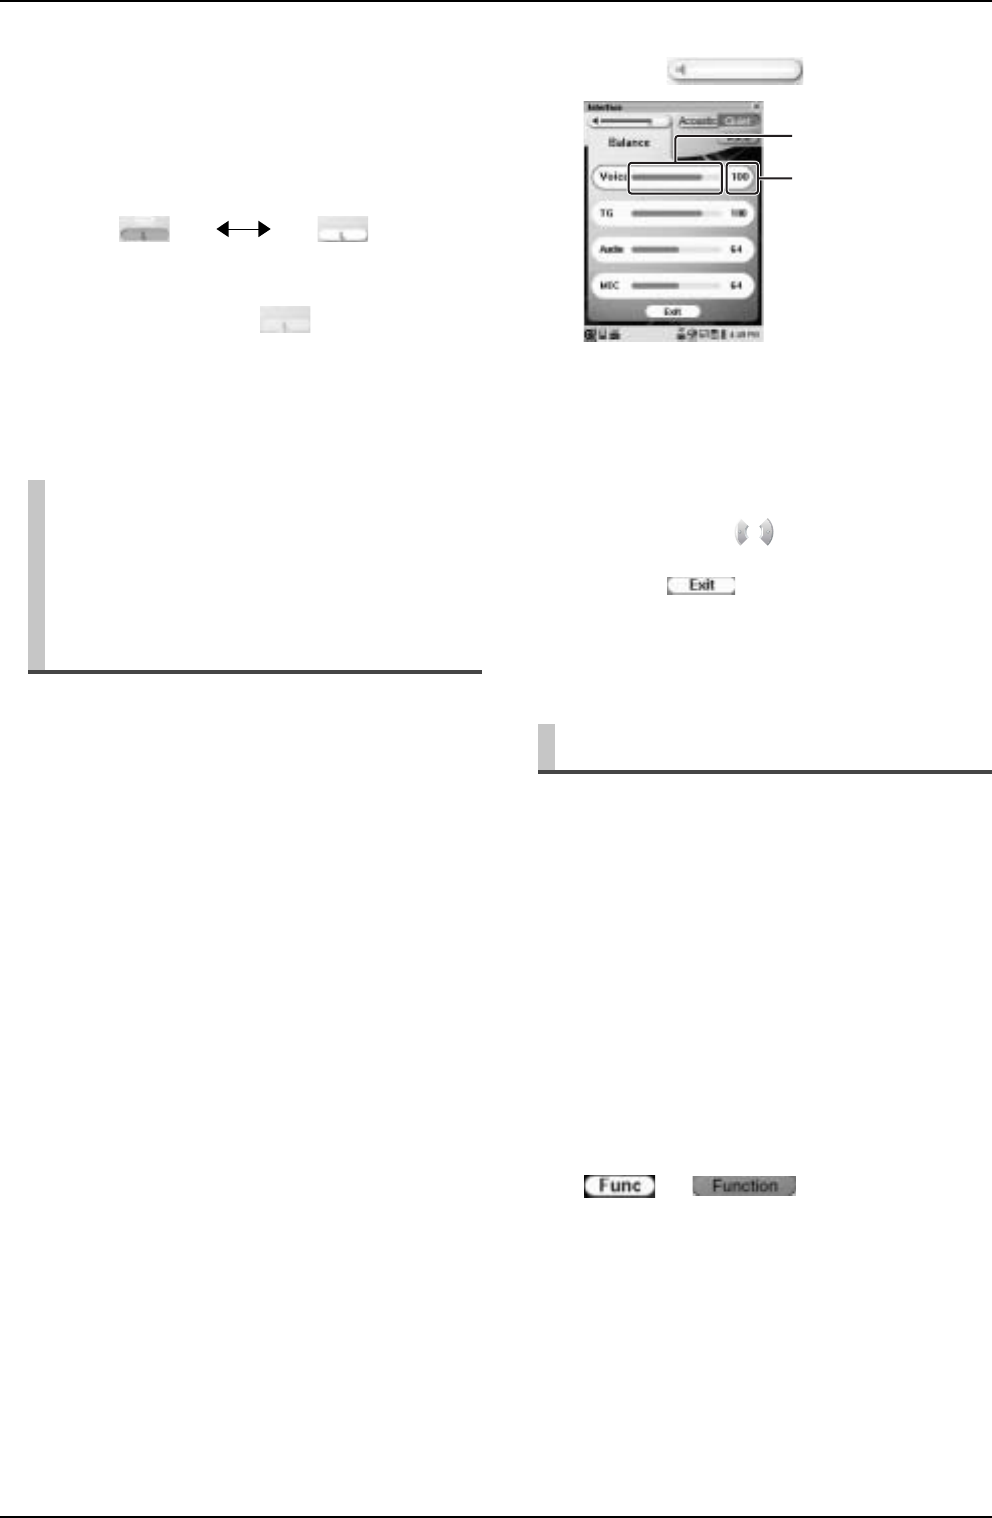
Besides adjusting the overall volume, the volume balance
among the different sound sources as described below
can be adjustable.
[Voice]: Adjusts the volume of the digital piano
sound* that you play on the Disklavier’s
keyboard in Quiet/Headphone mode. (→ pg.
16 “Basic Piano Playing” in “Quick Guide”)
* Note that this setting has no effect on the volume of the
pre-recorded piano part in the software.
[TG]: Adjusts the volume of the ensemble sound
reproduced by the tone generator (TG) of the
Disklavier.
[Audio]: Adjusts the volume of the accompaniment or
standard audio sound pre-recorded in the
software (CDs).
[MIC]: Adjusts the volume of the sound input from
the microphone.
By creating play lists of your favorite songs, you can
program your Disklavier to automatically play back a
series of songs, not to mention eliminate the trouble of
changing CDs, floppy disks, or USB flash memories each
time you want to listen to songs on a different medium.
First create your own play list, and then play back that list
by following the procedures below.
Adding the Desired Song to the Play
Lists
4
Tap on the desired part to change its
setting (play or mute).
Each time you tap on the part, its setting changes as
follows showing the status with the color of the part
icon:
Note: Blank part (shown in yellow)
contains no sound and you cannot change the
setting.
Adjusting the Volume
Balance among the
Keyboard Playing, Ensemble
Sound, Software Playback,
and Microphone’s Input
Play (green) Mute (white)
1
Tap on .
2
Tap on the desired point on the
volume bar of the desired sound to
adjust its value.
Tip: Pressing also adjust the value.
3
Tap on to clear the [Balance]
control screen.
Utilizing the Play Lists
1
Select the desired song or album
(→ pg. 12 “Selecting a Song” in
“Quick Guide”), and then tap on
or .
Function Menu appears.
Volume bar
[Balance] control screen
Adjusted value
