109
Chapter 19 Master Class 2 — Advanced Music Production
92 Loading back your saved Patterns and Songs
Once you’ve saved your valuable data, you can bring it all back to your AN200 — with this simple operation.
1 Set up the AN200 and the recording device.
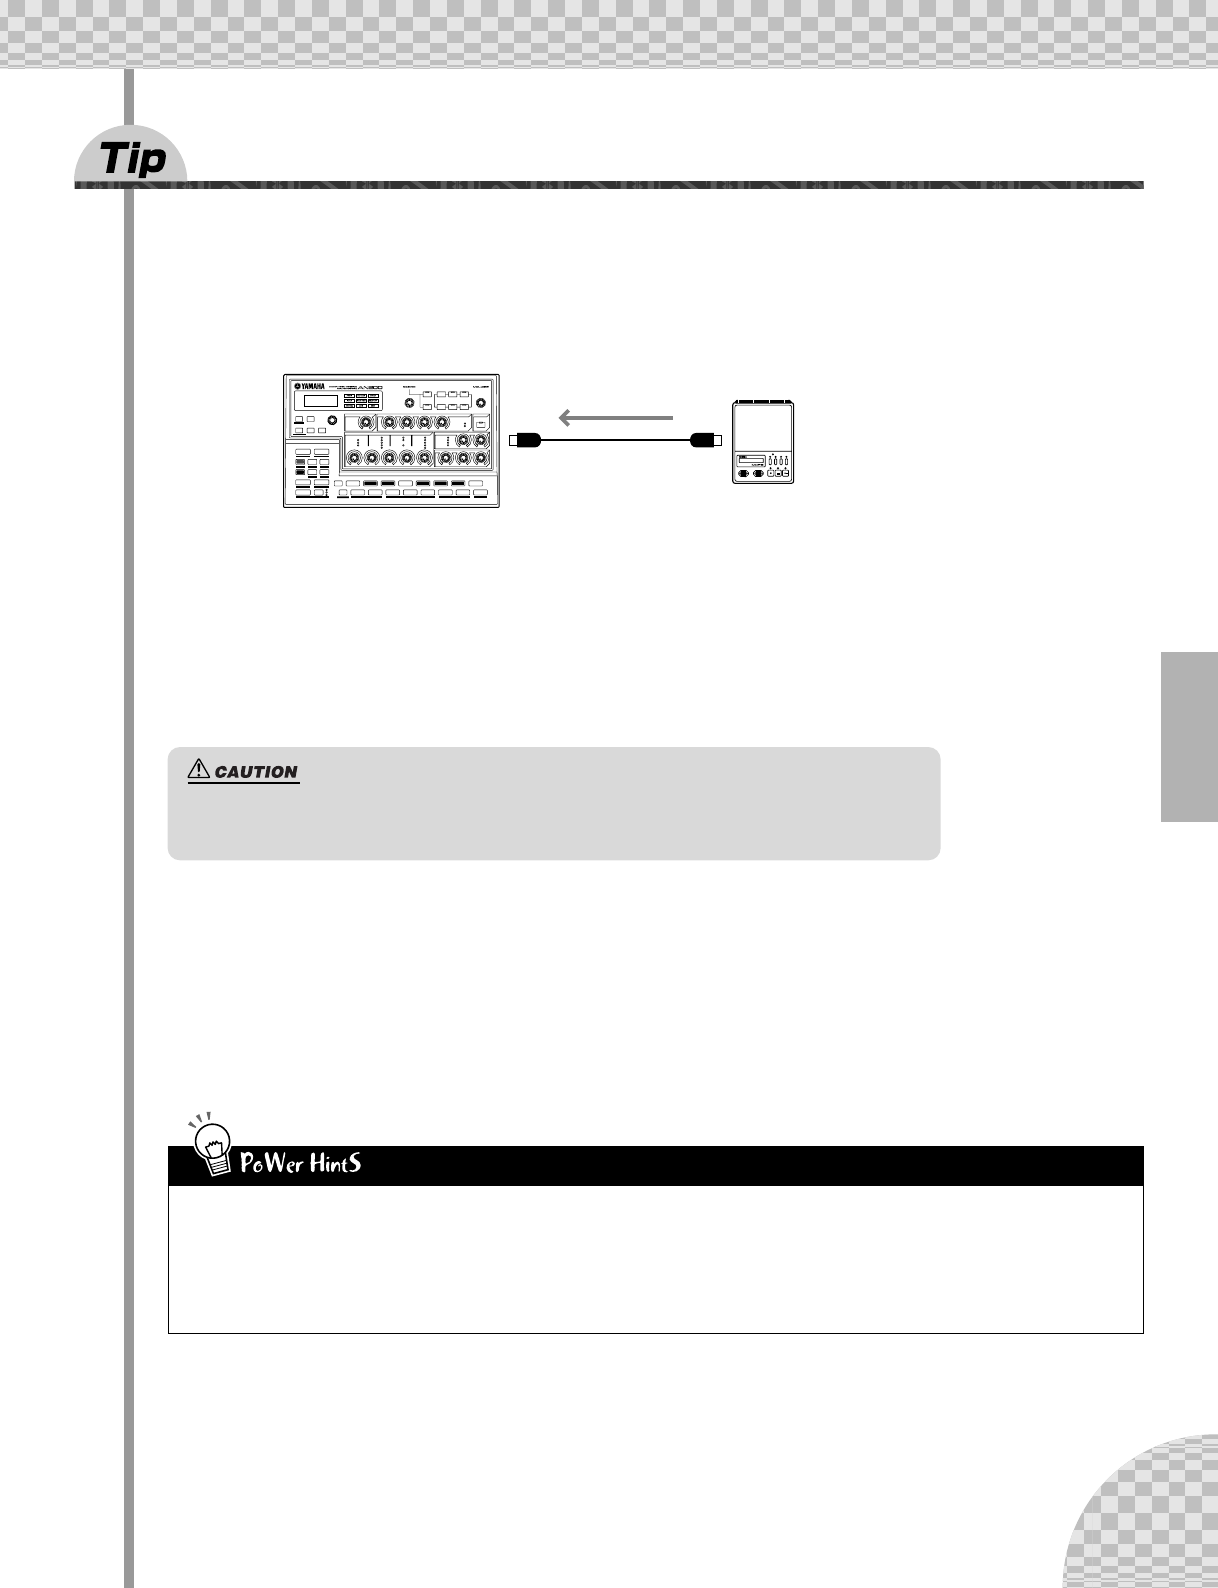
Connect the two as shown with a standard MIDI cable.
Make the proper connections and make sure the connected device has the appropriate data on disk.
(Setup for Bulk Send on the other device may involve some additional steps; refer to the relevant owner’s
manual for details.)
2 Make sure the AN200 is set to Pattern mode.
Press the [PATTERN] button if necessary.
3 Start the Bulk Send (or other appropriate) operation on the connected
device.
This operation too may differ depending on your particular device. On most sequencing software (such
as XGworks lite), this can be as simple as clicking the Play button.
That’s all there is to it! The AN200 automatically receives the data and loads it to the proper memory loca-
tion.
MIDI OUTMIDI IN
AN200
Yamaha MDF3, or computer
with MIDI interface
Load your Song/Pattern
data from the connected
device.
BEFORE you load anything to the AN200, make sure you have no important unsaved data
remaining on the instrument — it will all be erased in the operation! Best thing to do is use Bulk
Send to first save the existing data (as a temporary file), then go ahead and load the data.
• Lifesaver for live applications
Bulk Send is real handy for performers. If you’re gigging and the
AN200 is your main workhorse, you may need more than the 10 User
Songs to get by. Fortunately, you can save your data in 10-Song banks
(might as well save your Pattern data, too) — then load each bank as
you need it, between sets.
• Be a pack rat
You really ought to save everything you’ve ever created on the AN200.
Floppy disks are small and cheap, and you’ll be glad you archived all
your precious masterworks.


