89
Chapter 15 Song Recording
67 Storing your new Song
Now that you’ve created and arranged a new Song, you’ll want to save it for future recall. The AN200 gives
you a total of 10 memory spaces for saving your original Songs.
Delete Pattern can be used in either the Song mode or the Song Edit mode.
1 Make sure Memory Protect is turned off.
Hold down [SHIFT] and press [16] until the “Prot” (Protect) display is shown. Then, set Memory Pro-
tect to OFF with the DATA knob.
Press the [EXIT] button to leave Memory Protect.
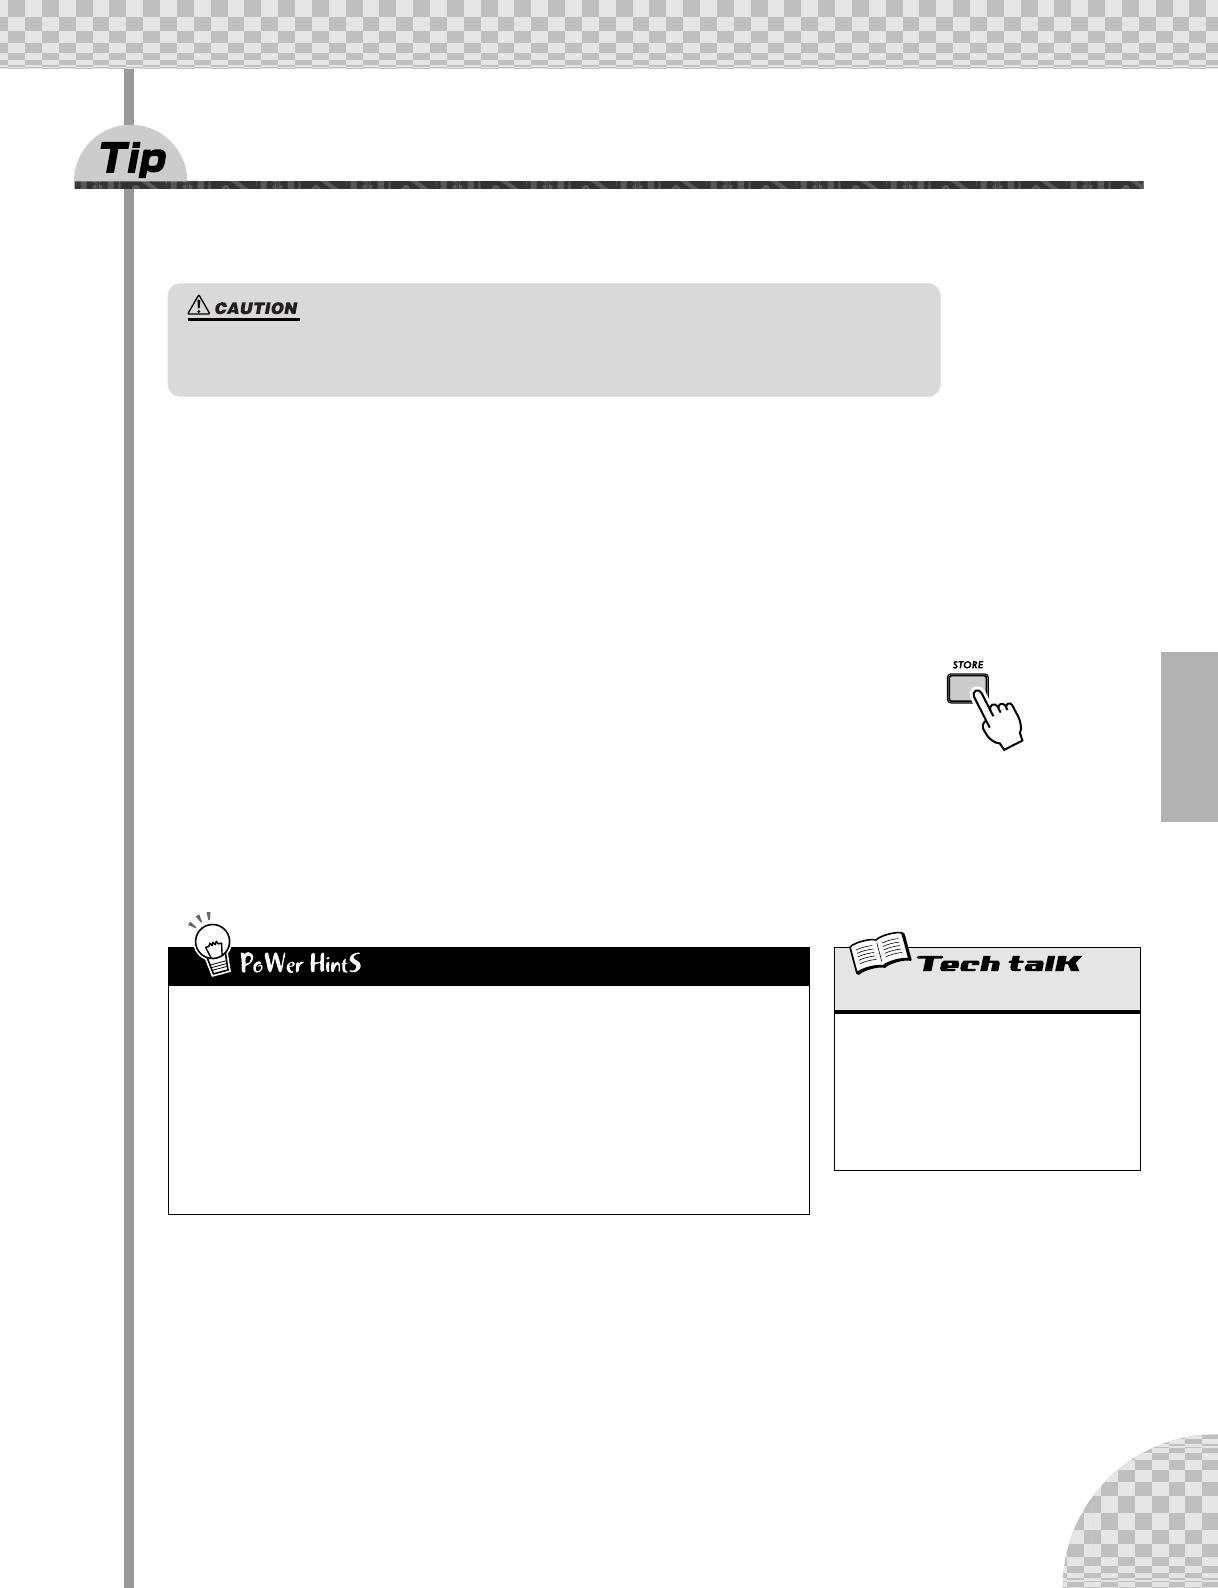
2 With your new Song still up and waiting, press
[STORE].
“S.Str” briefly appears to indicate Store operation.
3 Select the desired Song number (01 - 10) with the
DATA knob.
4 Press [STORE] again to actually store the Pattern, or press [EXIT] to can-
cel.
• Keep on saving
Save ALL of your Songs — memory is cheap! If you have a sequencer or MIDI data filer, you
can use the AN200’s Bulk Send function (page 108) to save your valuable Song data in multi-
ple “banks” of 10 Songs to disk — and build up a whole library of tunes.
However, make sure to save any relevant Pattern data with the Songs and load them together.
If you don’t do this, your Songs and Patterns may not match each other!
• Song backup
You may want to use Store to save different versions of your Song — even as you’re working
on it. This gives you an archive of the changes you’ve made along the way — in case you want
to call one of them up again. You can erase the unneeded versions later if you want.
Once you’ve created a Song you want to save, DO NOT select another Song and DO NOT leave
the Song mode until you’ve stored it. Selecting another Song (or Pattern) automatically wipes
clean any changes or edits you’ve made!
Store Song
Allows you to save Song data to one of 10
Song memory locations.
With the new Song still active and Memory
Protect off, press [STORE]. Select the
desired Song number with the DATA knob,
and press [STORE] again to execute, or press
[EXIT] to cancel.
