Chapter 14 Pattern Recording
76
The AN200 is filled to the brim with an enormous variety of drum, percussion, and special effects sounds.
Put these to good use with the Step Recording features — and create your own awesome beats and smokin’
rhythms.
■ The Basics — Rhythm Track 1 • • • • • • • • • • • • • • • • • • • • • • • • • • • • • • • • • •
In the next few steps, we’ll walk you through the basics — and give you a quick way to edit. Get these steps
down, and you’ll be whizzing through the tracks in no time.
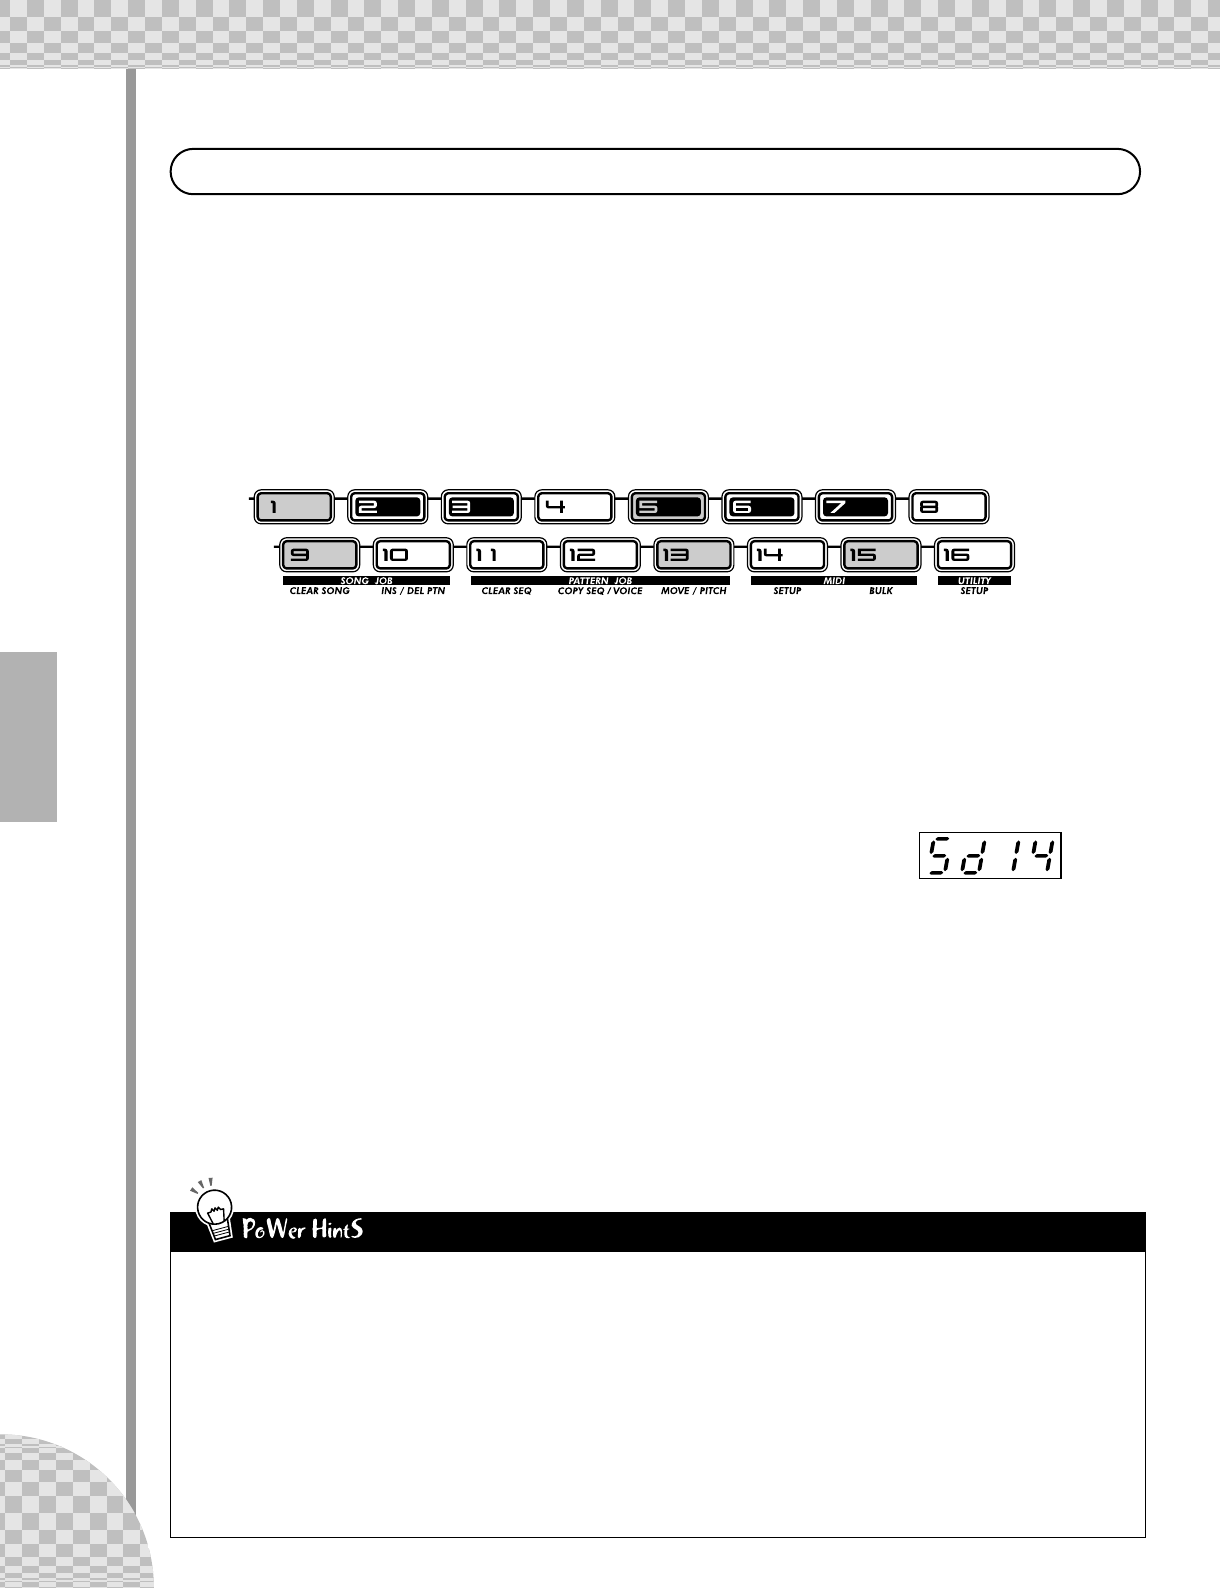
18 Turn on the Steps you want to record.
Press the buttons shown to turn them on.
19 Select the Instrument Select parameter.
While holding down [SHIFT], press [STEP 1-8]. Do this repeatedly, if necessary, to call up Instrument
Select. (The “INST SEL” indicator lights.)
Instrument Select is only available for the Rhythm tracks. As you may recall from Tip 11, the Rhythm
tracks contain a huge variety of bass, drum, percussion and other sounds — each assigned to a different
key. Instrument Select is the place you go to choose these sounds for Step recording.
Notice that a cryptic name appears in the display. This indicates the
selected sound. For example, the display below indicates that Snare Drum
#14 is called up.
For a complete list of the sounds and their display abbreviations, see page 140.
20 Enter a bass drum sound for all the steps.
Press button [1], then hold down [SHIFT] and turn the [PORTAMENTO] knob to select “bd05.” All
steps 1 - 16 are instantly and automatically set to the same value.
Remember, you can use the [DATA] knob instead for finer control. Just press the appropriate number
button, then tweak the [DATA] knob to dial up the desired sound.
Press the Start/Stop button to hear the new track — a bass drum pulse that will be the foundation of this
new rhythm.
In the Fast Lane — Working Smart
Rhythm Tracks
Once you get to know your way around the controls, you can Step Record
your tracks fairly quickly. The trick is in getting the system down to a rou-
tine. So, here’s the routine!
1) Select the desired track.
Press [SYNTH TRACK] or [RHYTHM TRACK].
2) Turn on the desired Steps.
Press the appropriate Step buttons, so that they light.
3) Call up the desired parameter.
Hold [SHIFT] and press [STEP 1-8] to call up Instrument Select, Pitch,
Gate Time, or Velocity.
4) Press the desired number button and change the value.
Use the knob directly above it, or use the [DATA] knob.
While editing you may want to turn other Steps on or off. To do this
quickly and return to editing:
1) Press [EXIT] (to leave the current parameter).
2) Turn the desired Steps on or off.
3) Press [STEP 1-8] or [STEP 9-16] (to return to current parameter).
And remember — at any point in the operation, you can:
• Select a different track.
Press [SYNTH TRACK] or [RHYTHM TRACK].
• Play the Pattern to hear your edits.
Press the Start/Stop button.
• Mute or un-mute individual tracks.
Hold [SHIFT] and press [1], [2], [3], or [4].
