96
Chapter 18
Master Class 1 —
Onstage
Now that you’ve got the hang of the instrument, it’s time to start strutting your
AN200 chops onstage. There are a lot of truly amazing things you can do with
the AN200 — especially once you put it together with some other MIDI gear.
Here are some ideas to get you started...
79 Sync the AN200 to your sequencer
The sophisticated sync features of the AN200 let you lock it in step with the rhythm of just about any other
MIDI device, such as a computer, rhythm machine or external sequencer. No drift, no glitching, no slipping
out of sync — the two machines stay perfectly in the same groove.
This is great for live situations. For example, you could use a computer or sequencer for your main tracks
and fly in some AN200 Patterns as you perform — while everything stays in perfect sync.
In this application, the sequencer is the “master,” or controlling device, and the AN200 is the “slave.”
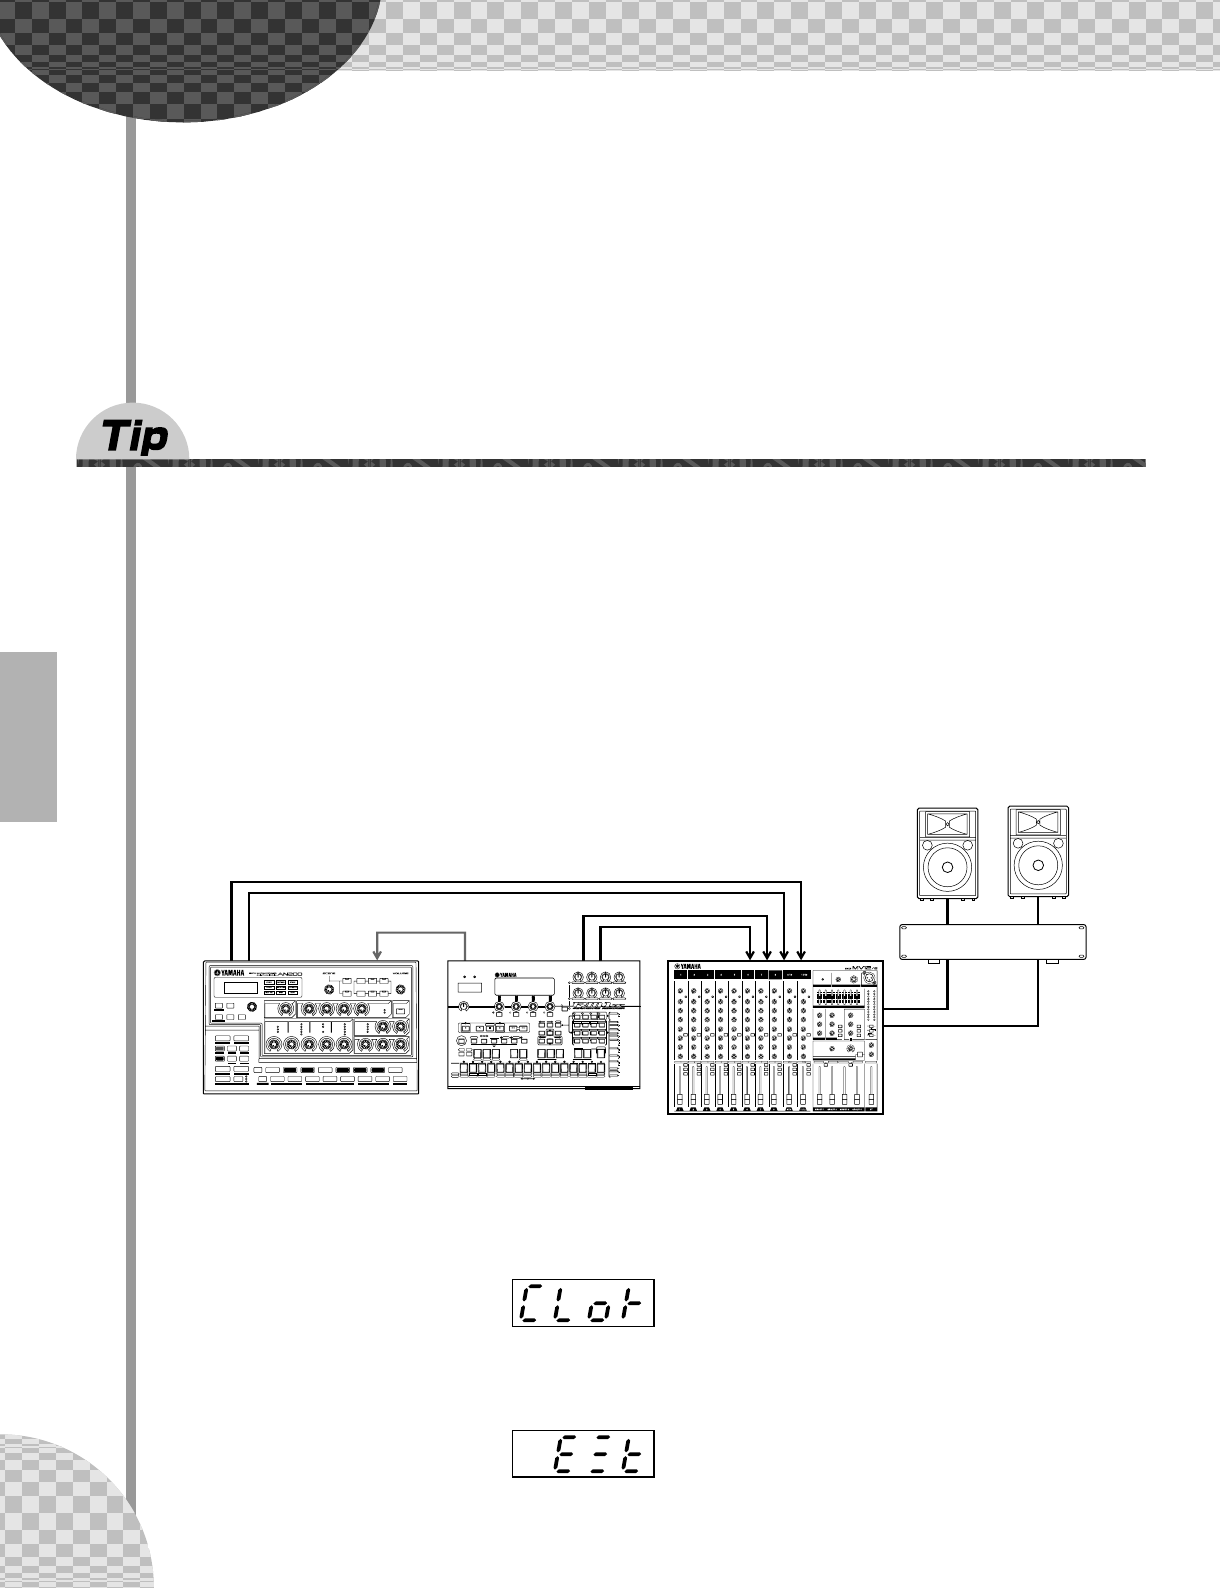
1 Set up the AN200 and the sequencer.
Connect the two as shown with a standard MIDI cable.
2 Call up the Clock setting on the AN200.
Hold down [SHIFT] and press button [14] (MIDI SETUP), repeatedly if necessary, until “CLo)” appears
in the display.
3 Set Clock to “External.”
Turn the [DATA] knob until “E$t” is shown.
MIDI IN MIDI OUT
OUTPUT OUTPUT
INPUT
MIDI clock
External sequencer
(RM1x, etc.)
AN200
Mixer
Amplifier
Speaker Speaker


