71
Chapter 14 Pattern Recording
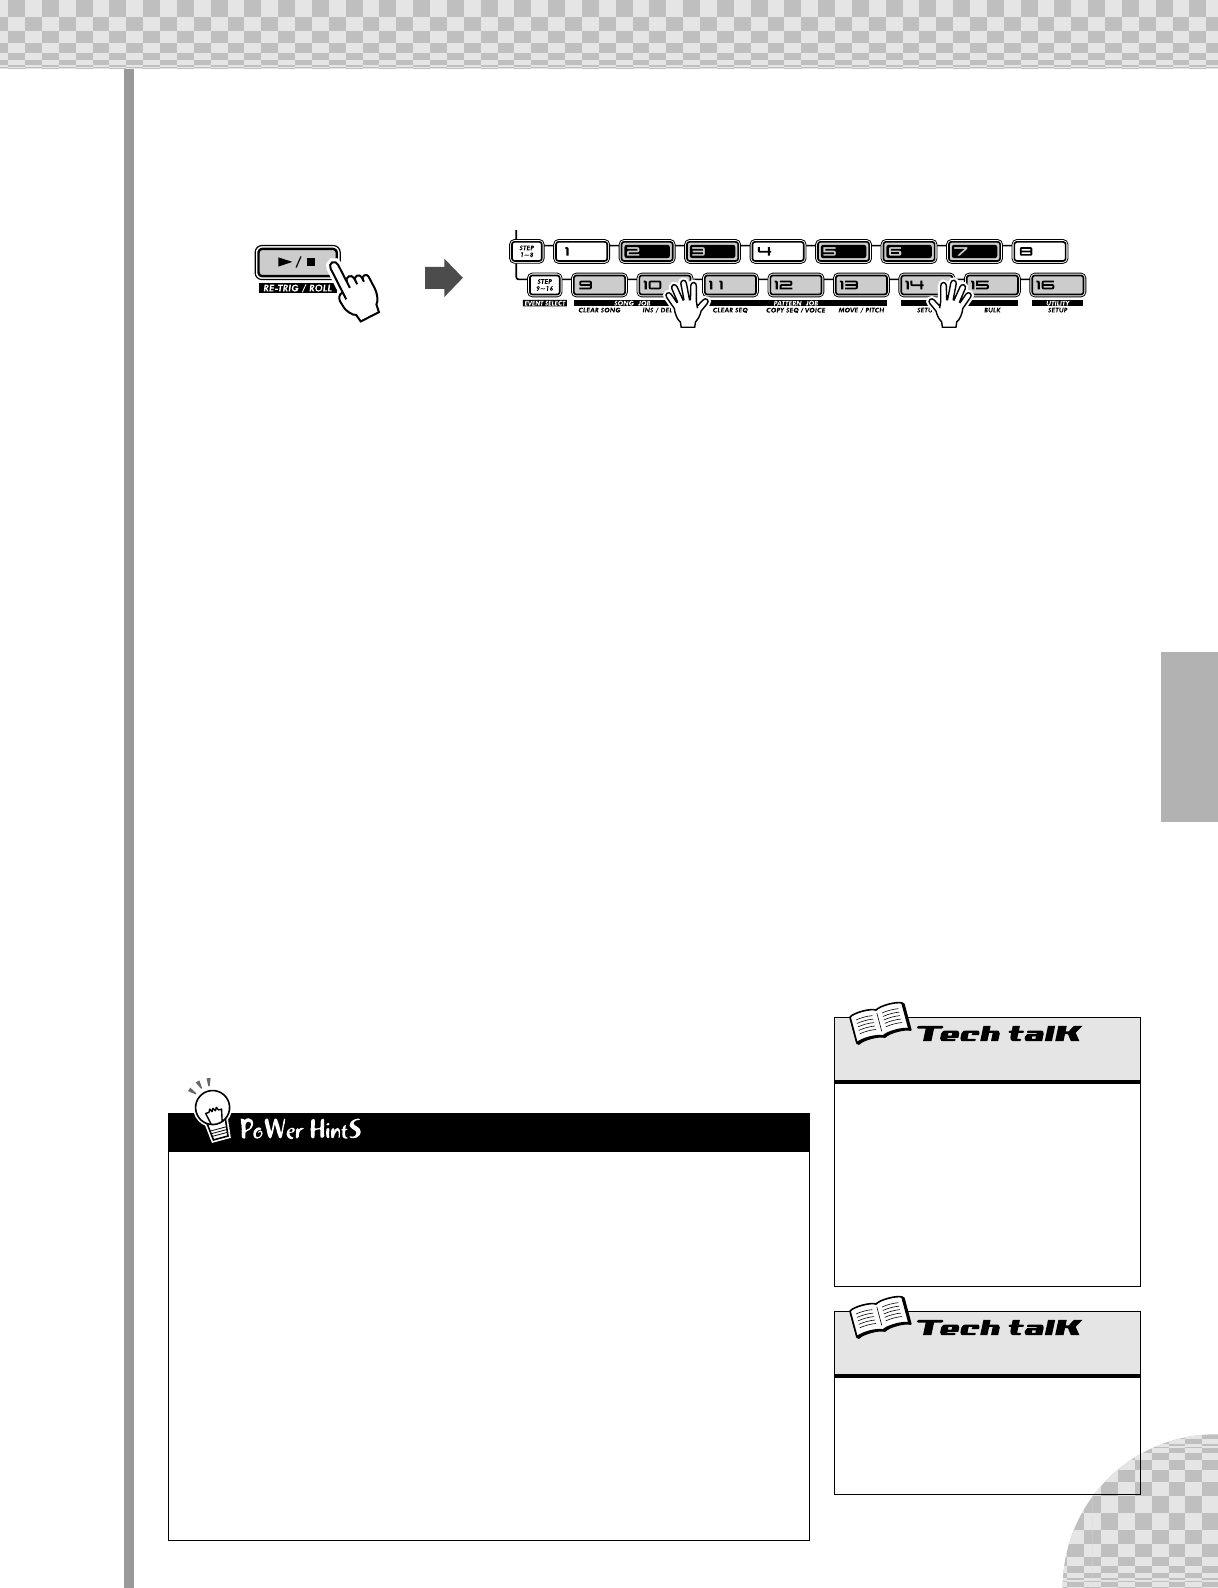
7 Start recording.
Now, let’s get down to business. Press the Start/Stop button. While listening to the metronome, play the
keys on the keyboard.
The AN200 has a nifty “Loop Recording” feature that immediately and automatically plays each note you
record as the Pattern repeats (loops). This lets you hear the Pattern as you’re recording — making it
much easier to “feel” your way to a great recording.
What’s more, the AN200 automatically corrects the timing of the notes you play. This may not always
give you the results you expect — but it will ensure that ALL your notes play back in perfect sync with
the rhythm.
8 Delete your mistakes or unwanted notes.
We know, you probably didn’t make any any mistakes. But just in case you want to know, here’s how you
can patch up your tracks.
While the Pattern is still recording, simultaneously hold down [SHIFT] and press one of the Step buttons.
(Again, avoid Step buttons [1], [4], and [8] — they won’t have any effect.) Listen closely to the playback
and press the appropriate Step button at the right time — right as the note plays. You can erase more
than one note by continuing to hold down [SHIFT] and the Step button — for as long as you want to
erase. Since it may be difficult to precisely erase the offending notes, try slowing down the bpm (page
17) during recording.
9 Stop recording.
Press the Start/Stop button.
10 Finally, save your precious work to the AN200’s internal memory — with
the Store function.
(Actually, you’ll have to see page 79 for info on storing Patterns — we’re
running out of space here... Besides, the Store function deserves it’s own
Tip.)
• Lay down the drums
Generally, it’s a good idea to record your Rhythm track first. In fact, you may want to record
just a very simple drum pattern to start with, and build up from there. You can later embellish
that basic track, or even erase it and come up with an entirely new drum part — once your
other tracks start to take shape.
• Loop Recording
Take advantage of the Loop Recording feature and play just one note or sound at a time. For
example, when building a Rhythm track, start out with just a kick drum sound (select octave
C2 with [OCT <<], and press [9]) — and play it on the “one” and “three” beats. With the kick
looping, play button [3] for a snare drum. Then, go back to octave C3 and use buttons [14]
and [7] to add a rapid-fire hi-hat pattern.
Get the idea? Keep building your tracks part by part in this way until you’ve got just what you
want.
• MIDI keys
Have you bought yourself a MIDI keyboard yet? One that’s at least five octaves long, has
touch sensitive keys, and features Pitch Bend and Modulation wheels? If you haven’t, you’re
missing out on a very easy and powerful way to record! Just hook one up (see Tip 86) — and
lay down your best keyboard licks.
Real-time Recording
Allows you to record the notes to a Pattern in
real time, as opposed to entering them one-
by-one (in Step recording; see page 72).
Select a blank Pattern and set the Beat
(below). Select a track with [SYNTH TRACK]
and [RHYTHM TRACK], and press [KEY-
BOARD]. Press red Record button to enable
recording, then press Start/Stop button to
start, and play the keyboard.
Beat
Determines the number of steps for the Pat-
tern. Hold down [SHIFT] and press [SWING],
and use the DATA knob to change.
Settings
16, 12, 8 steps
