


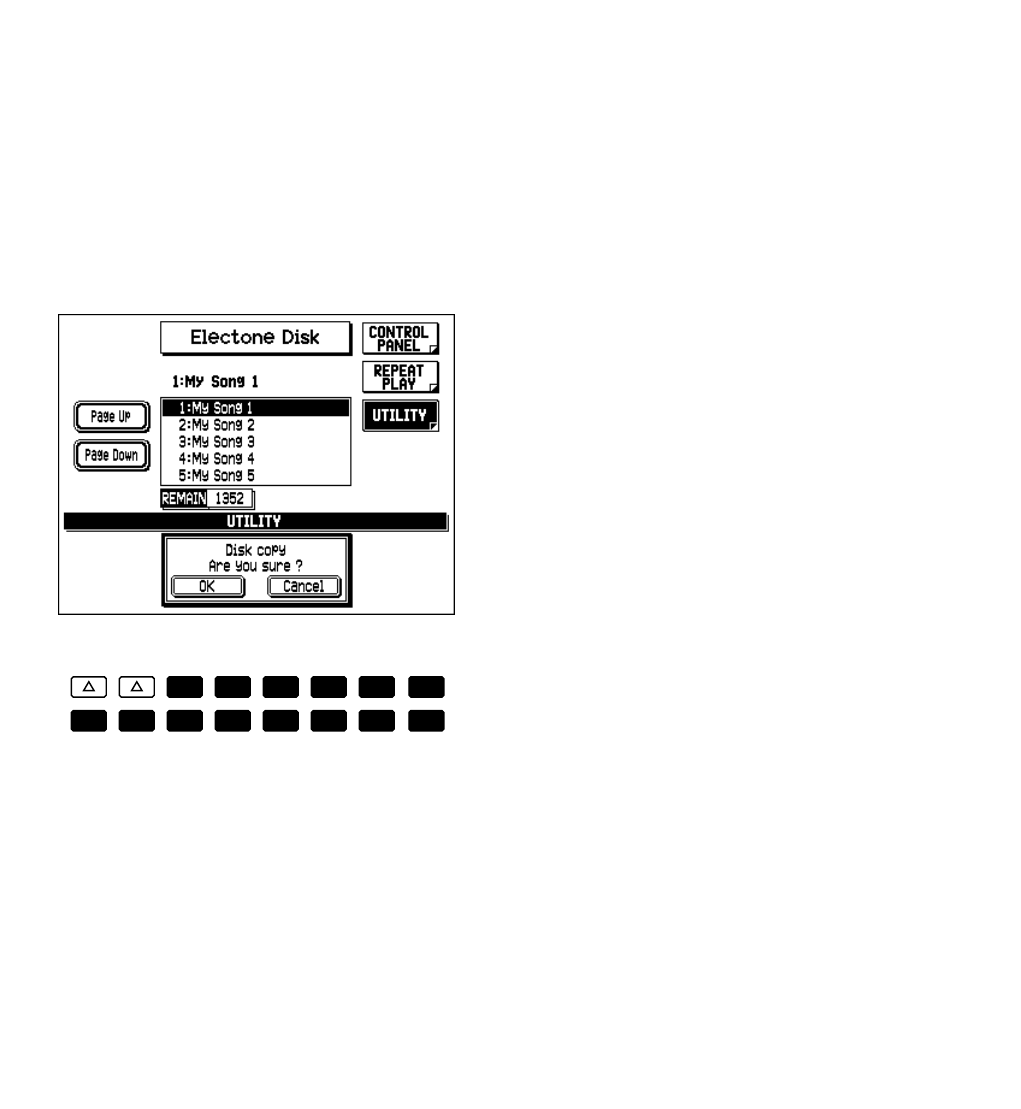
112
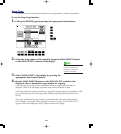
2. Insert the source disk in the disk slot.
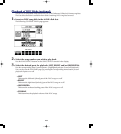
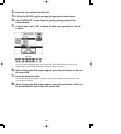
3. Call up the UTILITY page by pressing the appropriate Menu button.
4. Select “DISK COPY” in the display by pressing the appropriate Data
Control button.
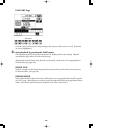
5. At the prompt, select “OK” to initiate the disk copy operation, or “Cancel”
to abort.
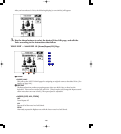
The M.D.R. starts reading the data in the source disk. (The REMAIN window and M.D.R.
display both count down the remaining amount of data to be copied.)
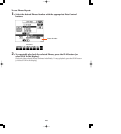
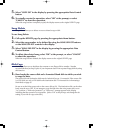
6. When changing the disk prompt appears, press the eject button to take out
the source disk.
7. Insert the destination disk.
The amount of data remaining to be copied is shown in the display, and counts down as the
copy operation continues.
8. When changing the disk prompt appears, press the eject button to take out
the destination disk and re-insert the source disk.
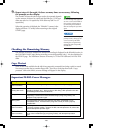
DATA CONTROL