Installing Optional Hardware
Installing Optional Hardware
186 Reference
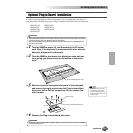
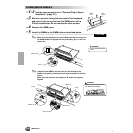
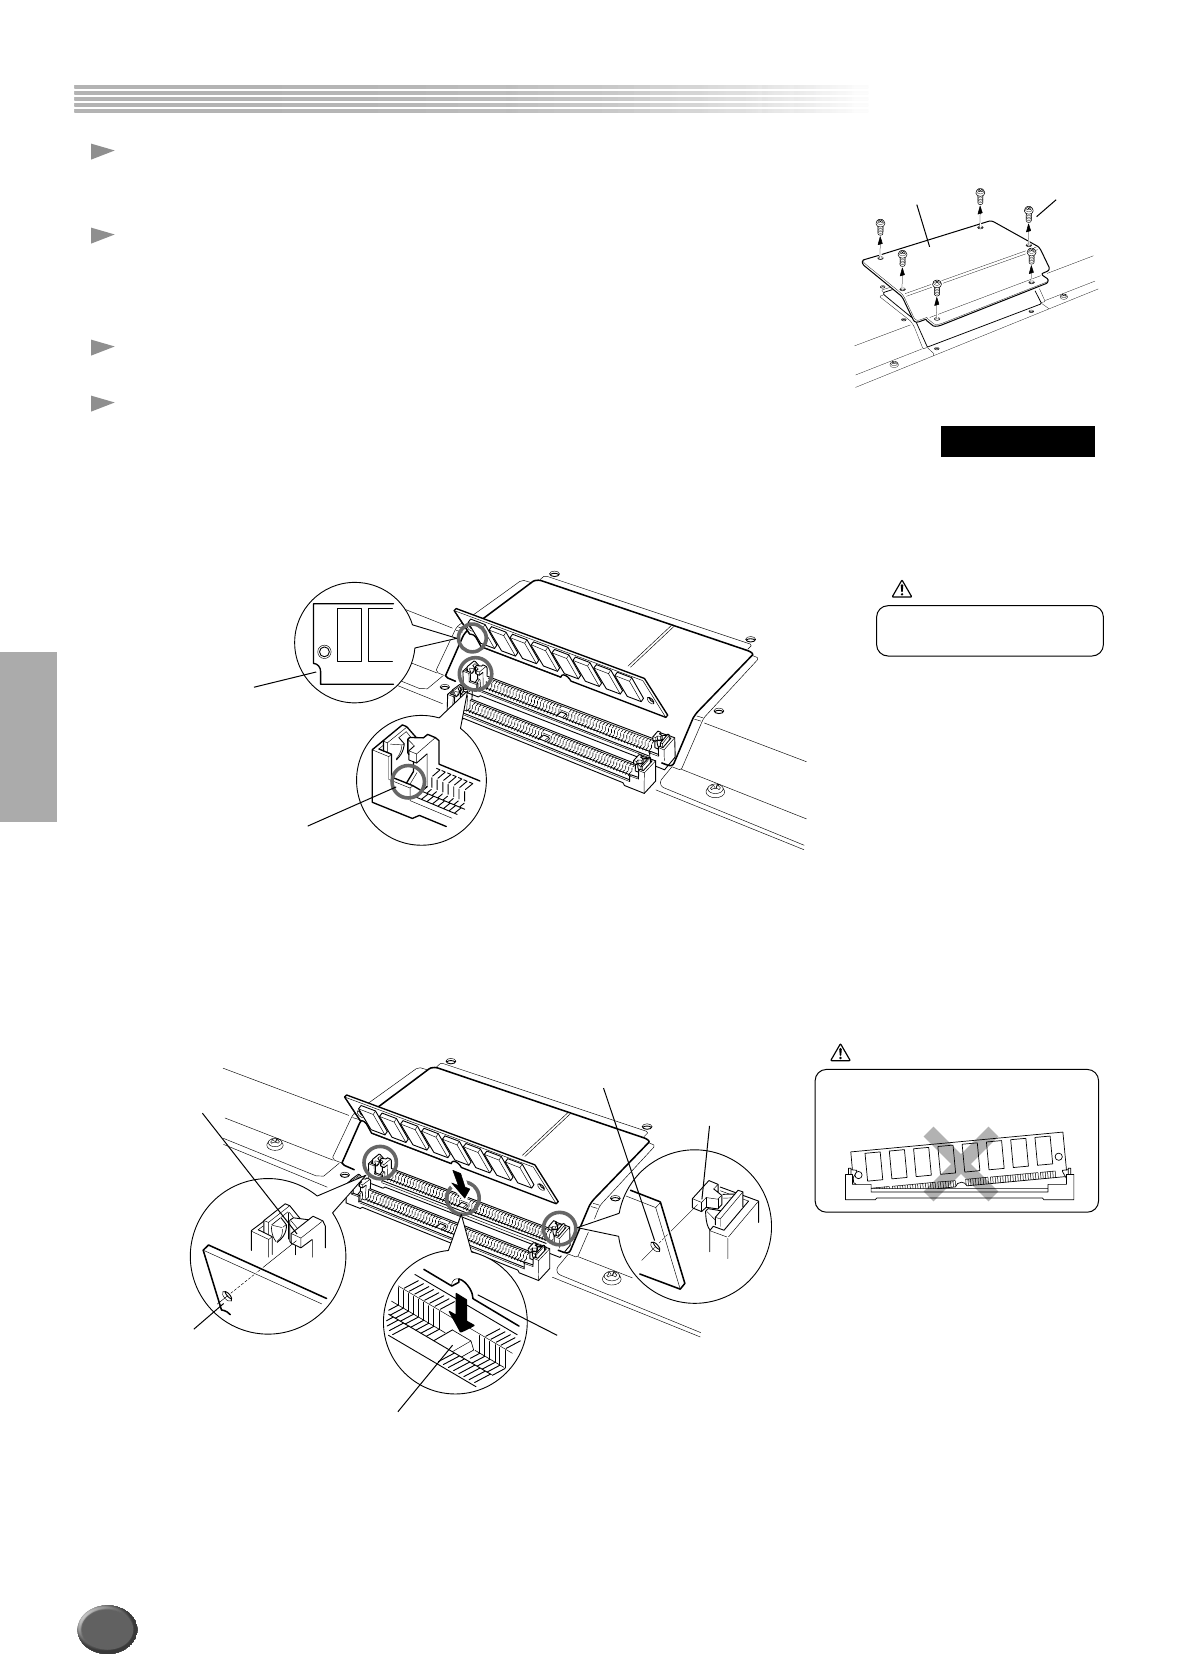
1-2 Use the same operation as in "Optional Plug-in Board
Installation" (page 181).
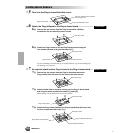
3 Move to a position facing the rear panel of the keyboard,
and remove the six screws from the SIMM cover with a
Phillips screwdriver. Do not remove the other screws.
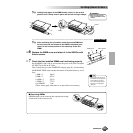
4 Remove the SIMM cover.
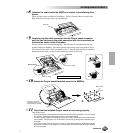
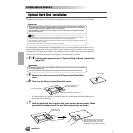
5 Insert the SIMMs in the SIMM slots as described below.
....................................................................................................................
5-[1] Make sure the orientation is correct. Make sure that the cutout on
the SIMM module is aligned with the protruding “key” on the con-
nector slot.
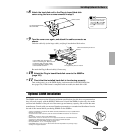
5-[2] Install the first SIMM in the rear slot (the slot closest to the
9000Pro rear panel), inserting it at an angle as shown in the illus-
tration.
Make sure that the parts at locations A, B, and C are properly
aligned.
Black
screws
SIMM
cover
First SIMM
SIMM cutout
Slot key
CAUTION
• Do not install the SIMM back-
wards.
A
B
C
Clamp
SIMM hole
Slot protrusion
SIMM notch
SIMM hole
Clamp
CAUTION
• Make sure that the entire length of
the SIMM is evenly inserted.
184


