39
Digital Effects
OVERALL
DIGITAL
EFFECT
MIDI
Chorus
Flanger1
06
Selecting a Chorus Effect
1
Select the Digital Effect “Chorus” Function
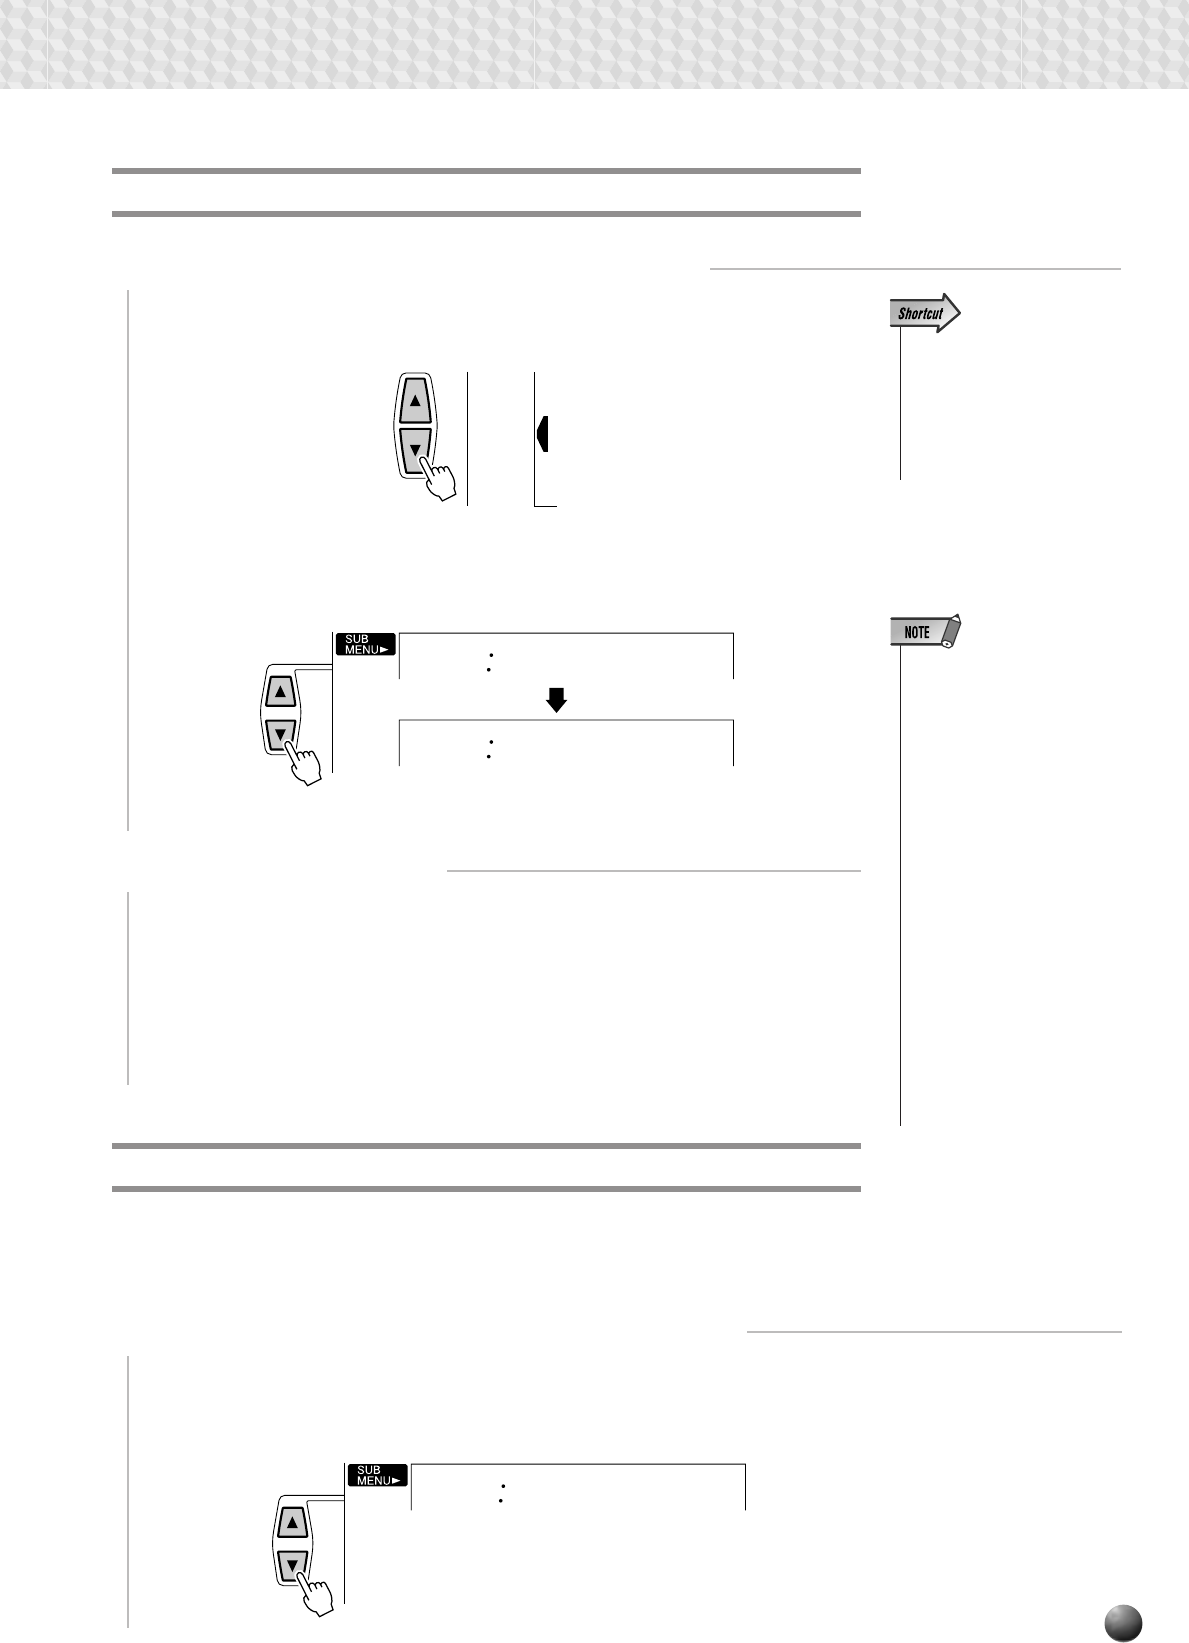
Use the MENU [▲] and [▼] buttons to move the triangular indicator in the
display next to “DIGITAL EFFECT”.
2
Select a Chorus Effect
Use the [–] and [+] buttons, number buttons, or data dial to select the desired
chorus effect (the name of the selected chorus effect will appear on the top line
of the display). Select “Off” if you want no chorus effect on any part of the PSR-
530 sound.
Then use the SUB MENU [▲] and [▼] buttons to select “Chorus”. After a few
seconds the name of the currently selected chorus effect will appear on the top
line of the display.
• When you select a different
Style, the appropriate Cho-
rus type will be selected ac-
cordingly. Some of the
Styles contain Chorus types
which cannot be selected on
the PSR-530. In this case “ –
:XG Cho.” will be displayed
when you select the SUB
MENU Chorus of the DIGI-
TAL EFFECT.
• If you don’t want to apply the
Chorus effect to Styles or
Songs, select “10: OFF”
from the Chorus types, or
set the Chorus Return Level
to its minimum. In this case
no Chorus is applied to the
entire system. If you use the
Revoice function, you can
set the Chorus Send Level
for each track of the Style/
User Song independently
(see page 78).
Chorus Return Level
The ChoRtnLv (Chorus Return Level) parameter sets the amount of chorus
effect returned from the chorus effect stage, thus making it possible to adjust the
degree of chorus effect applied to the overall sound.
1
Select the Digital Effect “ChoRtnLv” Function
Use the MENU [▲] and [▼] buttons to move the triangular indicator in the
display next to “DIGITAL EFFECT”, then use the SUB MENU [▲] and [▼]
buttons to select “ChoRtnLvl”.
ChoRtnLv
064
• You can also jump directly to
the DIGITAL EFFECT Cho-
rus function by pressing and
holding the [CHORUS] but-
ton for a few seconds.


