


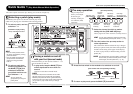


Changing the Sound of a Patch (Edit Mode)
ZOOM G7.1ut
26
5. Repeat steps 2 – 4 to edit other
modules in the same way.
6. When editing is finished, press the
[EXIT] key.
The G7.1ut returns to the previous mode.
NOTE
• The changes that you have made to a patch will
be lost when you select another patch. To keep
the changes, store the patch first (→ p. 27).
• The patch level (output level of individual patch)
cannot be changed in edit mode. Use play mode
or manual mode to set the level.
HINT
• If edit mode was entered from play mode, you
can return to play mode by pressing the BANK
[W]/[Q] foot switches or foot switches 1 – 4. In
this case, the bank/patch will be switched at the
same time.
• If edit mode was entered from manual mode,
you can cancel the mode by pressing the BANK
[W] foot switch. The G7.1ut will then return to
manual mode.
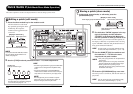
Changing a patch name
You can change the name of an edited patch. To
do this, proceed as follows.
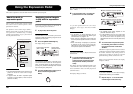
1. In play mode, manual mode, or edit
mode, press the [TOTAL/FUNCTION]
effect module key.
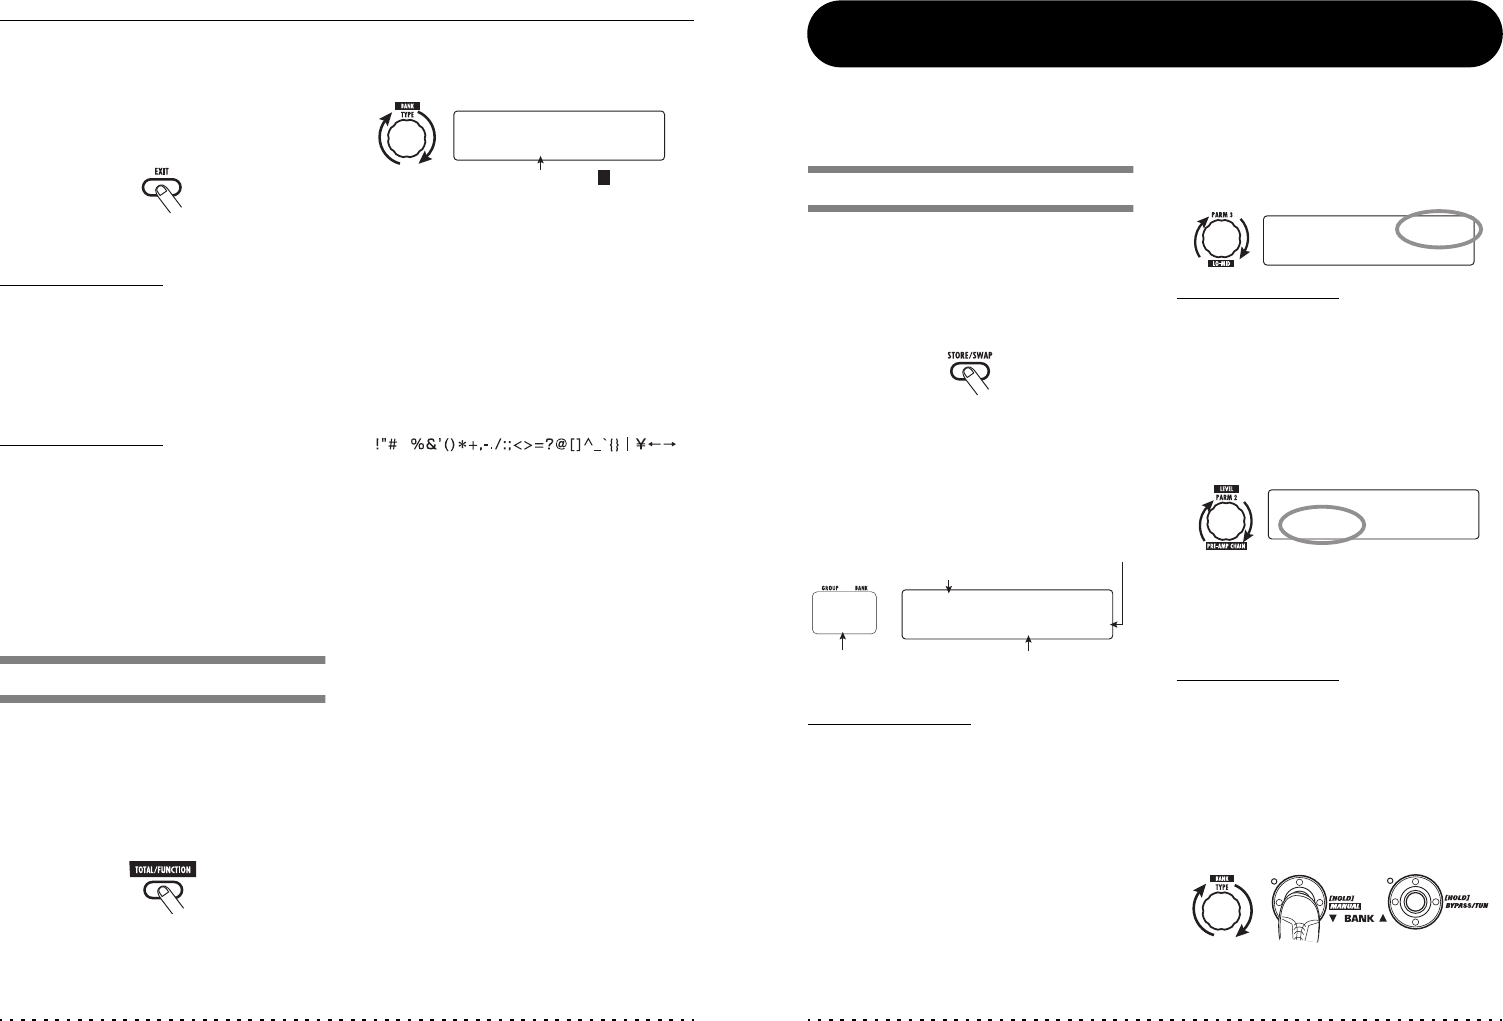
2. Turn the [TYPE] knob to bring up the
patch name on the lower part of the
display.
The first character of the patch name is shown
alternating with a black square.
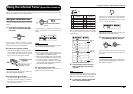
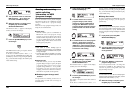
3. Turn parameter knob 4 to move the
character input position, and use
parameter knobs 1 – 3 to select the
new character.
Parameter knobs 1 – 3 select characters as
follows.
Parameter knob 1 (numerals): 0 – 9
Parameter knob 2 (letters): A – Z, a – z
Parameter knob 3 (symbols):(space)
4. Repeat step 3 until the patch name is
as desired. Then press the [EXIT] key.
The alternating black square ( ) indicates
that this character can be changed
NAME:[
NAME:[
±ewDrive]
ewDrive]
¡:0
:0
™:A
:A
£:@
:@
¢:çå
çå
$
ZOOM G7.1ut
27
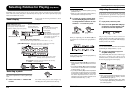
Storing Patches and Banks (Store Mode)
This section explains how to use the store mode. In store mode, you can store edited patches in memory, or
swap the store location of user group patches. Storing and swapping can also be carried out for entire
banks. The patches of the user groups can be returned to the factory default condition at any time.
Storing/swapping patches
This section explains how to store and swap
patches.
1. In play mode, manual mode, or edit
mode, press the [STORE/SWAP] key.
The G7.1ut switches to the store standby
condition, and the currently selected patch
becomes the store/swap source.
The [GROUP/BANK] indicator shows the store/
swap target group name and bank number.
HINT
• In the factory default condition, the user groups
(U, u) contain the same patches as the preset
groups (A, b).
• If a patch has been edited, it will be stored or
swapped in the edited condition.
• If
a patch from a preset group was selected
when you pressed the [STORE/SWAP] key,
the first user group patch will automatically be
selected as store target.
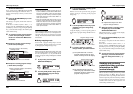
2. To store/swap individual patches,
turn parameter knob 3 to bring up the
indication "PATCH" in the top right of
the display.
NOTE
When "BANK" is shown, the subsequent operation
will be carried out for the entire bank. Make sure
that the correct indication is shown.
3. Turn parameter knob 2 to bring up the
indication "STORE?" or "SWAP?" on
the display.
When "STORE?" is selected, the current patch
can be stored as any user patch.
When "SWAP?" is selected, the current user
patch can be swapped with any other user patch.
NOTE
If the source patch is from a preset group, the
indication "SWAP?" does not appear.
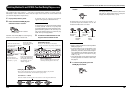
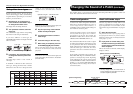
4. Use the [TYPE] knob or BANK [W]/
[Q] foot switches to select the store/
swap target group name/bank
number.
Store/swap target
group name, bank number,
patch number
Store/swap target
group name/bank
number
Store/swap source patch name
Indicates that the patch was edited.
™
™
STORE?
STORE?
åU0-1
U0-1
é
NEWDrive
NEWDrive
£:PATCH
:PATCH
U0
™STORE?
STORE?
åU0-1
U0-1
é
NEWDrive
NEWDrive
£:PATCH
:PATCH
™STORE?
STORE?
åU0-1
U0-1
é
NEWDrive
NEWDrive
£:PATCH
:PATCH
or
BANK [W]/[Q]
foot switches