Hardware
Installing the LCS60
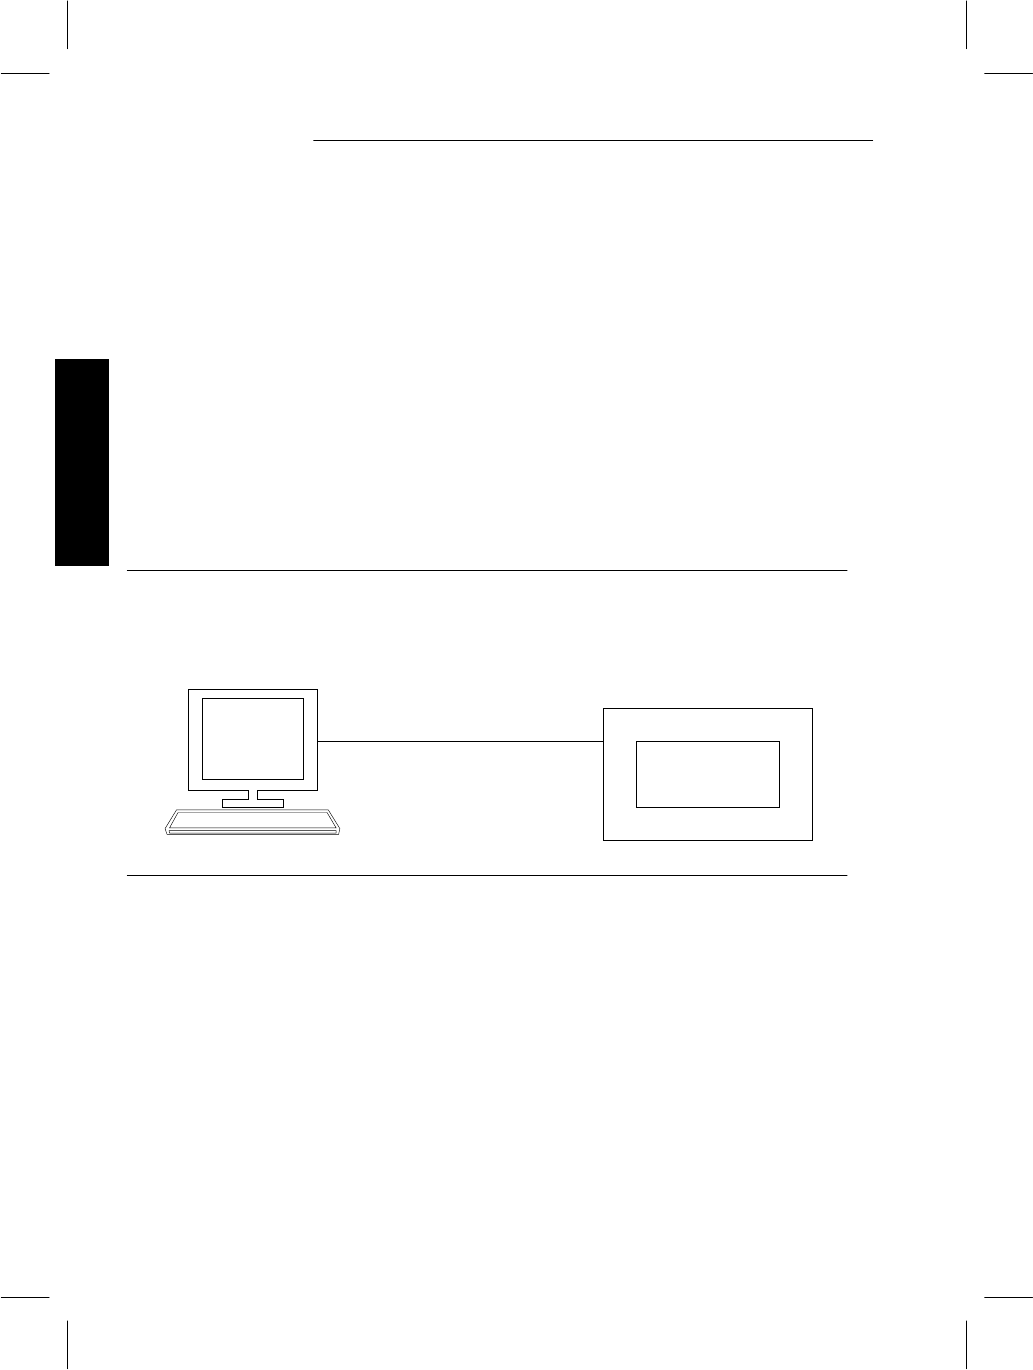
Direct Connection to the LCS60
To connect an asynchronous terminal or PC directly to the LCS60 for use as an
LCS60 console, refer to Figure 2-3 and follow the steps below:
1 . Serial Port 1 should be optioned to emulate DCE operation. This is the
default; therefore, if you haven’t changed anything there will be no need
to change the option.
2 . Connect a 25-pin RS-232 cable between the LCS60 rear panel connector
labeled "Serial Port 1" and an asynchronous terminal or PC (Figure 2-7).
3 . Power-up the system console and set the options as directed in Table 2-4.
4 . Continue with the Connecting Fiber Interface section.
Figure 2-3: System Console Connections – Direct
Terminal
DCE
Console
Port
LCS60
Connection through a Data Switch
To connect an asynchronous terminal or PC to the LCS60 for use as a system con-
sole through a data switch network, refer to Figure 2-4 and follow the steps
below:
Note: Connections to the data switch network must be to an asynchronous port
(e.g., a TY-12 port).
2-12 Issue 3


