4. Sample mode
4. Sample mode
31
Tips for achieving good results
with Time Slice
• While it is best to first try to set a BPM that results in the
smoothest playback of the sampled phrase, this may not al-
ways result in the best Slice playback. In fact, it may be nec-
essary to try different BPM values (including fractional BPM
settings) within a +/- 3 BPM range. This means that if you
have a sampled phrase that you know should playback at
120 BPM, when you make this setting and execute Slice, the
playback of your new Slice sample phrase possibly may not
be perfect when placed into a Pattern.
If this is the case it is likely that there would be an irregular
rhythm introduced. So to correct this you should delete the
newly sliced sample and try again setting the BPM to 119, or
118.5, or even 121. Trying a few settings like this will help
you to find the BPM setting which produces the best slicing.
• Even before you finish executing the Slice command you can
tell if a phrase is going to come out OK. After choosing a
BPM setting and pressing the Slice sample part key, the step
keys will light at certain note intervals based on the current
sensitivity setting. Now you can audition each lit step key to
hear how the slice is going to turn out. You should check the
timing of critical step keys, like step key 5 (beat 2), step key 9
(beat 3) etc. to hear if the sample timing is lining up with
critical downbeats in your phrase. If they’re sounding strange
you should press the Stop/Cancel key right away and start
the procedure again, this time using a different BPM setting
until you hear these critical step keys/beats matching up
better.
• When a phrase is cut into individual samples, each sample is
given a small loop at the end to keep the sample from ending
too abruptly. If the tonality of this short loop is not to your
liking try changing the sensitivity to a higher number. This
will result in less slices, so each slice will be longer and you
won’t notice these loops as much. Note that this may not al-
low you to vary the tempo of your phrase as much, but each
step will likely sound more natural.
• Phrases with swung, or irregular rhythms (including many
hip-hop and jazz rhythms) are the most difficult to get the
sliced timing right on. In these types of phrases you will need
to try a combination of different BPM settings and slice sen-
sitivity. Finally, setting the Pattern Swing parameter to a
higher value will help to re-introduce the correct feel back
into your playback. Experimenting with combinations of
these ideas will yield the best results.
• If a newly sliced phrase has some space between the step,
you will find that after you run it through an effect (or two),
and change the tempo that this small gap is covered up, or
even adds a cool and unique quality to your music. So don’t
just listen back to the pure phrase and make a final judge-
ment – play around with it, add some other parts, and listen
to how it works in context with your music. You may very
well like the new quality that was introduced during the slic-
ing!
So with a little experimentation you will find the best results,
and remember that this is a new creative tool – you want to do
more than simply cut your phrase up, you want to use all the
parameters to create you own unique sound from the original
source. Enjoy!
Other functions for editing
a sample
If you wish to save a sample that was edited using these
functions, you must perform the Write operation before
you move to another sample or turn off the power. (☞p.32
“Saving a sample (WRITE)”)
Normalize
This function boosts the level of the sample as far as possible
without causing it to become distorted.
1. Use the dial to select the sample that you wish to normalize.
2. Hold down the Shift key and press step key 11 (Normalize).
(Key 11 will blink.)
3. Press step key 11 once again to execute the Normalize opera-
tion. (Key 11 will go dark.)
If you decide to cancel without executing, press the Stop/Can-
cel key.
Maximum level
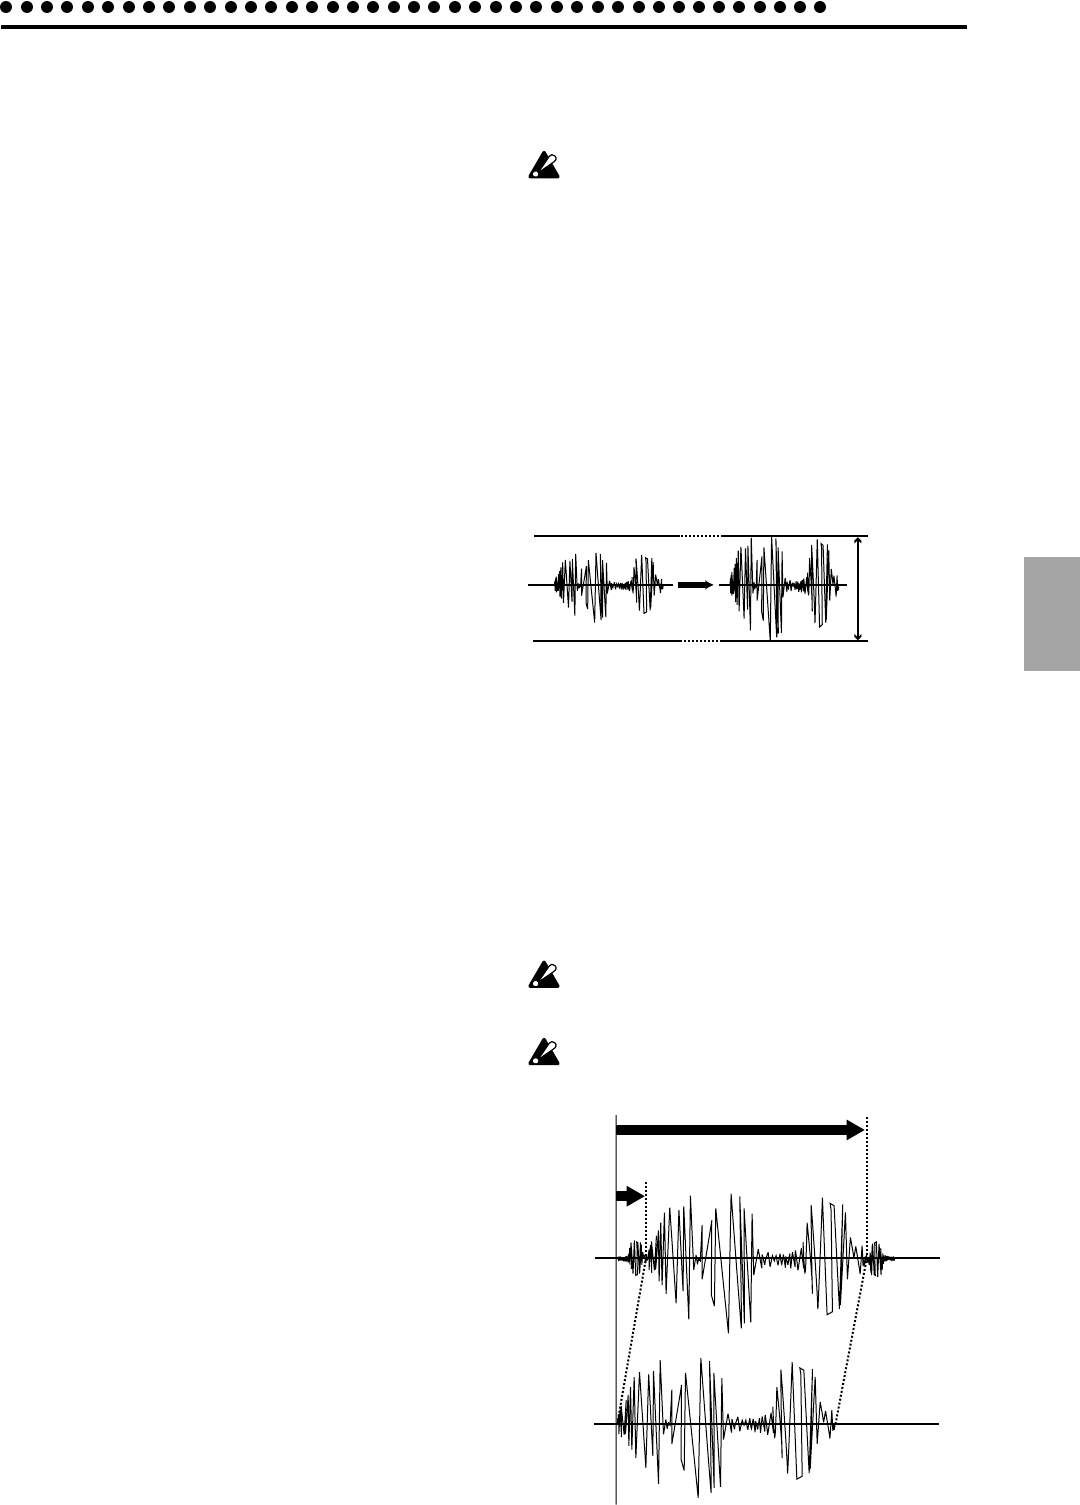
Truncate
This function deletes the portions of the sample that are earlier
than Start and later than End.
1. Use the dial to select the sample that you wish to Truncate.
2. Hold down the Shift key and press step key 12 (Truncate).
(Key 12 will blink.)
3. Press step key 12 once again to execute the Truncate opera-
tion. (Key 12 will go dark.)
If you decide to cancel without executing, press the Stop/Can-
cel key.
After the Truncate function has been executed, the Start
value will be 0 and the End value will be the length of the
sample.
After Truncate is executed, the sample cannot be deleted
(section below) until you save the sample or select an-
other sample.
Start
End
0
before
Truncate
after
Truncate


