54
7. Global mode
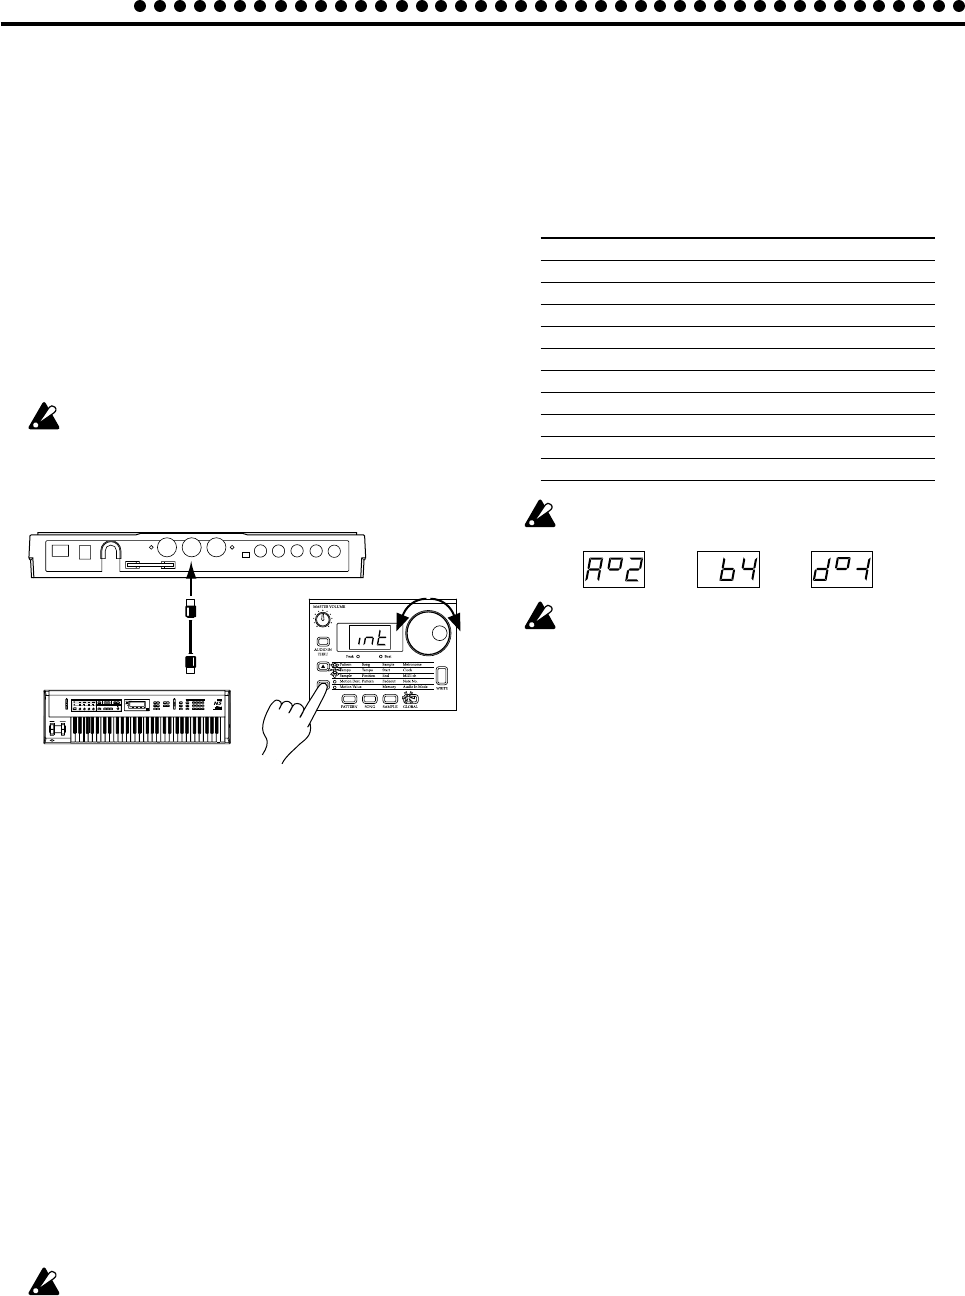
Synchronizing an external MIDI
device to the ES-1 as master (int)
1. Use a MIDI cable to connect the MIDI OUT connector of the
ES-1 to the MIDI IN connector of the external MIDI device
(sequencer or synthesizer etc.).
2. Use the cursor keys to make the parameter select LEDs indi-
cate Clock.
3. Rotate the dial to select "Int" (internal clock).
4. Make settings on the external MIDI device (slave) so that it
will receive MIDI Clock messages.
5. When you start playback on the ES-1, the external MIDI de-
vice will begin playback in synchronization.
When you perform the Reset & Play operation to begin
playback from the beginning of the pattern, the ES-1 will
transmit only a MIDI Start message.
1
3
2
MIDI keyboard or
sequencer etc.
MIDI cable
MIDI IN
MIDI OUT
MIDI channel settings
(MIDI ch)
MIDI ch 1...16
This sets the MIDI channel. The same MIDI channel is used for
both transmission and reception.With the factory settings this
will be “11”
1. Use the cursor keys to make the parameter select LEDs indi-
cate MIDI ch.
2. Rotate the dial to select the channel.
Setting the MIDI note num-
ber for each part (Note No.)
In order to make this setting, you must enter Global mode
from Pattern or Song mode.
If you enter from Sample mode, the display will indicate “-
- -” and it will not be possible to change the setting.
Note No. C-1...G9
Here you can specify the MIDI note number for each part.
If you specify the same note number for two or more parts, the
sounds of those parts will be played simultaneously when that
note is received from an external MIDI device.
1. Use the cursor keys to make the parameter select LEDs indi-
cate Note No.
2. Press the part key whose note number you wish to change
(the key will light).
3. Rotate the dial to select the note number.
The factory settings are as follows.
Part Note name Note number
Sample 1 C2 36
Sample 2 D2 38
Sample 3 E2 40
Sample 4 F2 41
Sample 5 G2 43
Sample 6A C4 60
Sample 6B C
461
Sample 7A F
242
Sample 7B A
246
Slice Sample B2 47
Audio In A2 45
Note names will appear in the display as follows.
Display for A
2
Display for D
–1Display for B4
The correspondence between note names and note num-
bers will differ by manufacturer. Please refer to the owner’s
manual for the device you have connected.
Setting the audio in mode
(Audio In Mode)
Audio In Mode
L (monaural), St. (stereo)
This setting specifies whether the sound that is input from the
audio in jack will be handled as monaural (left channel only) or
stereo. When using a monaural source such as MIC input, se-
lect “L.” When using a stereo source such as a CD player, select
“St..”
1. Use the cursor keys to make the parameter select LED indi-
cate Audio In Mode.
2. Rotate the dial to select either “L” or “St..”
Even if the Audio In Mode is set to stereo, a Sampling Mode
setting of monaural will cause the left and right channels to be
mixed and sampled in monaural.
If you set the Audio In Mode to stereo, use a stereo phone plug
to make connections.


