48
Recording
Selecting the Recording Track
1. Press either [1]–[7/8] at REC TRACK to select the
recording track.
If the button flashes in red, that track is ready for
recording.
fig.01-101
The status of each track can be determined from the
indicator on the button.
Off: No recorded data exists on the track.
Green: Recorded data exists on track.
Red: The track is selected for recording.
If a track with existing data is selected for recording, the
indicator will light alternately in orange and green.
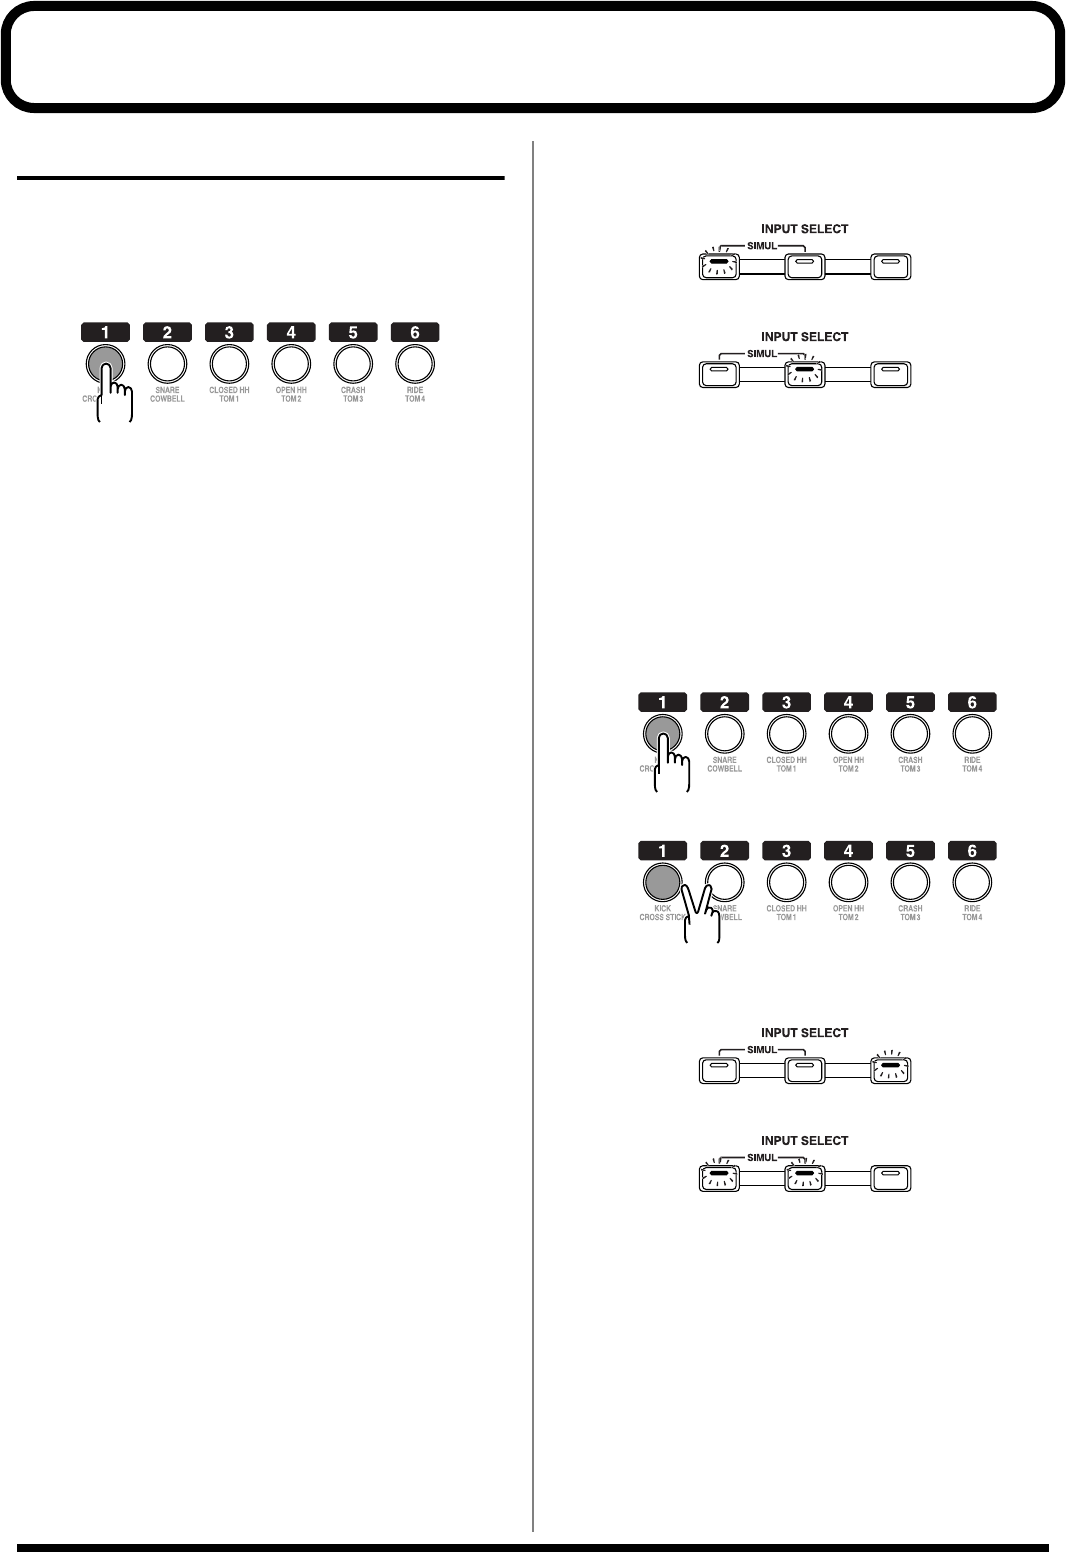
If INPUT SELECT [GUITAR/BASS/MIC2]
or [MIC] are lit
fig.01-102
Since the input is mono, the recording is normally performed
as a mono recording onto one track. Press one of TRACK [1]–
[6] at REC TRACK to select the one track to which to record.
However, if you want to record in stereo to increase the effect
of insert effects, you can simultaneously press the [1] and [2],
[3] and [4], or [5] and [6], REC TRACK buttons for stereo
recording onto two tracks.
In addition, Tracks 7/8 are stereo tracks, so they always
produce stereo recordings.
fig.01-103
If INPUT SELECT [LINE] or [SIMUL] are lit
fig.01-104
Since the input is stereo, the recording is normally performed
on two tracks. Press either REC TRACK [1] or [2] to select
tracks 1 and 2, or [3] or [4] to select tracks 3 and 4.
However, if you want to mix together the left and right
channels being input onto one track, with tracks 1 and 2
selected, press REC TRACK [1] again to select track 1. Using
the same procedure, you can select any track 1 to 6 to be the
track to which to record.
In addition, Tracks 7/8 are stereo tracks, so they always
produce stereo recordings.
or
(Recording in Mono)
(Recording in Stereo)
or
