47
Using the Play Functions
Playing the Solo Voice on the Lower
Keyboard (Solo [To Lower] Button)
Normally, the solo voice will sound on the upper keyboard.
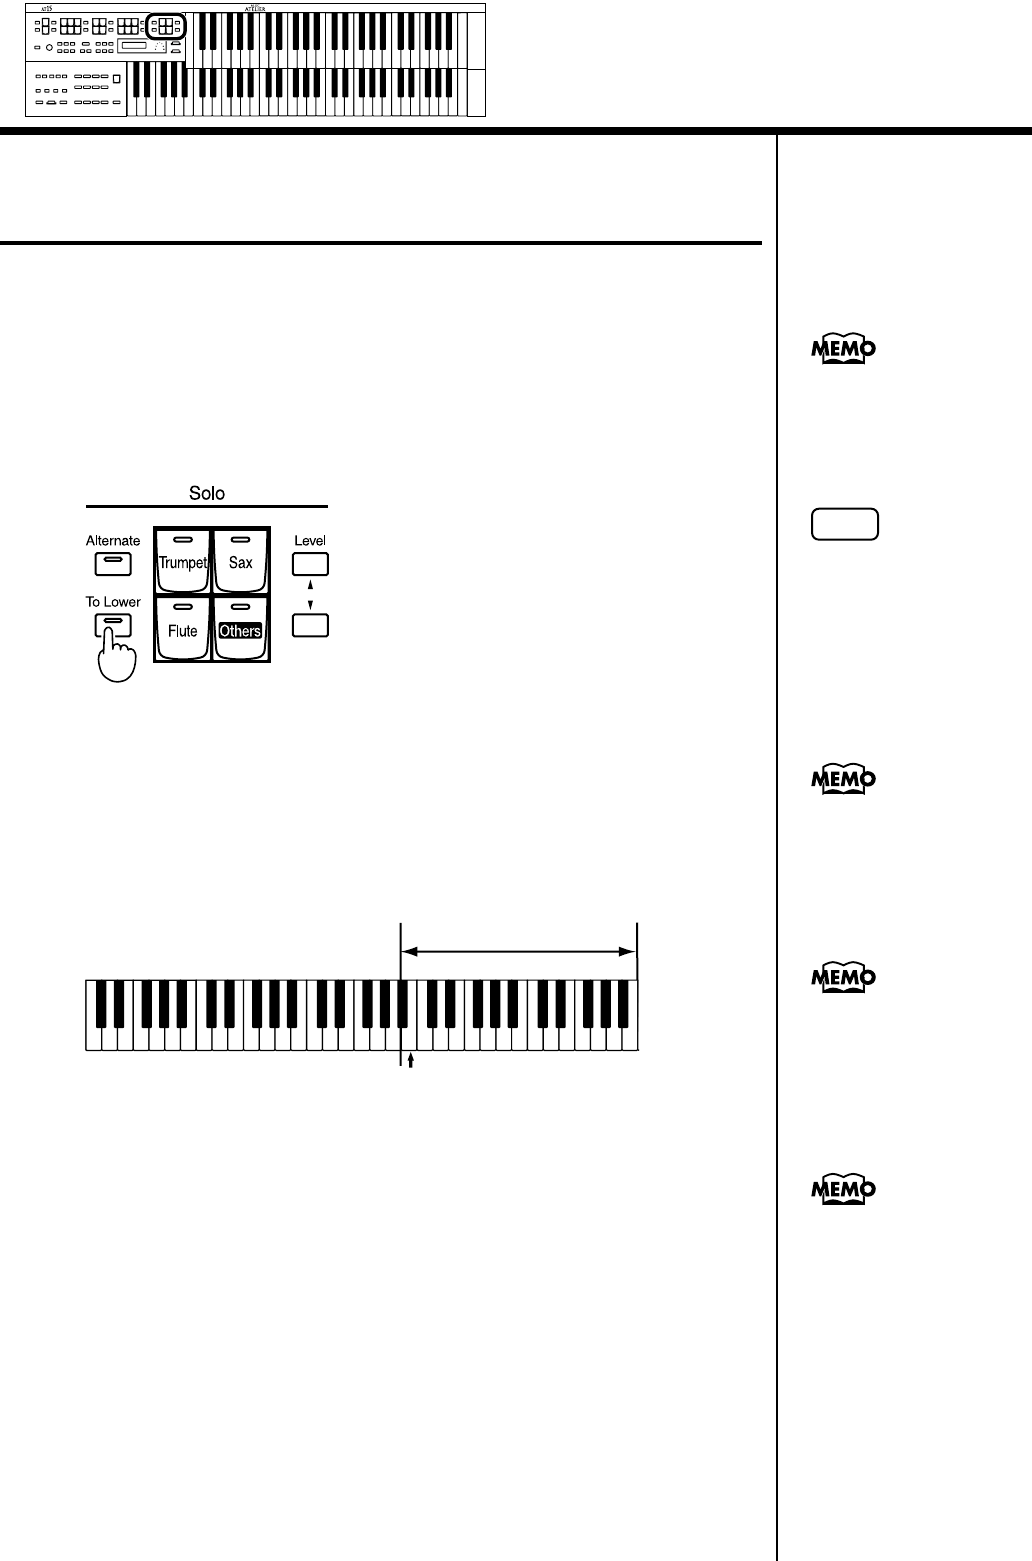
By using the Solo [To Lower] button, you can play the solo voice in the right-
hand side of the lower keyboard that includes the B4 key. The state in which
the keyboard is divided in this way is called “split,” and the location at
which the keyboard is divided to play the solo voice in the lower keyboard
is called the “Solo Split Point.”
fig.06-08_70
1.
Select a Solo voice (p. 24).
2.
Press the Solo [To Lower] button (indicator lights).
When you play the Lower keyboard, the Solo voice will sound in the range
to the right of the Solo Split Point.
fig.06-09
3.
To turn off the Solo split, press the Solo [To Lower] button
(indicator turns off).
The Solo voice will no longer sound in the Lower keyboard; the Solo voice
will now be played in the Upper keyboard.
The solo split point is
included in the right-hand
zone.
NOTE
If the Solo [To Lower] is
ON, the Solo voice will not
b
e heard from the upper
keyboard.
Lower keyboard
Solo voice
Solo Split Point
You can adjust the Solo
Split Point (p. 90).
You can change how the
Solo voice will sound (p.
89).
You can layer the Solo
voice with the Lower voice
so that they will sound
together (p. 90).
AT-15_e.book 47 ページ 2005年1月21日 金曜日 午後8時14分


