56
use the cursor
[ ]/[ ]
keys to bring up the indication "P-
I/O" on the display.
4.Press the [EDIT] key once more.
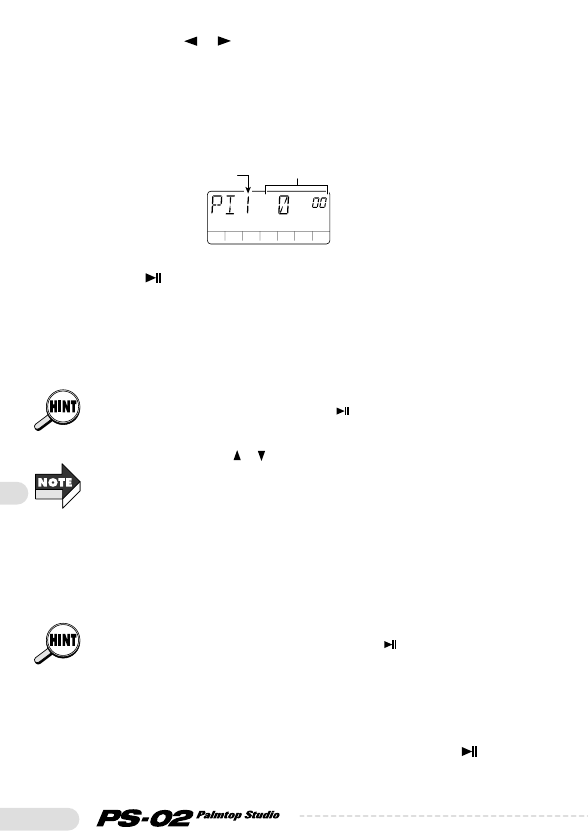
The indication "PIx" (where x is the track number) is shown. This
allows you to set the punch-in point.
5.Press the [ ] key to play the song. While listening to the
rhythm track and the recorded track, press the [REC] key
at the desired punch-in point.
The indication "P-IN" is briefly shown on the display, and the punch-
in point is set.
Instead of immediately pressing the [REC] key at the desired punch-in
(punch-out) point, you can also press the [ ] key to pause the song, and
then later press the [REC] key to set the punch-in (punch-out) point. This
method allows you to shift the point in units of 1 second while in pause
mode, using the cursor [ ] ([ ]) keys.
While setting or executing the auto punch-in/punch-out function, only the
current recording track can be monitored.
6.At the desired punch-out point, press the [REC] key once
more.
The indication "P-OUT" is briefly shown on the display, and the
punch-out point is set.
After setting the punch-in point, it is also possible to stop the song, and
later only set the punch-out point by pressing the [ ] key.
7.When the punch-in/punch-out points have been set, press
the [
■] key to stop the song.
The unit moves to a point 3 seconds before the punch-in point and
goes into the auto punch-in/punch-out standby mode. The [ ] key is
flashing.
Current position (minutes/seconds)
Track number
Reference Guide


