ARTURIA – JUPITER-8V – USER’S MANUAL
LCD screen
6.3.8 MIDI Control
Most of the knobs, sliders and switches on the Jupiter-8V can be manipulated with
external MIDI controllers. Before anything else, make sure that the MIDI device is
correctly connected to the computer, and that the sequencer or the standalone Jupiter-
8V application is correctly configured to receive MIDI events coming from the device.
Every instance of the Jupiter-8V receives MIDI events transmitted on a given channel.
This reception channel is defined in a global manner for the synthesizer, either through
the sequencer, or in the standalone Jupiter-8V application. The Jupiter-8V can receive up
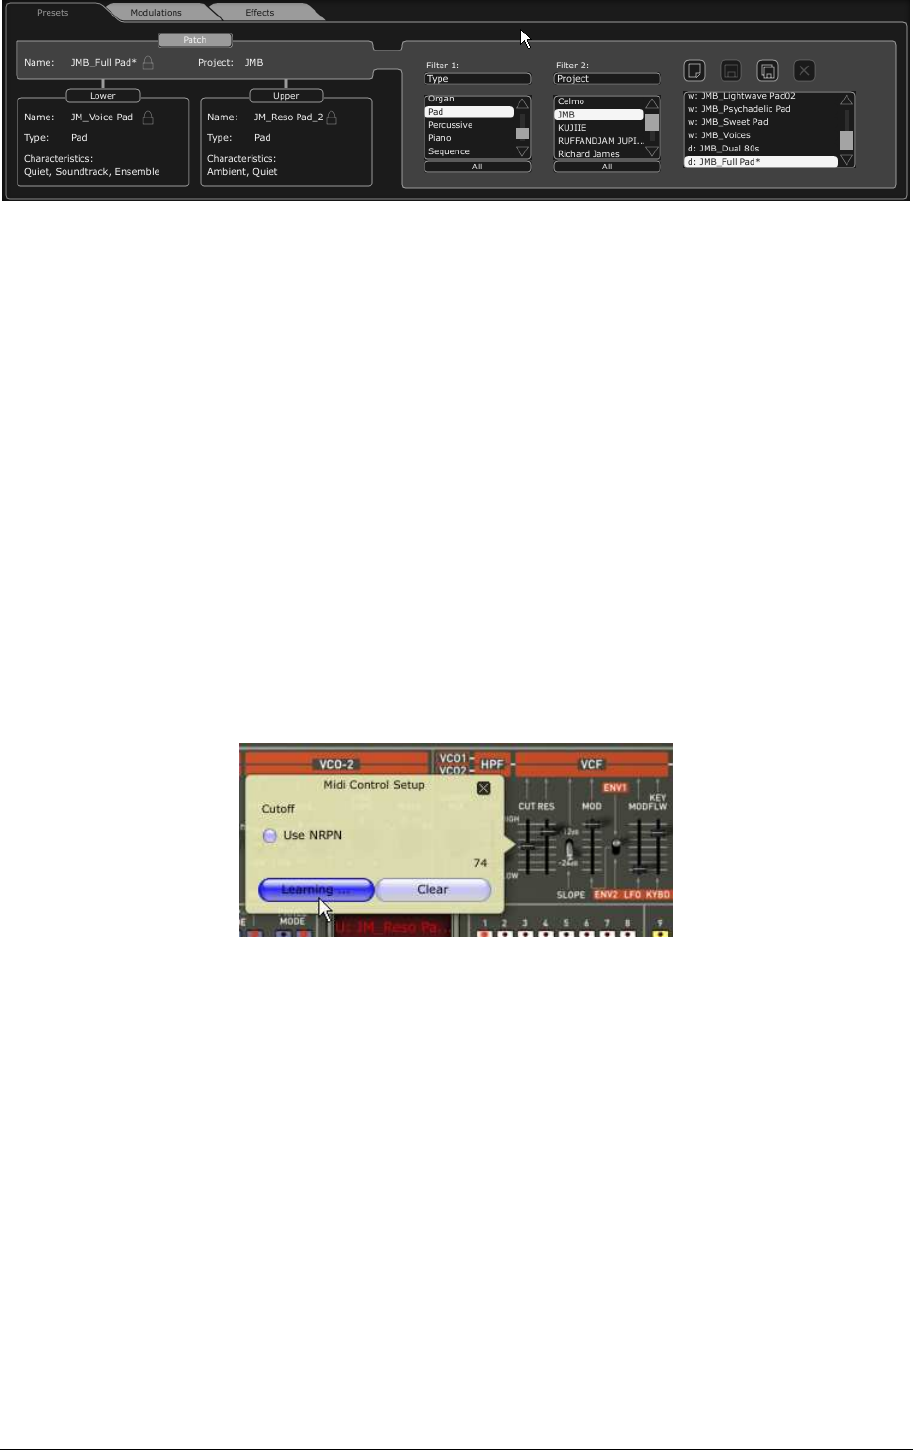
to 120 different MIDI controls. It is possible to choose a control for each knob. For this,
click on the knob while holding down the Control key. A configuration window appears
and will allow you to choose a MIDI control number. You can also click on the “Learn”
button and move one of your physical MIDI controllers. In this case, the control number
will be detected and configured automatically. To deactivate the MIDI control of a knob,
simply uncheck the “Active” option in the MIDI control window.
MIDI configuration window of a knob
6.3.9 The preference screen
On this screen, you are able to:
• See the version of the software
• Read the credits
• Activate or deactivate the pop-up windows animations
To open this window, click on the “About” button situated on the bottom right of the
Jupiter-8V interface.


