


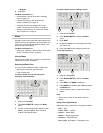


25
› Input 4 is recalled to Key 1 (on-air image
instantly cuts to Input 4).
› Input 5 is recalled to Key 2 (on-air image not
affected as Key 2 is off-air).
› Input 1 is selected on the Preview bus.
• Scenario 2
› Input 3 is recalled to the Program bus (on-air
image instantly cuts to Input 3).
› Input 4 is recalled to Key 1 (on-air image is not
affected as Key 1 is off-air).
› Input 5 is recalled to Key 2 (on-air image is not
affected as Key 2 is off-air).
› Input 1 is selected on the Preview bus.
Recall to Preview On
• Scenario 1
› Input 3 is recalled to the Preset bus (on-air
image is not affected).
› Input 4 is not recalled to Key 1 as Key 1 is on-air
(on-air image is not affected).
› Input 5 is recalled to Key 2 (on-air image is not
affected as Key 2 is off-air).
• Scenario 2
› Input 3 is recalled to the Preset bus (on-air
image is not affected).
› Input 4 is recalled to Key 1 (on-air image is not
affected as Key 1 is off-air).
› Input 5 is recalled to Key 2 (on-air image is not
affected as Key 2 is off-air).
› Input 1 is selected on the Preview bus.
Memory AI
• Scenario 1
› Input 3 is recalled to the Preset bus (on-air
image is not affected).
› Input 4 is recalled to Key 2 as Key 1 is on-air
(on-air image is not affected).
› KM-H3000: Input 5 is recalled to Key 3 as Key 2
is now in-use (on-air image is not affected).
› KM-H2500: Input 5 is not recalled as both keys
are now in use.
› Next Transition area is set to transition
background, Key 1 off-air, Key 2 on-air, and Key
3 on-air (KM-H3000 only).
• Scenario 2
› Input 3 is recalled to the Preset bus (on-air
image is not affected).
› Input 4 is recalled to Key 1 (on-air image is not
affected).
› Input 5 is recalled to Key 2 (on-air image is not
affected).
› Next Transition area is set to transition
background, Key 1 on-air, and Key 2 on-air.
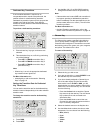
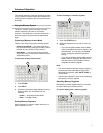
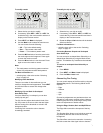
To set the Recall to Preview mode:
1. Press RECALL.
2. Press NEXT.
3. Push the RclPv knob to select the Recall to
Preview Mode. You can choose from the
following:
• On — Recall to Preview mode.
• Off — Recall to Preview and Memory AI
modes off.
• MemAI — Memory AI mode.
4. Select the memory register you wish to recall
from as follows:
• If you are using Bank Mode, select one of the
10 pattern buttons to designate the memory
register in the selected bank. You may also
use the Bank knob to change the selected
bank before storing.
• If you are using Direct Access Mode, select
one of the 10 pattern buttons to designate the
desired bank and then select a second pattern
to designate the memory register.
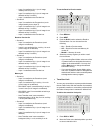
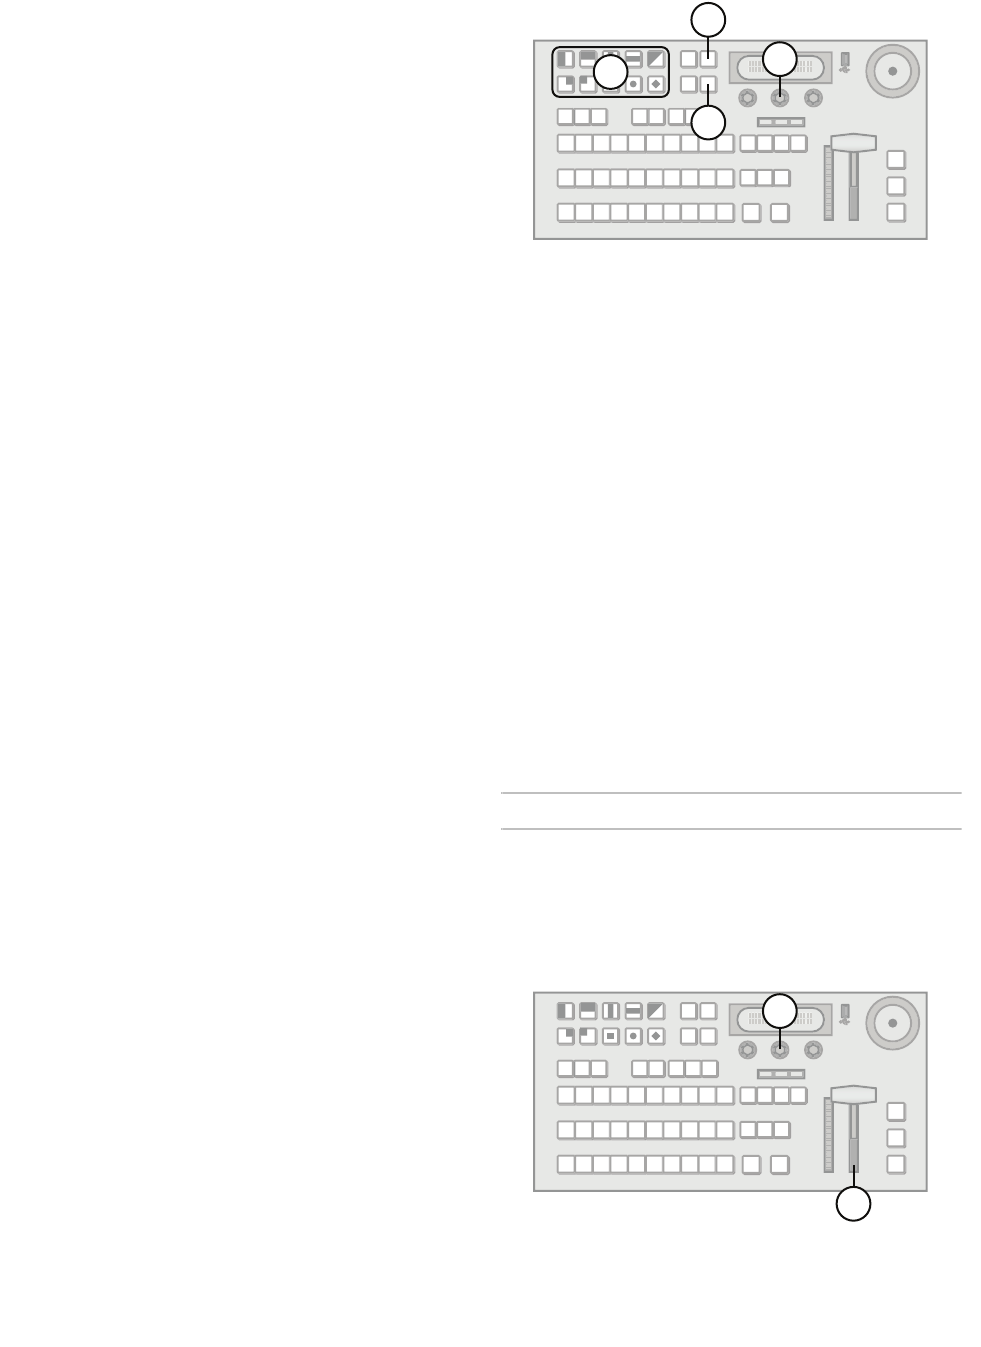
Transition Limit
You can stop a transition at a preset position between
the two Fader limits. With the transition limit enabled,
an automatic transition or a transition performed with
the Fader will stop when it reaches the defined limit.
To define the transition limit point:
1. Press DISS or WIPE.
2. Move the Fader to the desired position you wish
to set as a transition limit.
4
3
2
1
3
2