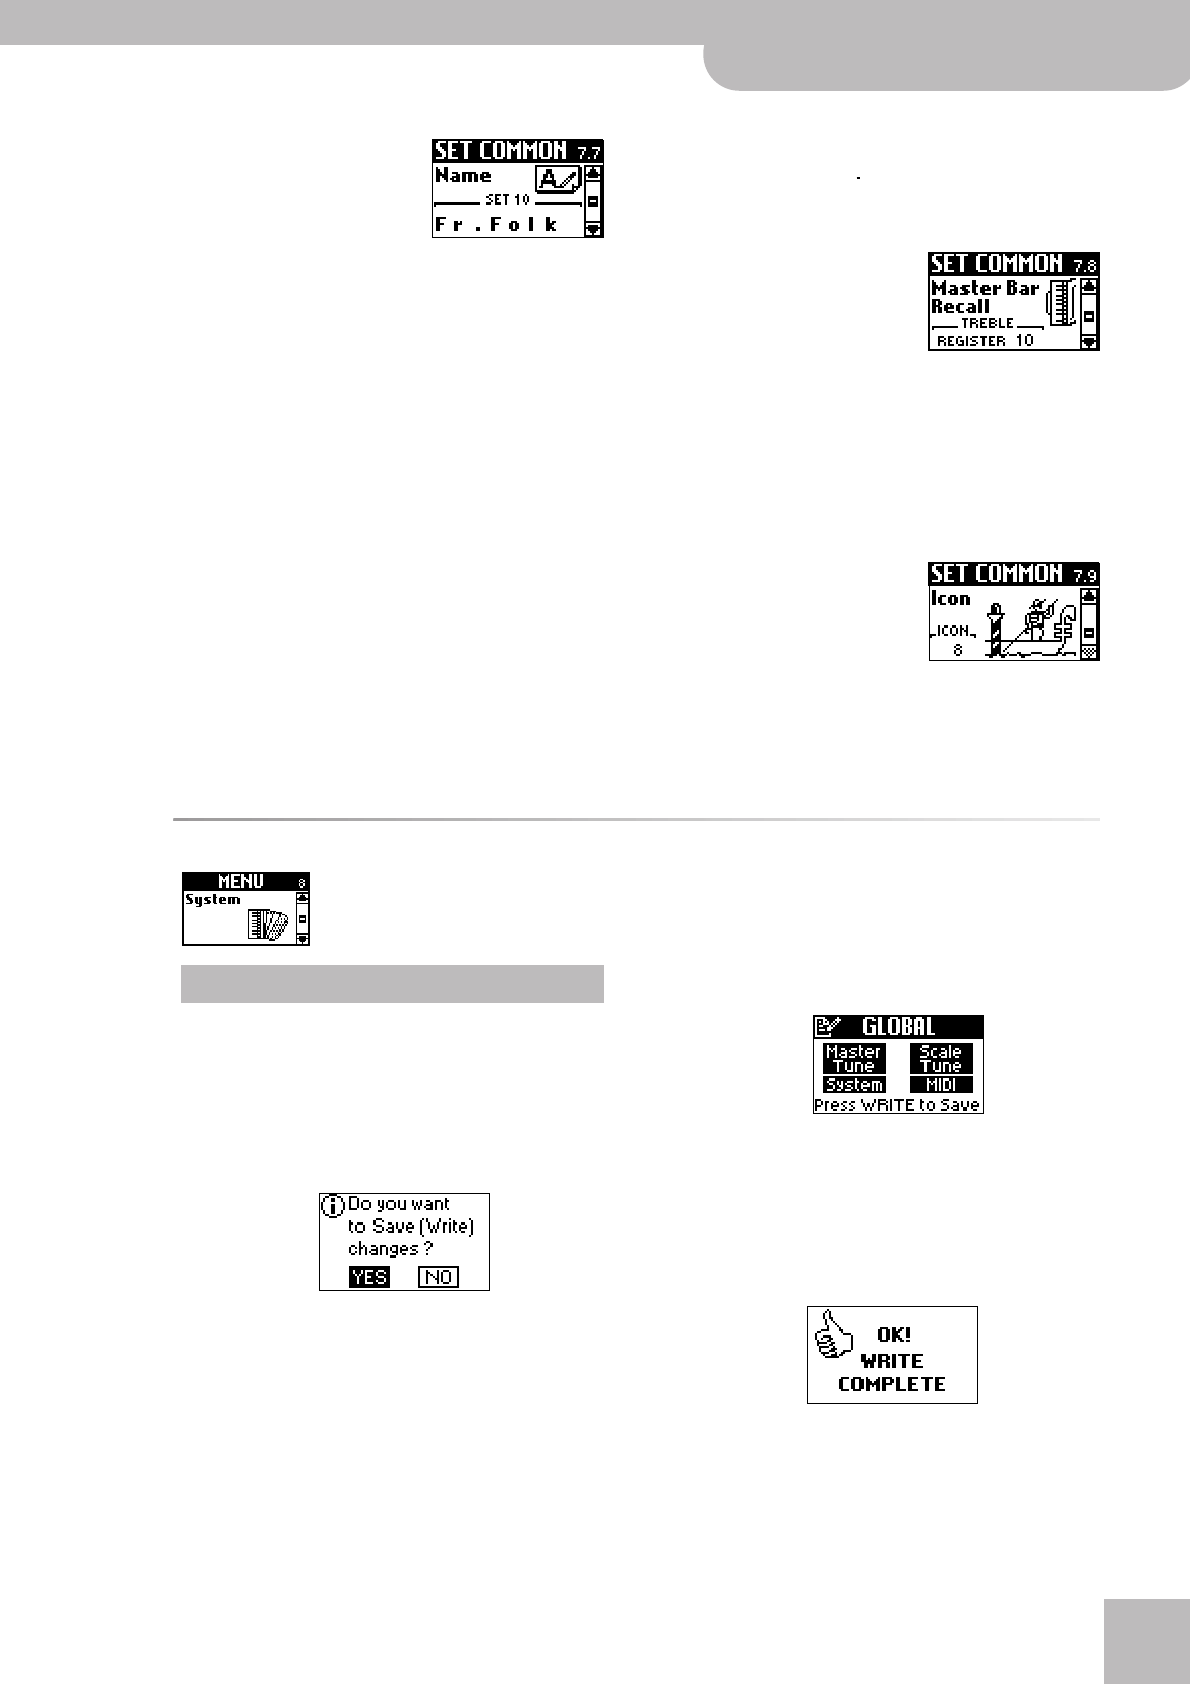
7.7 Name
V-Accordion
r
59
7.7 Name
This function allows you to
name the selected Set (8 char-
acters). It would be a good idea
to use the name of the instru-
ment you “built” using the TRE-
BLE, BASS, FREE BASS, etc., group parameters – or the
name of the Song you wish to use this Set for.
(1) Select the character position (indicated by a dark
square) by pressing [UP] (previous character),
[DOWN] (next character) or the [DATA÷ENTER] knob
(next character).
(2) Turn the [DATA÷ENTER] knob to select the desired
character.
• Press [UP] and [DOWN] simultaneously to erase the
currently selected character (it will become a space).
Example: To replace the period (“.”) in “Fr.Folk” with a
space (“Fr Folk”), position the cursor on the “.” and
simultaneously press [UP]/[DOWN].
• To insert insert a space before the currently selected
character and push all subsequent characters one
position to the right, select the character that should
follow the space, then press and hold [UP]. Example:
To insert a space after the “.” in “Fr.Folk” (creating the
name “Fr. Folk”), position the cursor on the second “F”
and hold down [UP] for a while.
Note: If the name already contains 8 characters (“Bandoneo”),
the last character is erased (example: “Band one”).
• To delete the character indicated by the cursor and
move subsequent characters one position to the left,
select it (example: “Fr.Folk”) and press and hold
[DOWN] (“FrFolk”).
7.8 Master Bar Recall
This parameter allows you to
choose the Treble register (1~
14) that can be activated by
pressing the Master bar. Note
that this is only possible while
the Treble section is in Solo mode (page 25) or while the
Orchestra part is set to “CANCEL”.
In all other cases (Dual, High, Low modes), the Master
bar is indeed used to mute the Orchestra part. And in
Solo mode, the first press allows you to return from the
Orchestra (if it’s on) to the Treble section.
7.9 Icon
This parameter allows you to
assign an icon to your Set,
which is displayed above its
name on the Main page. In most
cases, you will probably choose
a picture that somehow illustrates the contents of your
settings, but that is entirely up to you. The FR-7/FR-5
contains 40 preset icons (stored in its internal memory).
SYSTEM parameters
The SYSTEM group contains parameters that are related to all Sets and all sections: they apply to the
FR-7/FR-5 as a whole. See pages 35 and 37 for how to select and adjust the parameters.
Press [UP] and [DOWN] simultaneously to select the value that is indicated as “Default setting”.
Any changes you make can be saved even without
using the WRITE function (see p. 77). To avoid losing
your changes, it would be a good idea to take advan-
tage of the following automatic routine.
Whenever you press [EXIT÷JUMP] after editing a Menu
parameter, the FR-7/FR-5 asks you whether you want
to save your changes:
“YES” is selected by default. If you want to save your
changes, proceed as described below. (If you don’t, turn
the [DATA÷ENTER] knob to select “NO”, then press the
[DATA÷ENTER] knob.)
To save your changes:
(1) Press the [DATA÷ENTER] knob. The display now
responds with:
Note: The GLOBAL page shows all parameters that can be
saved to the Global memory (there is only one such memory):
the Master Tune and Scale Tune parameters of the TUNING
group (the Transpose setting is never saved) as well as the SYS-
TEM and MIDI groups.
(2) Press the [WRITE] button to save your changes. The
display briefly shows a confirmation:
Note: If you selected “NO”, the edited Global settings will be
used until you switch off the FR-7/FR-5 (or change them
again).
Saving your changes


